From Split View to Stage Manager, these tools help users juggle multiple apps seamlessly, turning the tablet into a laptop rival. Here are 10 practical tips to master iPadOS multitasking and supercharge your workflow.
1. Master Split View for Dual Apps
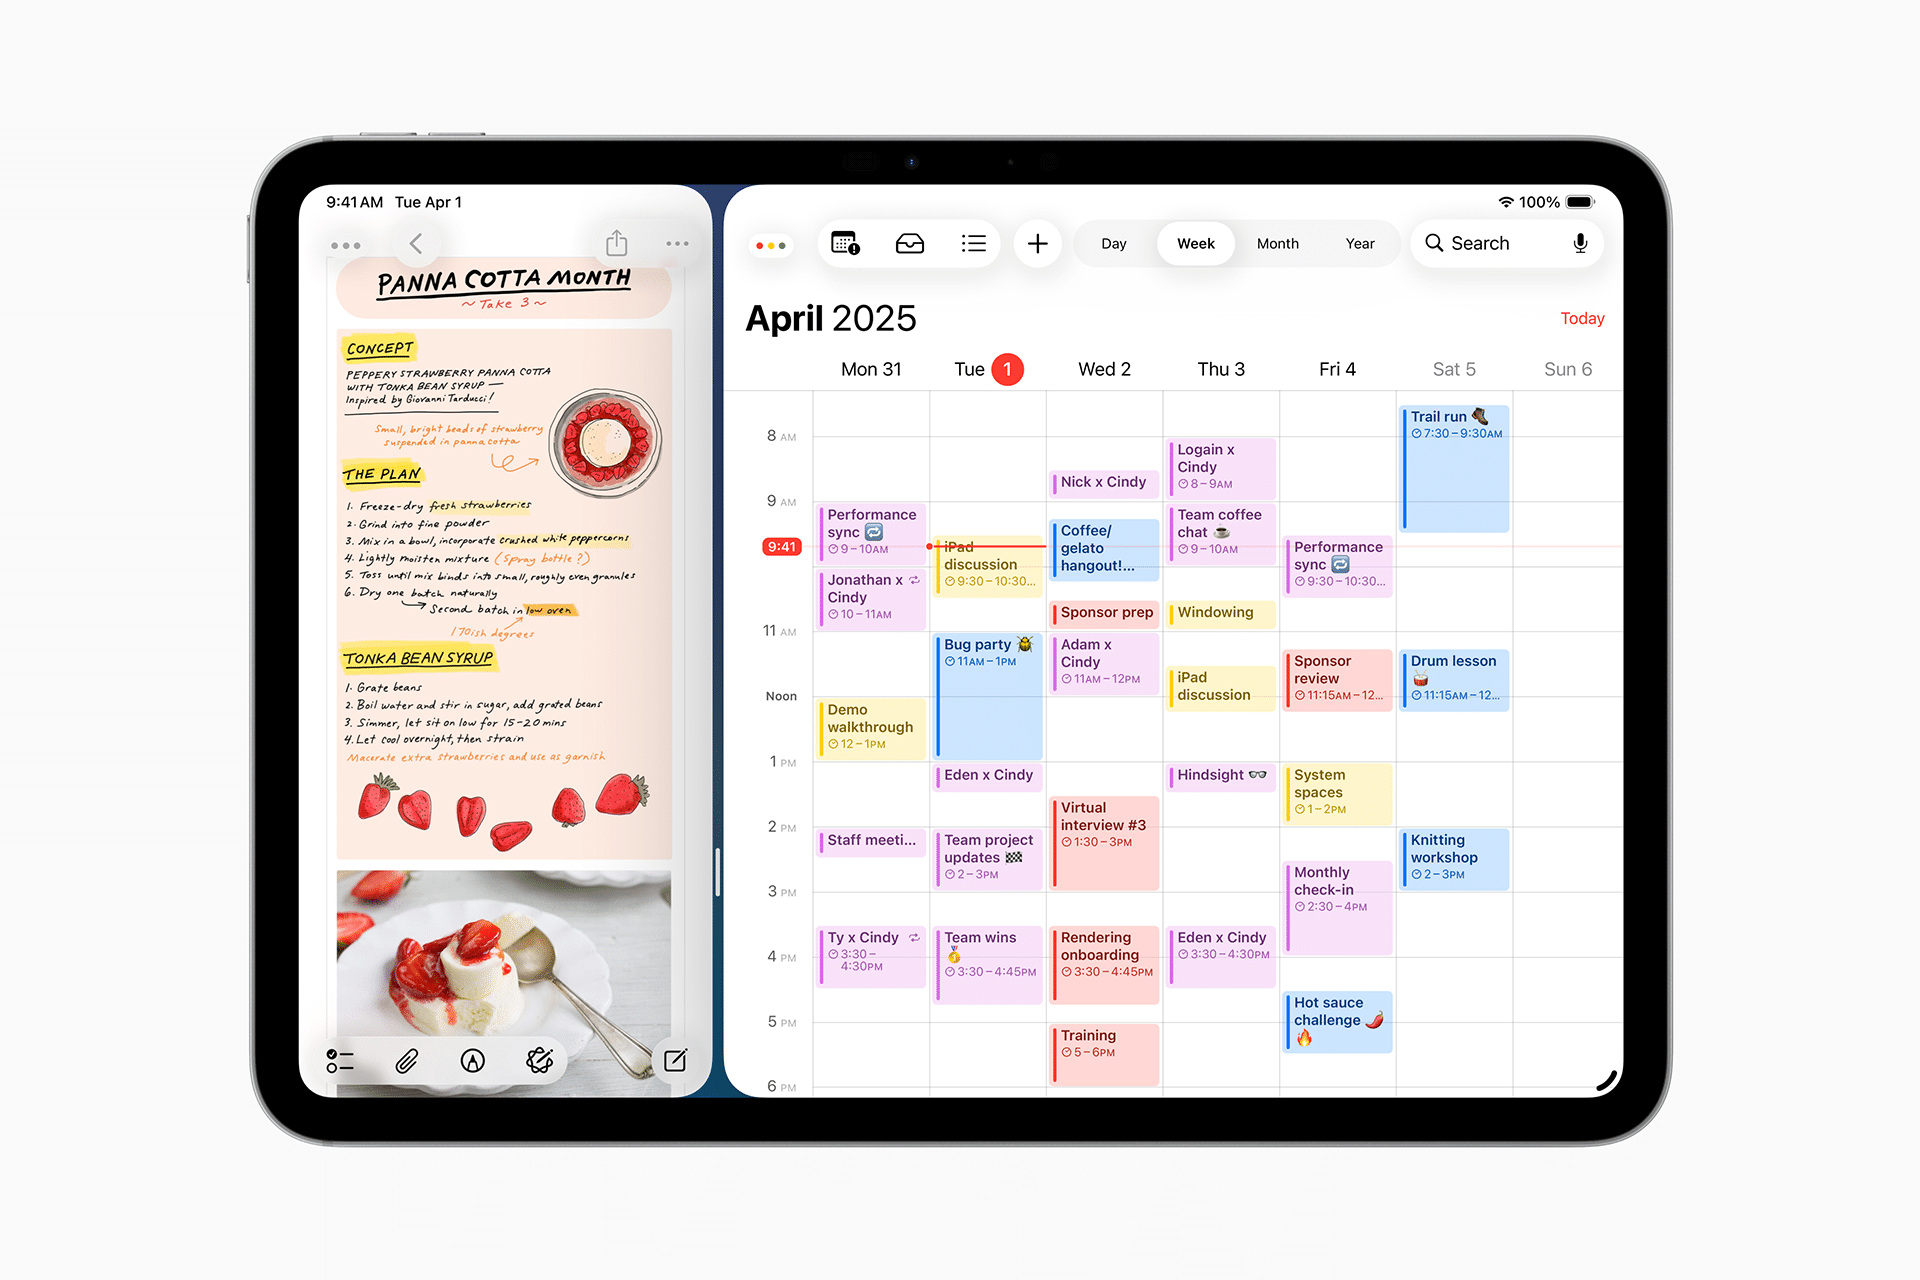
Split View lets you run two apps side by side. To activate, open an app, swipe up to reveal the Dock, then drag a second app’s icon to the left or right edge of the screen. Adjust the divider to resize windows—perfect for writing while referencing a webpage. Pro tip: Not all apps support Split View, so check compatibility for your favorites.
2. Use Slide Over for Quick Access
Slide Over places a floating app window over your main app. Drag an app from the Dock to the screen’s edge without releasing it until it shrinks into a narrow panel. Swipe it off-screen and back as needed for quick tasks like replying to messages while working. This keeps your workflow uninterrupted.
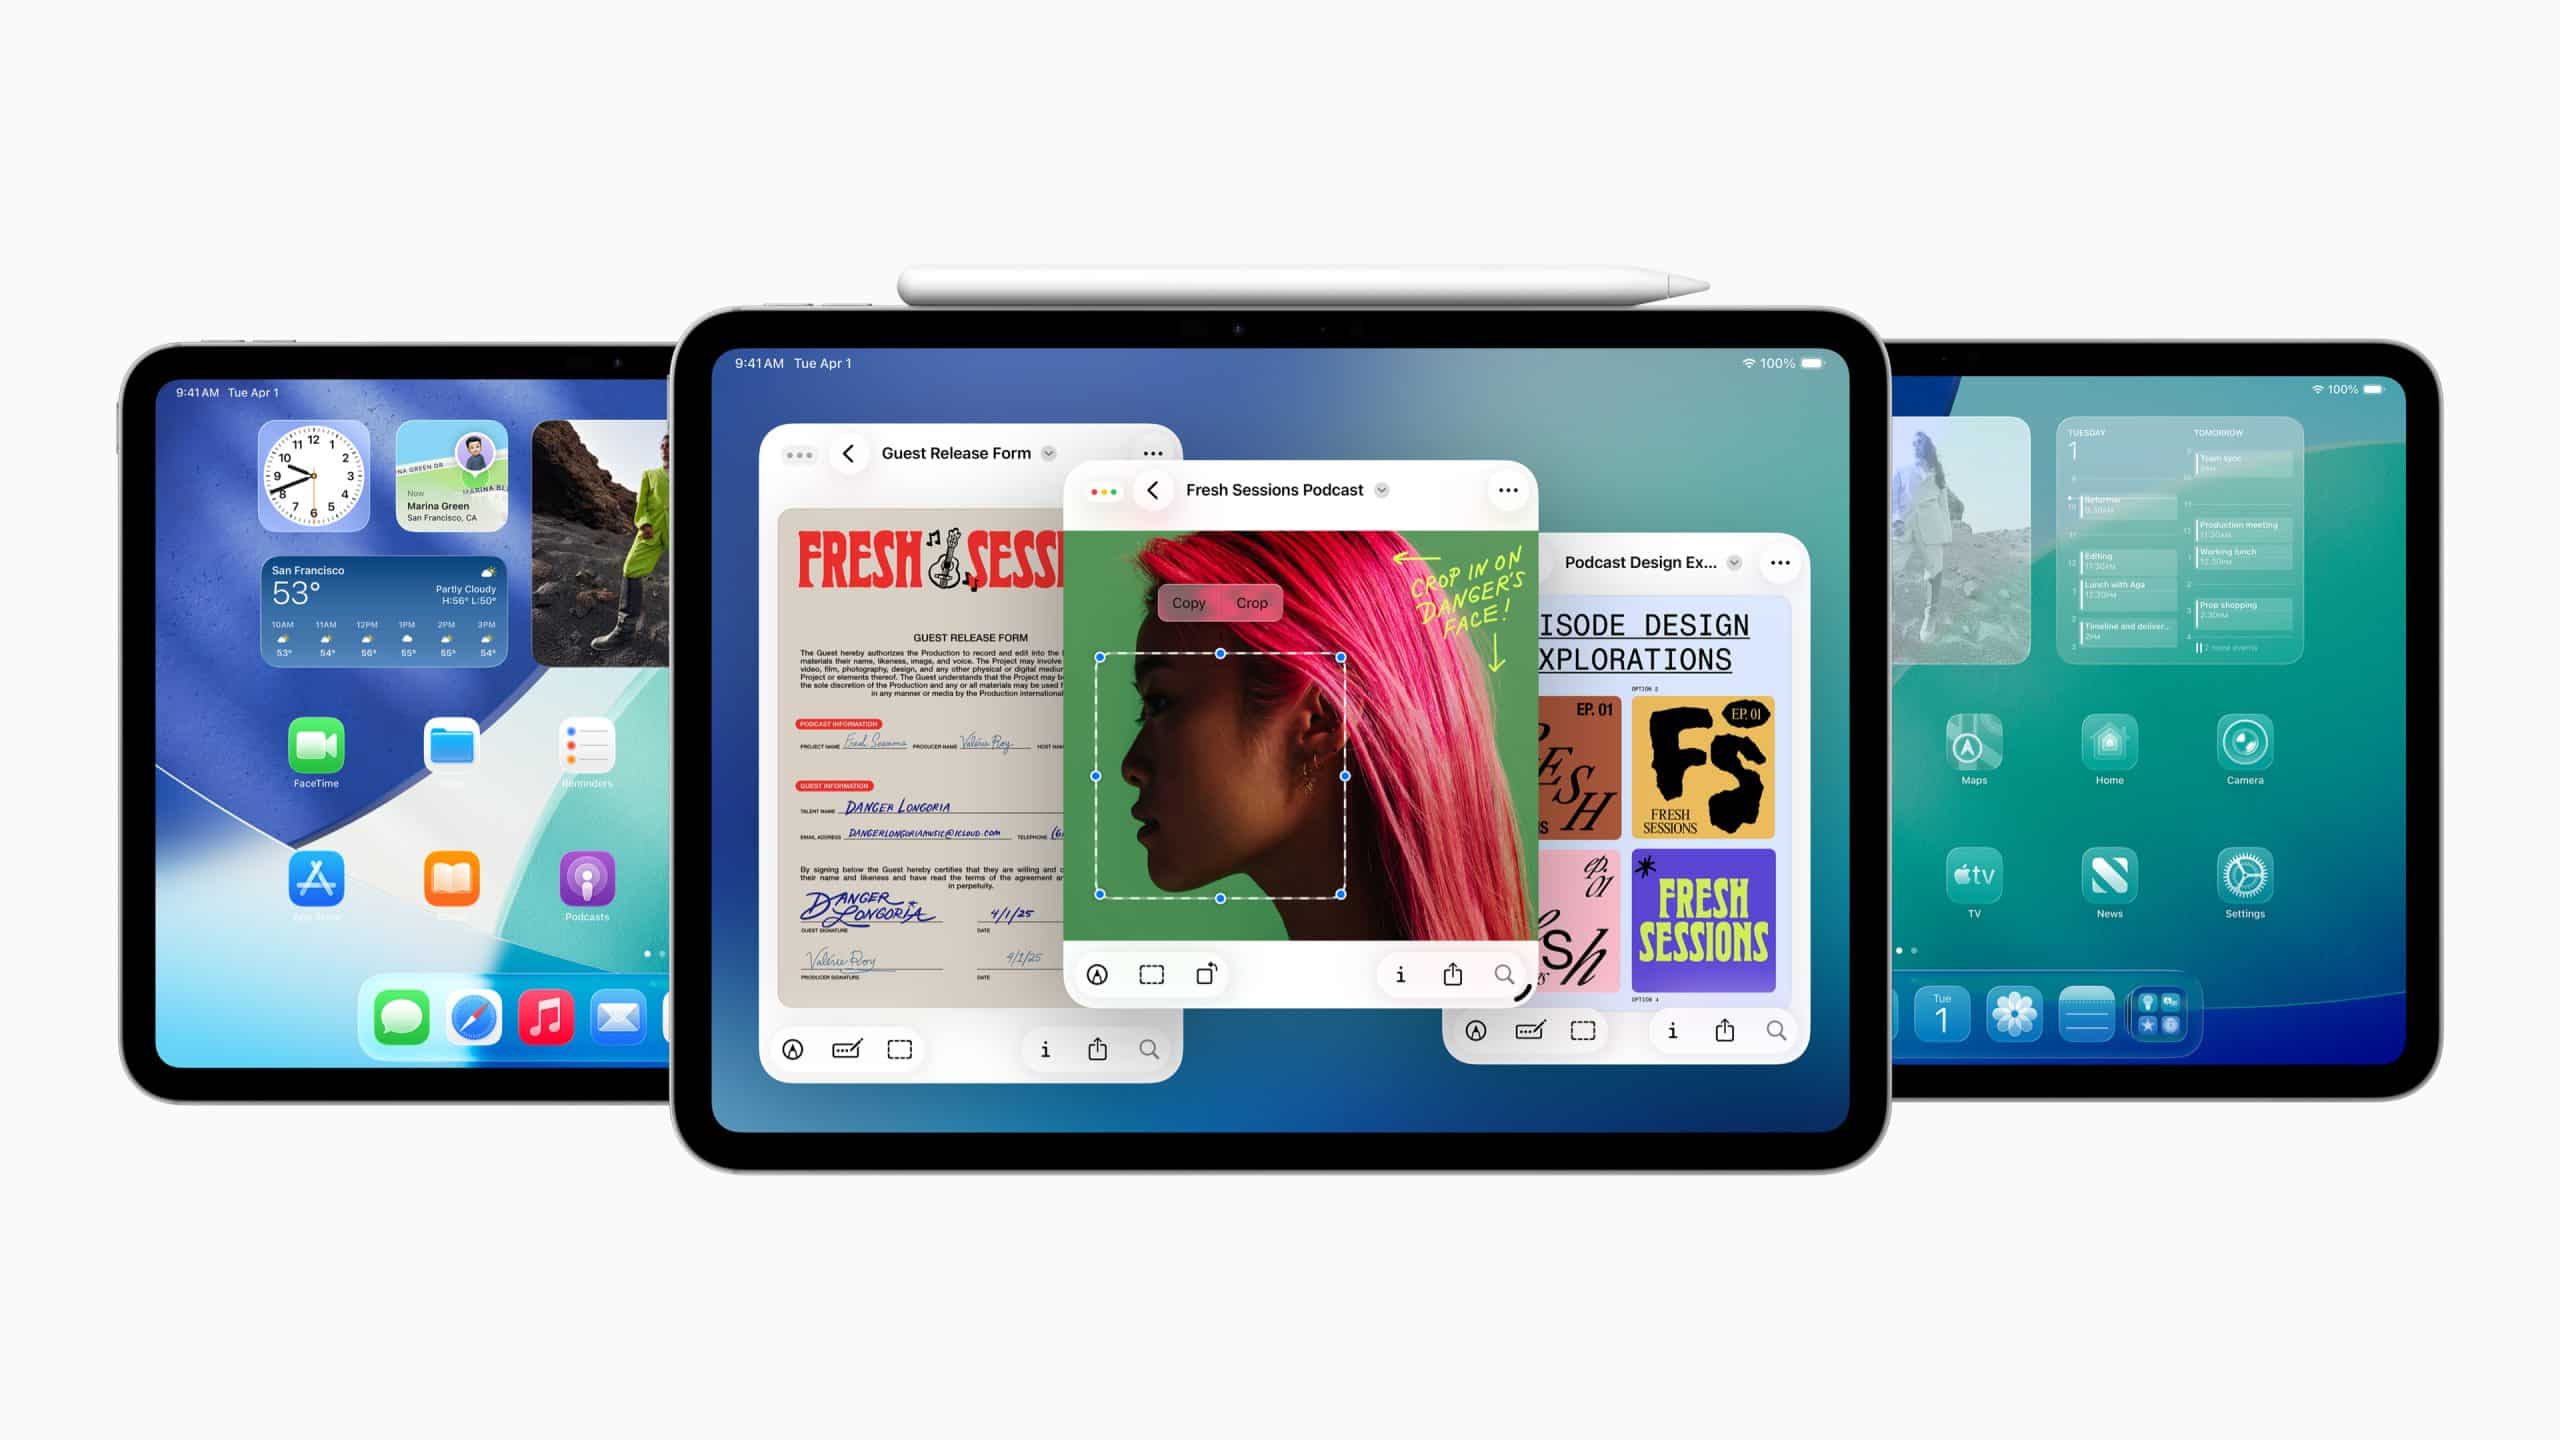
3. Leverage Stage Manager for Flexible Windows
Stage Manager, introduced in iPadOS 16, organizes apps into resizable, overlapping windows. Enable it in Control Center by tapping the Stage Manager icon (a rectangle with two sidebars). Drag apps from the Dock to create a workspace with up to four apps. It’s ideal for complex projects requiring multiple tools, like editing a video while browsing assets.
4. Open Multiple Instances of the Same App
iPadOS allows multiple windows of the same app. In Split View or Stage Manager, drag the same app’s icon from the Dock to open a second instance. For example, work on two Notes documents simultaneously or compare different Safari tabs side by side. This boosts efficiency for repetitive tasks.
5. Use the App Switcher for Fast Navigation
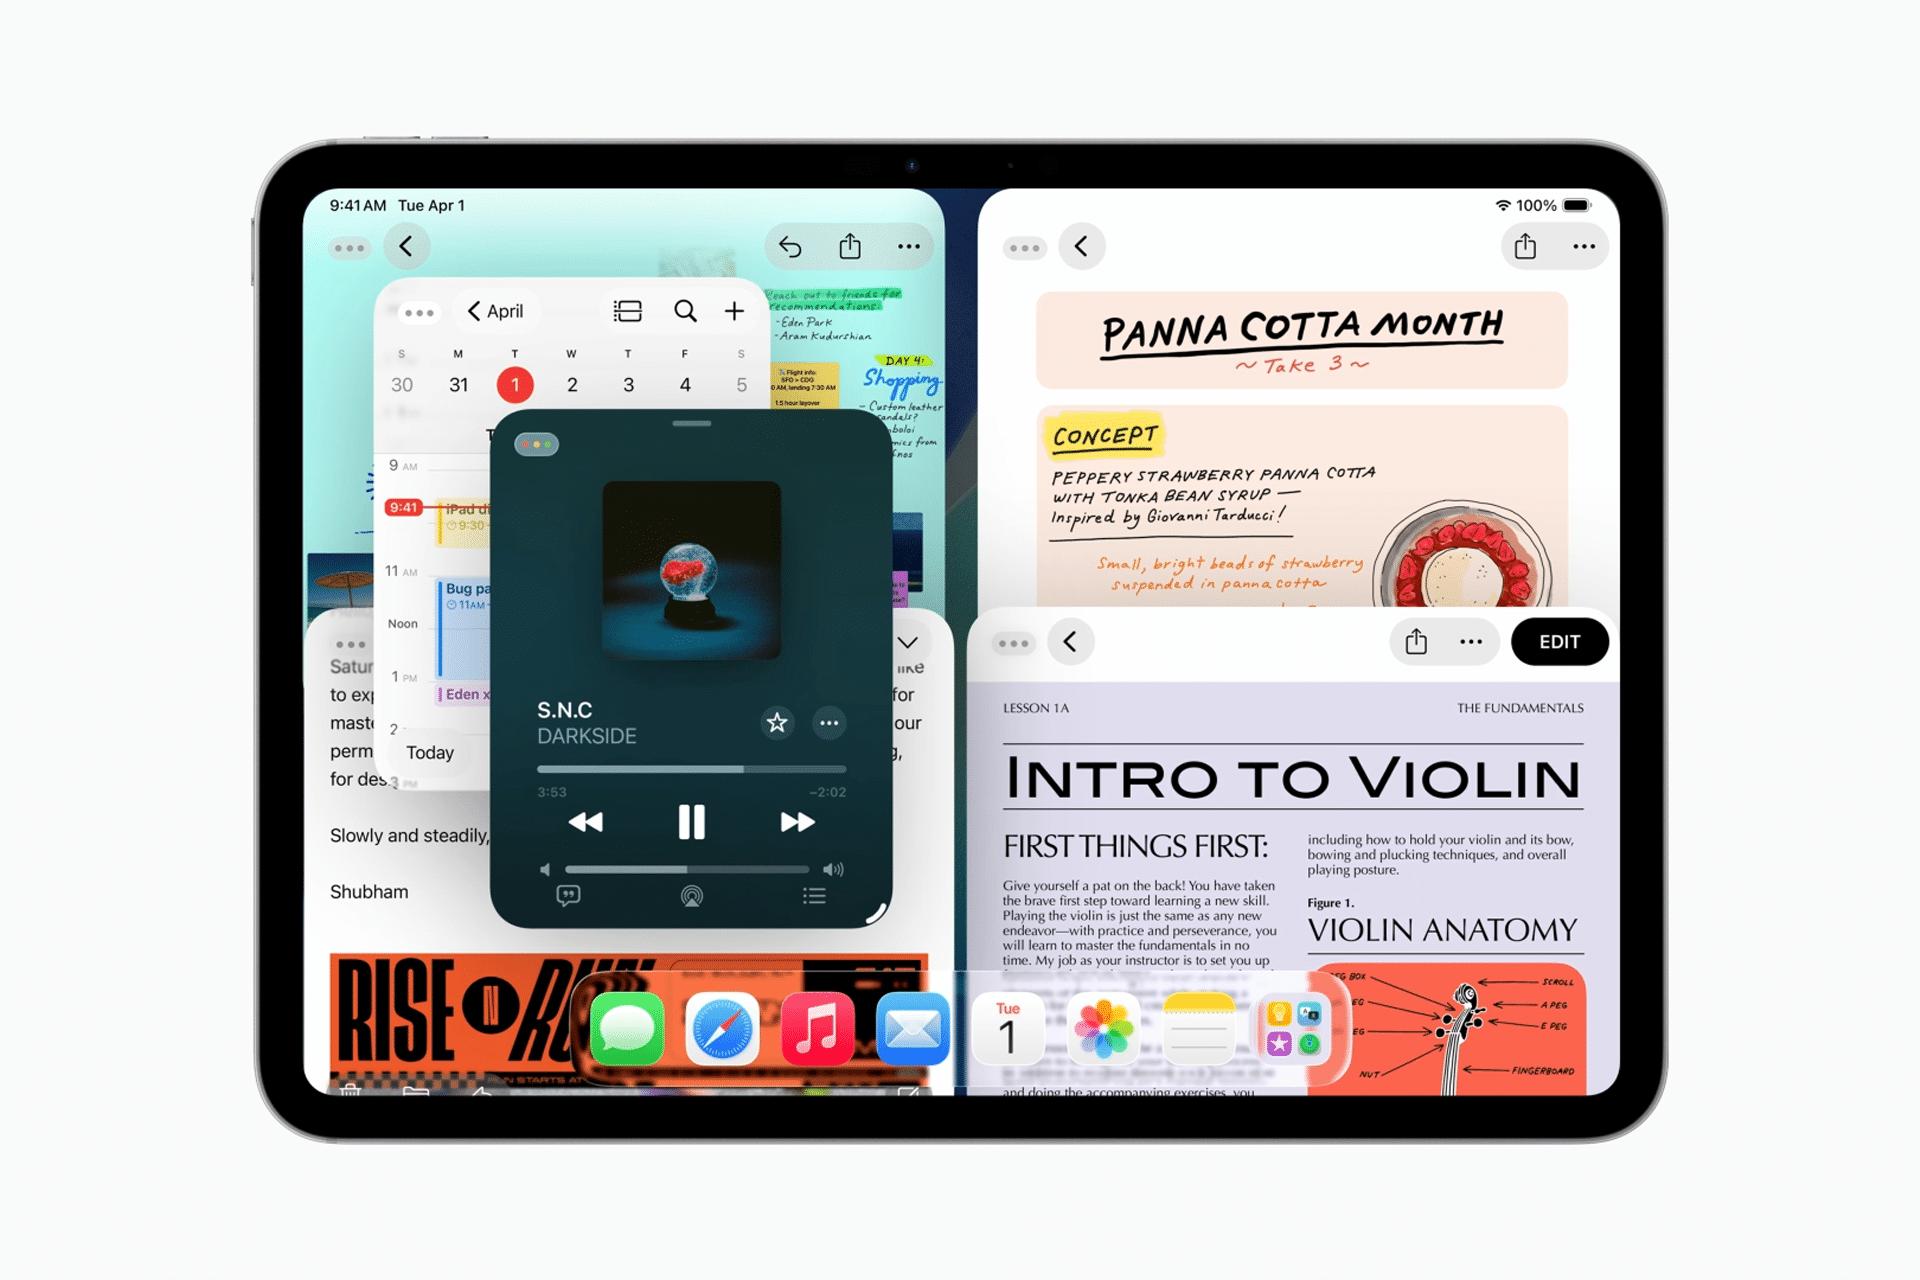
The App Switcher shows all active app pairs and windows. Double-tap the Home button (or swipe up and hold on newer models) to view them. Tap a thumbnail to jump to a saved Split View or Stage Manager setup. This saves time when switching between curated workspaces.
6. Drag and Drop Content Between Apps
Drag and drop text, images, or files between apps in Split View or Slide Over. Tap and hold an item, then drag it to the target app. For example, pull a photo from Photos into an email or text from Safari into Notes. This streamlines content sharing without breaking your flow.
7. Customize the Dock for Efficiency
The Dock is your multitasking hub. Add frequently used apps by dragging them to the Dock from the Home screen. Include productivity staples like Notes, Files, or Mail for quick access in Split View or Slide Over. A well-organized Dock speeds up launching multitasking setups.
8. Use Keyboard Shortcuts with an External Keyboard
Pair an external keyboard (like Apple’s Magic Keyboard) to unlock multitasking shortcuts. Press Command + Tab to open the App Switcher, or Command + T to open a new Safari window in Stage Manager. These shortcuts, viewable in an app’s menu bar, cut down on taps and swipes.
9. Pin Slide Over Apps for Consistency
When using Slide Over, pin the floating app to one side by dragging it to the edge until it locks. This prevents accidental dismissal and keeps the app ready for quick access. For example, keep Messages pinned while working in Pages to stay responsive without switching apps.
10. Combine External Displays with Stage Manager
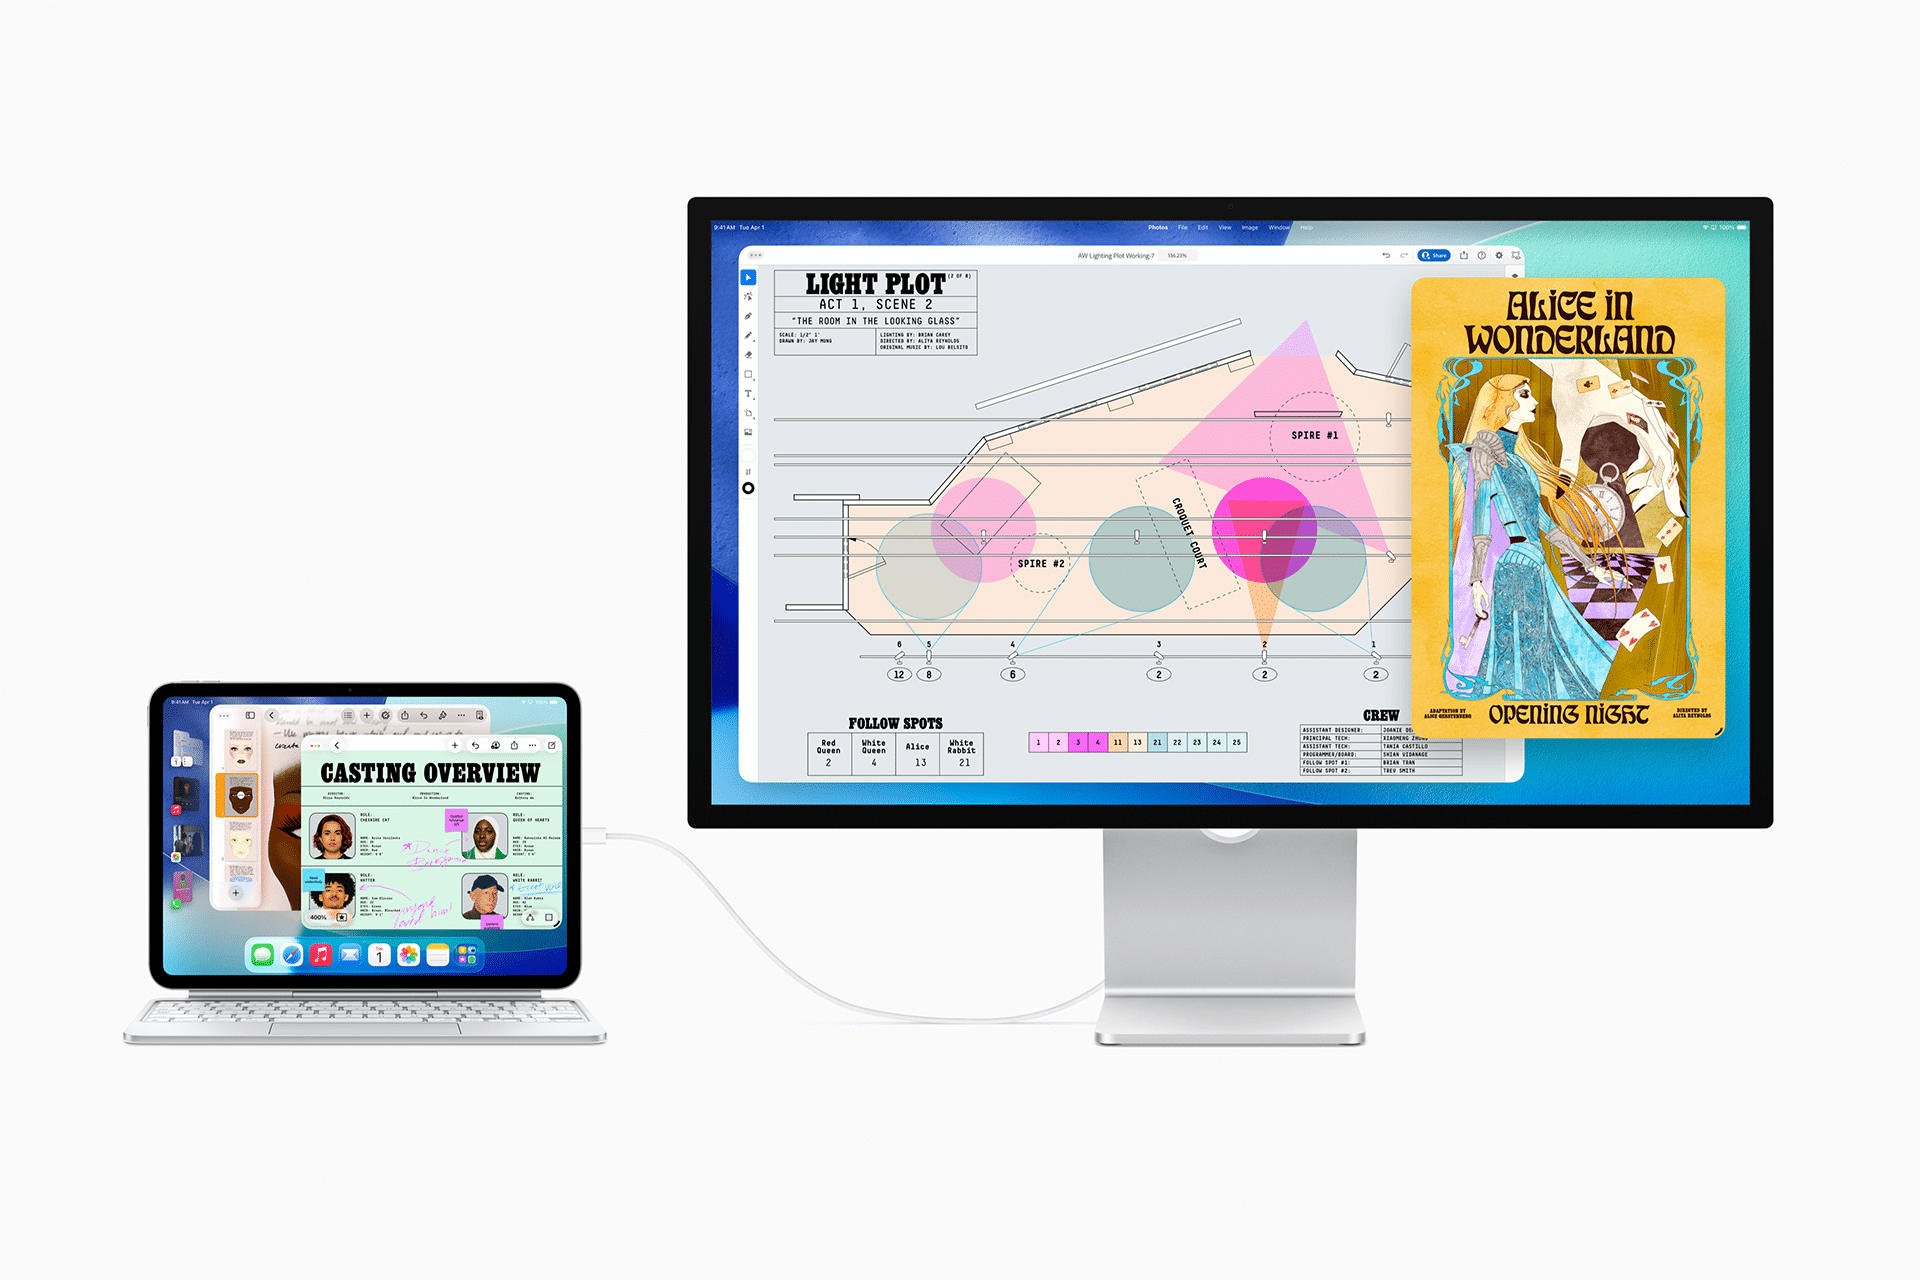
If you have an iPad Pro or Air with an M-series chip, connect an external display to extend your workspace. Stage Manager supports up to four apps on the iPad and four on the external screen. Plug in via USB-C or wirelessly with AirPlay to mirror or extend your setup, ideal for power users managing multiple projects.
Why It Matters
These multitasking features transform the iPad into a versatile workhorse, rivaling laptops for many tasks. Whether you’re a student, creative, or professional, mastering Split View, Stage Manager, and drag-and-drop saves time and boosts efficiency. With practice, these tips can make your iPad the centerpiece of your productivity setup, all while keeping your workflow fluid and intuitive.