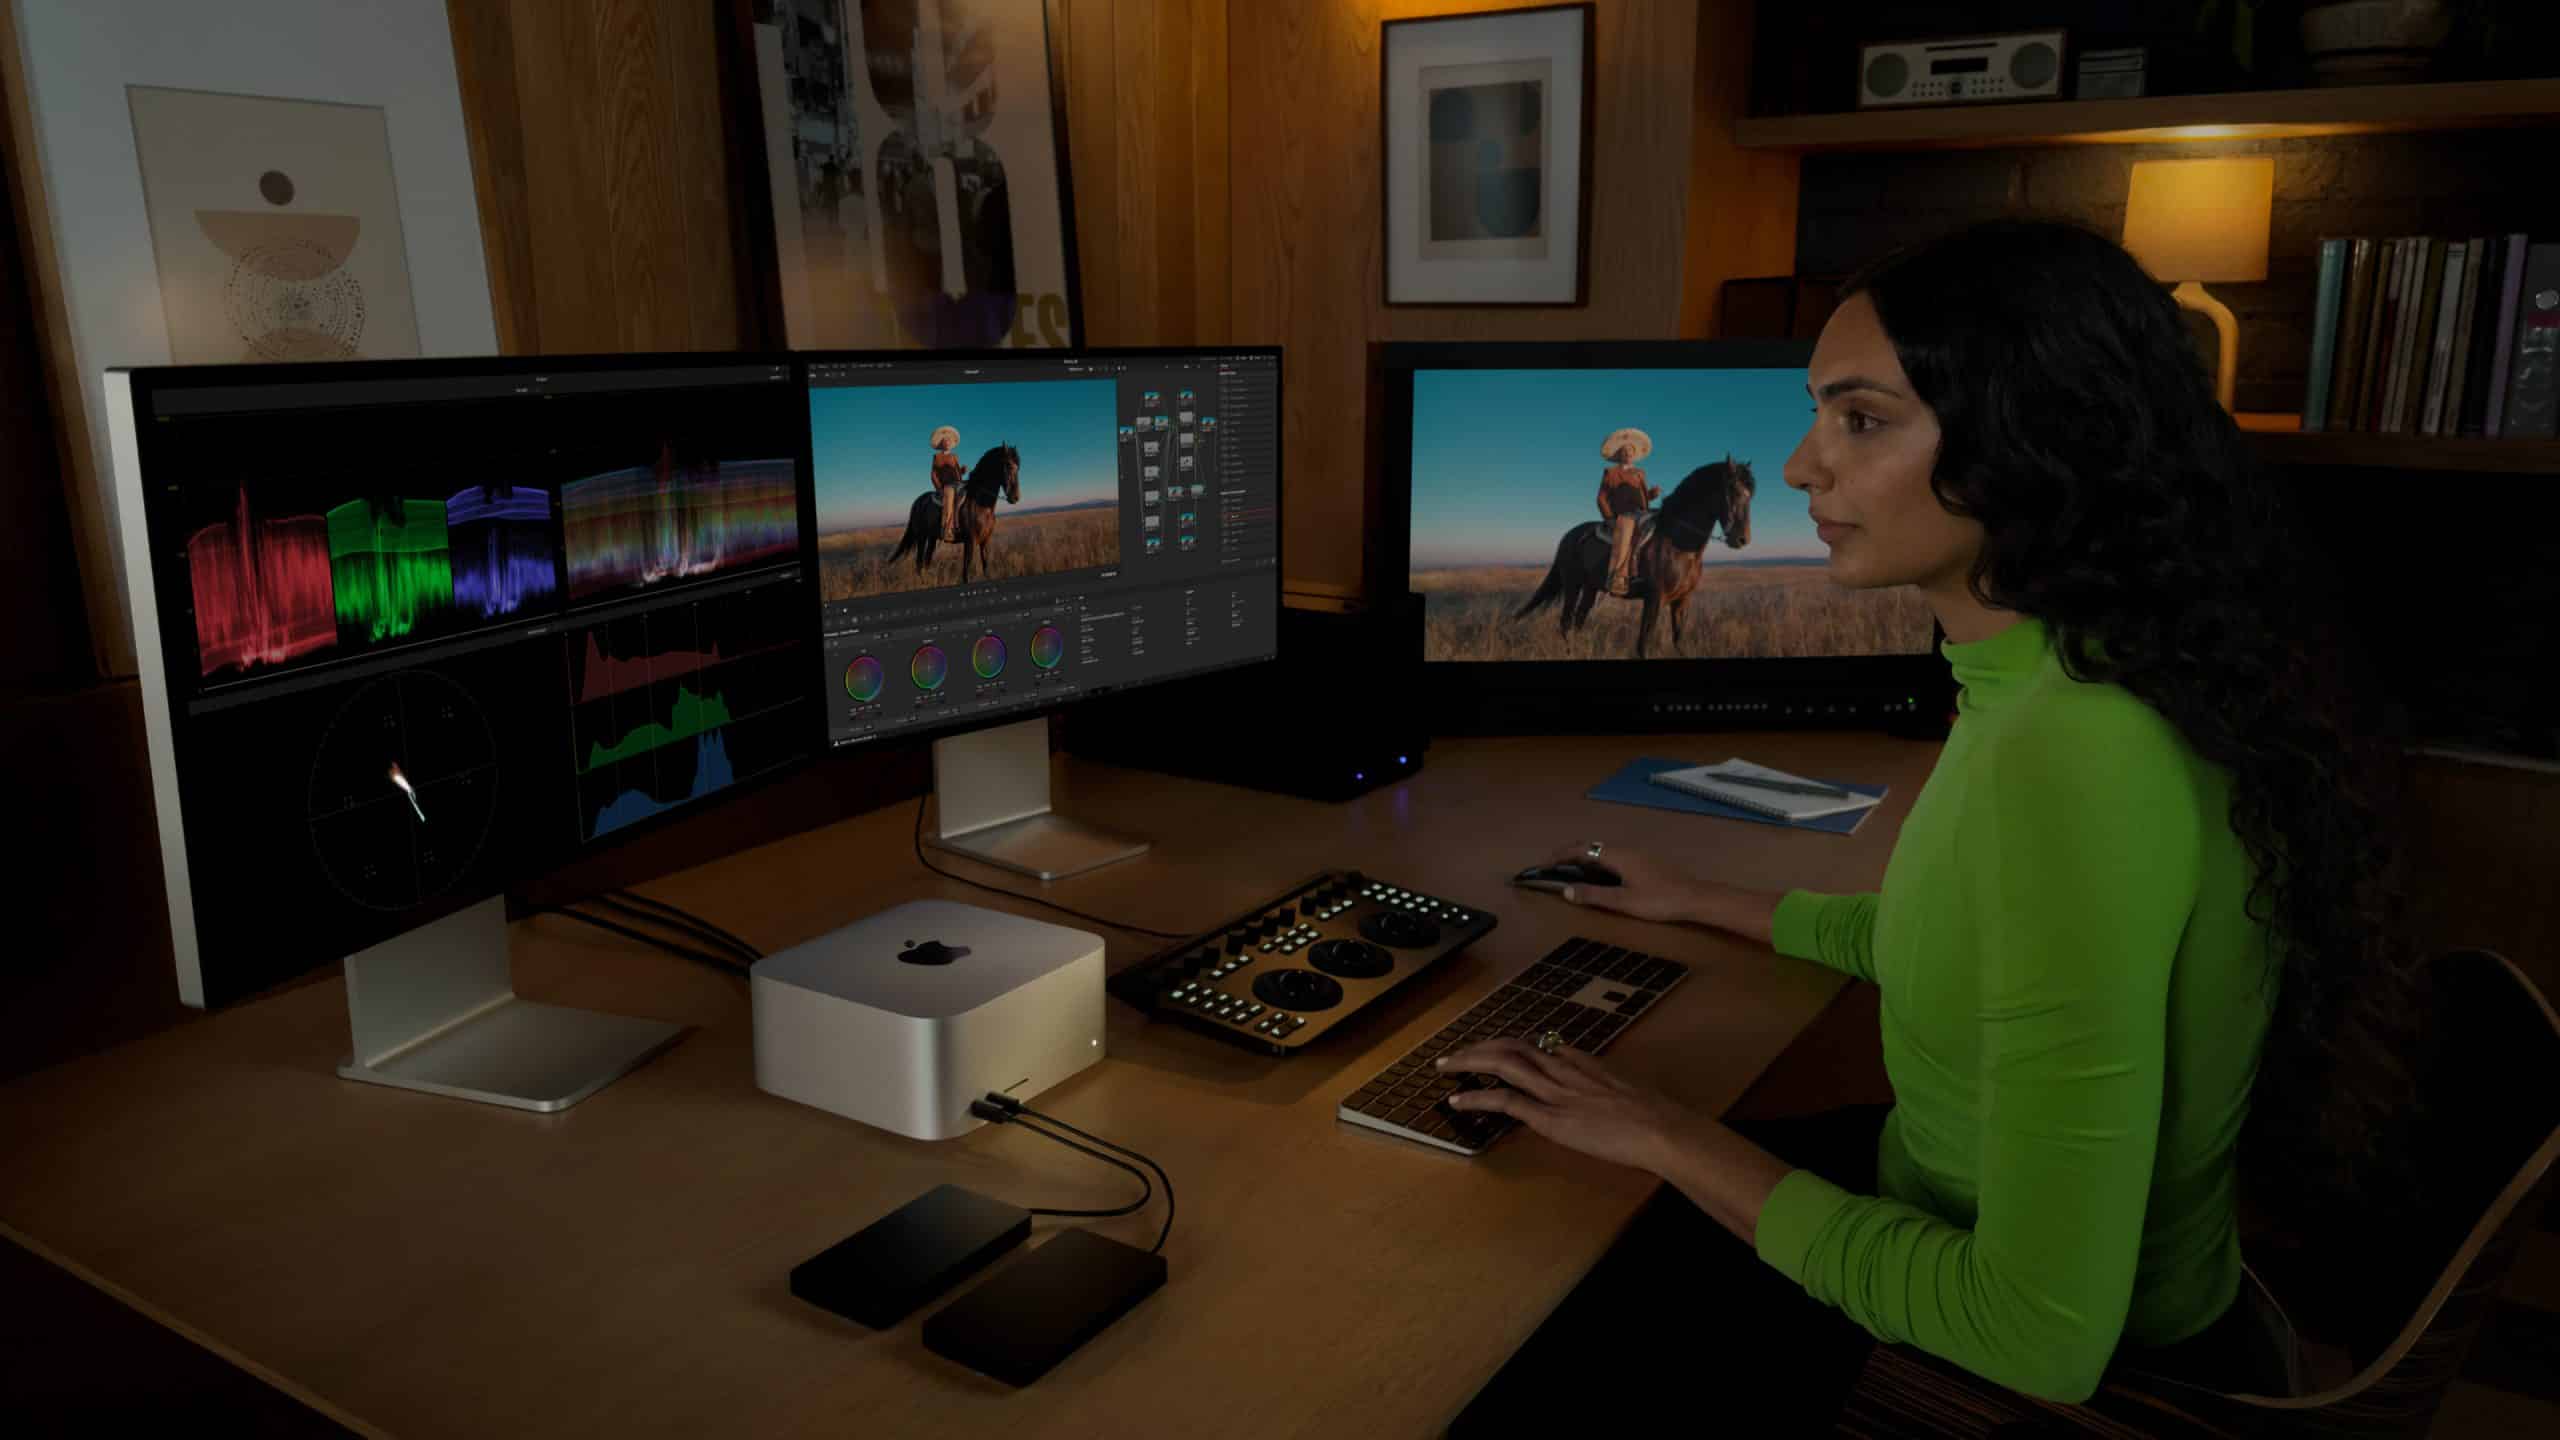
A top-tier monitor is essential for harnessing the Mac Studio’s graphical prowess. The Apple Studio Display, with its 27-inch 5K Retina panel, 12MP ultra-wide camera, and high-fidelity six-speaker system, is a natural fit for seamless integration. Its calibration settings for photography and design ensure color accuracy, making it ideal for creative professionals. For a premium alternative, the Apple Pro Display XDR offers a 6K mini-LED panel with up to 1,600 nits of brightness and P3 wide color gamut, perfect for video editors needing cinematic precision. Budget-conscious users might opt for the Dough Spectrum One 4K, which delivers a 144Hz refresh rate and multiple finish options (glossy, matte, or Gorilla Glass) for versatile use.
Setup Tip: Connect the Studio Display or Pro Display XDR via Thunderbolt 4 for plug-and-play simplicity. For the Dough Spectrum One, use a Thunderbolt-to-HDMI adapter if needed, and adjust macOS display settings (System Settings > Displays) to match your workflow, such as enabling True Tone for natural lighting or setting a custom white point for photo editing.
Ergonomic Input Devices for Comfort and Control
The Mac Studio doesn’t include a keyboard or mouse, so choosing the right input devices is critical. Apple’s Magic Keyboard with Touch ID and Numeric Keypad offers seamless macOS integration, with Touch ID enabling quick logins and Apple Pay authentication. Pair it with the Apple Magic Mouse, enhanced by the Solumics Case for improved ergonomics, which elevates the palm area to reduce hand fatigue during long sessions. For users preferring a trackpad, the Apple Magic Trackpad supports multi-touch gestures like those on MacBooks, ensuring fluid navigation.
For those seeking alternatives, the Logitech MX Master 3S for Mac provides customizable buttons and a side scroll wheel optimized for macOS, ideal for multitasking. The NuPhy Halo 75 mechanical keyboard, with its tactile feedback and wireless connectivity, is a favorite for typists craving a premium experience.
Setup Tip: Pair Apple’s Magic accessories via Bluetooth in System Settings > Bluetooth; they connect automatically. For the Solumics Case, snap it onto the Magic Mouse in seconds—no tools required. For the Logitech MX Master 3S, install Logitech Options software to customize button mappings for apps like Final Cut Pro or Photoshop. The NuPhy Halo 75 connects via USB-C or Bluetooth; use its software to adjust key layouts for macOS shortcuts.
Expand Connectivity with Thunderbolt Hubs
The Mac Studio’s six Thunderbolt 4 ports are generous, but a Thunderbolt hub can streamline connectivity. The OWC Thunderbolt Hub offers four Thunderbolt 4 ports with 40Gb/s speeds, four USB-A ports, an SD card slot, and gigabit Ethernet, making it a versatile choice for power users. For a compact option, the Satechi Hub & Stand with NVMe SSD Enclosure adds storage and ports, including USB-C 3.2, USB-A, and microSD/SD card readers, while fitting neatly under the Mac Studio to save desk space.
Setup Tip: Connect the OWC Thunderbolt Hub to a Thunderbolt 4 port on the Mac Studio using the included cable, then attach monitors, drives, or peripherals to its ports. For the Satechi Hub, install an NVMe SSD (like the Crucial P3 Plus) using the provided screwdriver, format it in Disk Utility (APFS for speed), and use the hub’s front-facing ports for quick access to SD cards or USB devices. Ensure only one bus-powered device is connected at a time to avoid power draw issues.
High-Speed Storage for Large Projects
While the Mac Studio offers up to 8TB of internal storage, external SSDs provide cost-effective expansion. The Sabrent Thunderbolt SSD delivers speeds up to 2,700MB/s, ideal for 4K video editing, while the LaCie Rugged SSD Pro, with 2,800MB/s and IP67 resistance, suits users needing portable, durable storage. For budget-friendly options, the Samsung T7 SSD offers reliable performance at up to 1,050MB/s in various colors.
Setup Tip: Connect the Sabrent or LaCie SSD via Thunderbolt 4 for maximum speed, and format it in Disk Utility as APFS for macOS compatibility. For the Samsung T7, use a USB-C port and enable encryption in Disk Utility for secure backups. Regularly eject drives via Finder to prevent data corruption.
Audio Enhancements for Immersive Sound
The Mac Studio’s built-in speakers are basic, so external audio solutions are a must for professionals. The Audioengine A2+ desktop speakers, with Bluetooth 5.3 and a built-in USB DAC, deliver crisp sound for video calls or music editing. For private listening, Apple’s AirPods Max offer superior noise cancellation and seamless device switching, while the AirPods Pro provide a compact alternative with transparency mode for situational awareness.
Setup Tip: Connect the Audioengine A2+ via USB-C for digital audio or Bluetooth for wireless use; adjust sound profiles in macOS Sound settings. Pair AirPods Max or Pro via Bluetooth, and enable Spatial Audio in Apple Music or compatible apps for immersive playback. Use the Audio MIDI Setup app to fine-tune output for professional audio work.
Optimizing Your Workspace
To keep your setup clean and efficient, consider the Zeera MacForge Studio CNC Aluminum Cooling Case, which enhances airflow and protects against dust with its Mac Pro-inspired design. The IFCASE Heat Dissipation Mac Studio Mount frees up desk space by mounting the Mac Studio under your desk, while the Grovemade Desk Shelf adds a minimalist touch to organize peripherals.
Setup Tip: Install the Zeera MacForge case by sliding the Mac Studio into its aluminum enclosure, ensuring vents align for cooling. For the IFCASE mount, secure it under your desk with provided screws, and route cables through a cable management clip for tidiness. Place the Grovemade Desk Shelf to elevate your monitor and store small peripherals underneath.
Final Thoughts
With the right accessories, the Mac Studio becomes a tailored workstation that enhances productivity and creativity. From high-resolution displays to ergonomic peripherals and high-speed storage, these tools unlock the full potential of Apple’s desktop powerhouse. By carefully configuring each accessory, you can create a seamless, professional-grade setup that matches your workflow.