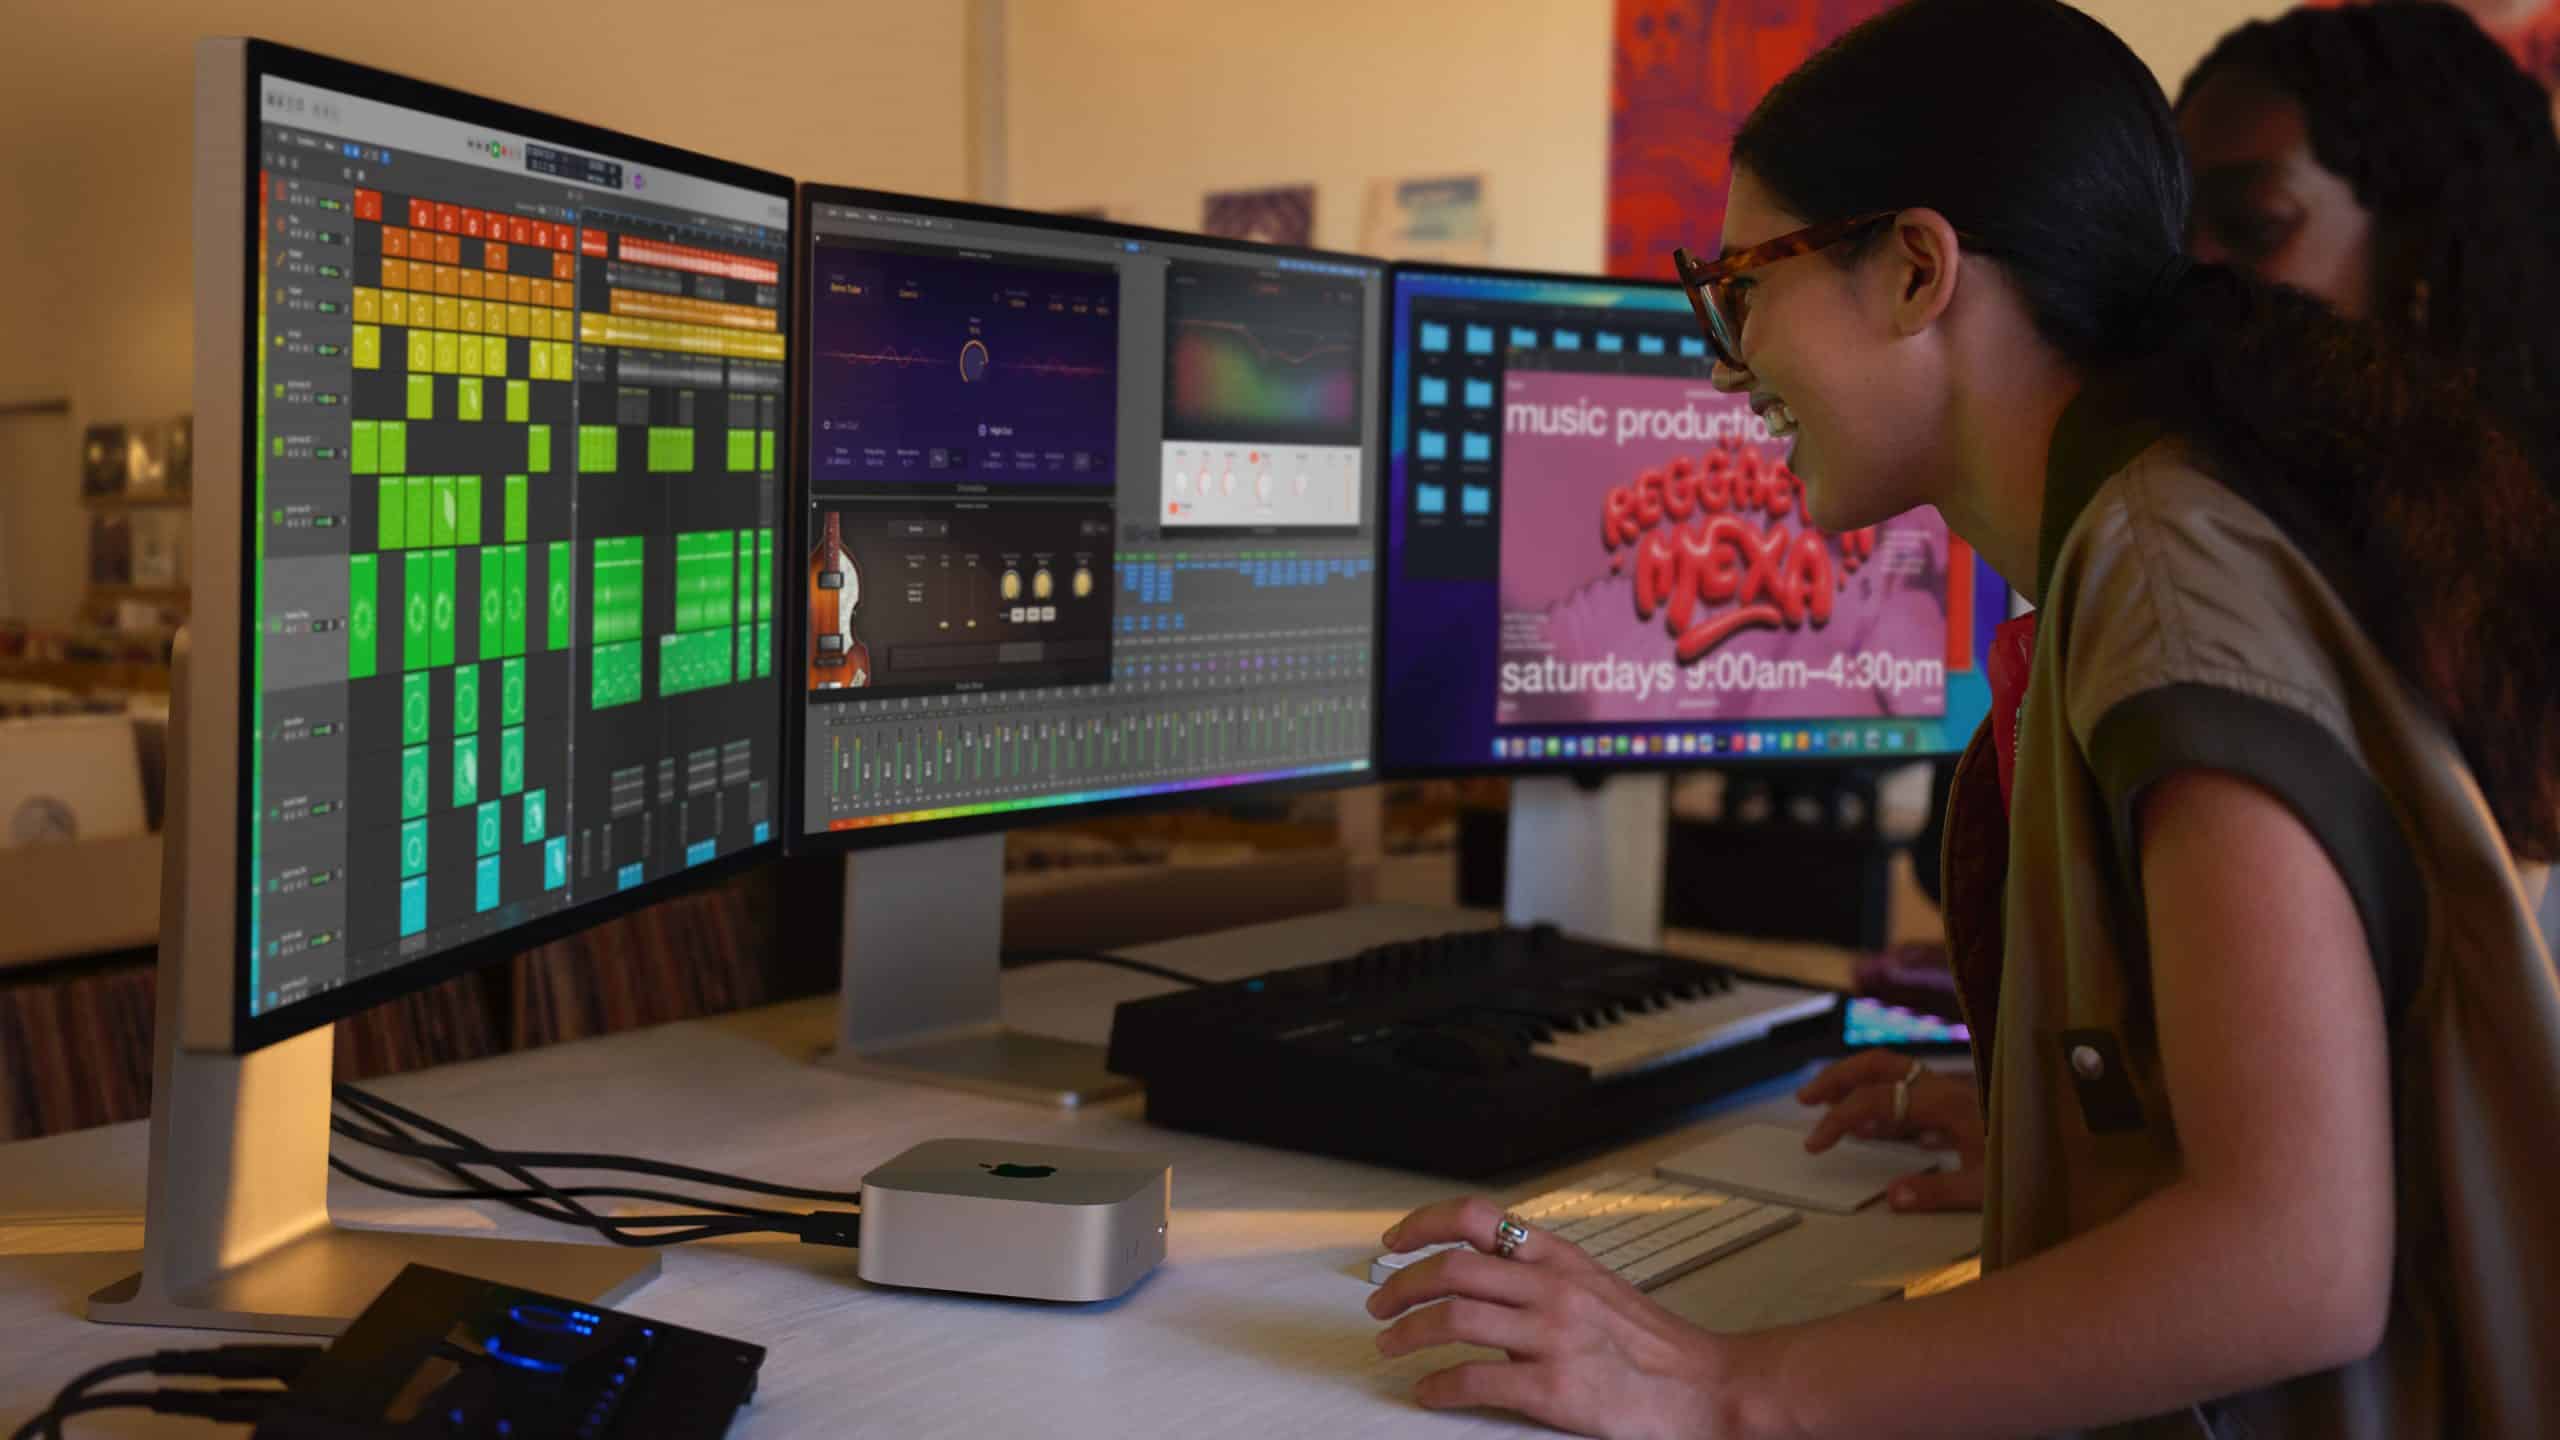
The number of displays you can connect to your Mac Studio depends on its chip and the resolution of the monitors. Models with the M4 Max chip can handle up to five external displays: four via Thunderbolt 5 ports at up to 6K resolution at 60Hz or 4K at 144Hz, and one via the HDMI port at up to 4K at 60Hz. The M3 Ultra chip pushes this further, supporting up to eight displays, with configurations including four 6K displays or a mix of 8K and 4K monitors, depending on refresh rates. These capabilities make the Mac Studio one of Apple’s most versatile machines for multi-monitor setups.
To maximize performance, connect the highest-resolution display first, as this optimizes bandwidth allocation across the Thunderbolt and HDMI ports. Note that the two USB-C ports on the front of M4 Max models do not support external displays, but M3 Ultra models can utilize front Thunderbolt ports for additional connections.
Choosing the Right Cables and Adapters
The Mac Studio’s rear ports include four Thunderbolt 5 ports (or Thunderbolt 4 on older models) and one HDMI port, offering flexibility for most modern displays. However, not all monitors use Thunderbolt or HDMI natively, so you may need adapters for connections like DisplayPort, DVI, or VGA. For example, a USB-C to DisplayPort adapter is ideal for 4K or 5K monitors, while a USB-C to HDMI adapter works for standard HDMI displays. Always check the monitor’s specifications to ensure the adapter supports the desired resolution and refresh rate, such as 4K at 60Hz or higher.
For budget-conscious setups, avoid Thunderbolt-specific cables unless required for high-resolution displays like 5K or 6K, as standard USB-C cables rated for DisplayPort signals (up to 4K at 60Hz) are often sufficient and less expensive. If your monitors lack compatible ports, consider a Thunderbolt dock or a multi-port adapter, such as OWC’s Quad HDMI 4K Adapter, which allows up to four 4K displays from a single USB-C port.
Configuring Your Multi-Monitor Setup
Once your displays are connected, configuring them in macOS is straightforward. Open System Settings, navigate to Displays, and click Detect Displays (hold the Option key if the button isn’t visible). Here, you can choose to mirror your screens or extend your desktop across multiple monitors. Extending the desktop allows each display to show different content, ideal for multitasking, while mirroring duplicates the same content across screens, useful for presentations.
Arrange the displays in System Settings to match their physical layout, ensuring smooth cursor movement between screens. You can also adjust resolution, color profiles, and brightness for each monitor. For Apple Studio Displays, third-party tools like DisplayBuddy or Loopback can sync brightness and audio across dual setups, enhancing the experience for users with side-by-side 5K monitors.
Optimizing for Specific Workflows
Multi-monitor setups shine in specialized workflows. Video editors can dedicate one screen to editing software like Final Cut Pro, another to preview footage, and a third for reference material. Designers might use a portrait-oriented monitor for reading long documents or coding, while keeping a primary display for creative tools. For audio professionals, a broadcast monitor connected via HDMI can serve as a dedicated output, with other screens handling production software.
If you’re using lower-end monitors with HDMI or VGA inputs, a Thunderbolt to dual HDMI adapter can simplify connections, though higher-end setups may benefit from direct Thunderbolt-to-DisplayPort cables for maximum bandwidth. Be cautious with daisy-chaining displays, as macOS has limited support for DisplayPort’s MSC protocol, making direct connections or docks more reliable for most users.
Troubleshooting and Enhancing Performance
If a display appears dark or shows low resolution, ensure the cables and adapters are properly connected and rated for the monitor’s specifications. Apple’s support pages recommend checking power connections and consulting the display’s documentation for compatibility. For users with high-resolution needs, such as 8K monitors, the M4 Max’s HDMI port supports up to 8K at 60Hz or 4K at 240Hz, a significant upgrade over older models limited to HDMI 2.0.
For those hitting display limits on older M1 or M2 Mac Studios, solutions like the HyperDrive 10-in-1 USB-C Hub with InstantView technology can bypass native restrictions, supporting dual 4K displays without complex driver installations. Posts on X highlight enthusiasm for such adapters, noting their ability to expand workspace options for creative professionals.
A Seamless Multi-Monitor Future
Setting up multiple displays on your Mac Studio is a game-changer for productivity and creativity. With the right cables, adapters, and configuration, you can create a tailored workspace that meets your needs, whether you’re running dual 4K monitors or pushing the limits with eight 6K displays. As Apple continues to enhance its M-series chips, the Mac Studio remains a top choice for professionals seeking a robust, multi-monitor setup.


