You’ve been working on an important project all night. You’re just about to write the finishing lines, when… Your screen turns completely blank. Well, we’ve all been there. Now, you’re wondering if you can recover your data from your Mac, even when it won’t turn on? Yes, you absolutely can.
A crashed Mac does not always mean you lost all of your data. More often than not, you can recover your files with just a few simple steps.
1. Check the Obvious
Before we talk about more complex methods, let’s consider that this could just be a minor issue. Here are a few things you can test:
- Restart your Mac: Sometimes all it takes is restarting your computer, so it’s the first thing you should try if your Mac crashes.
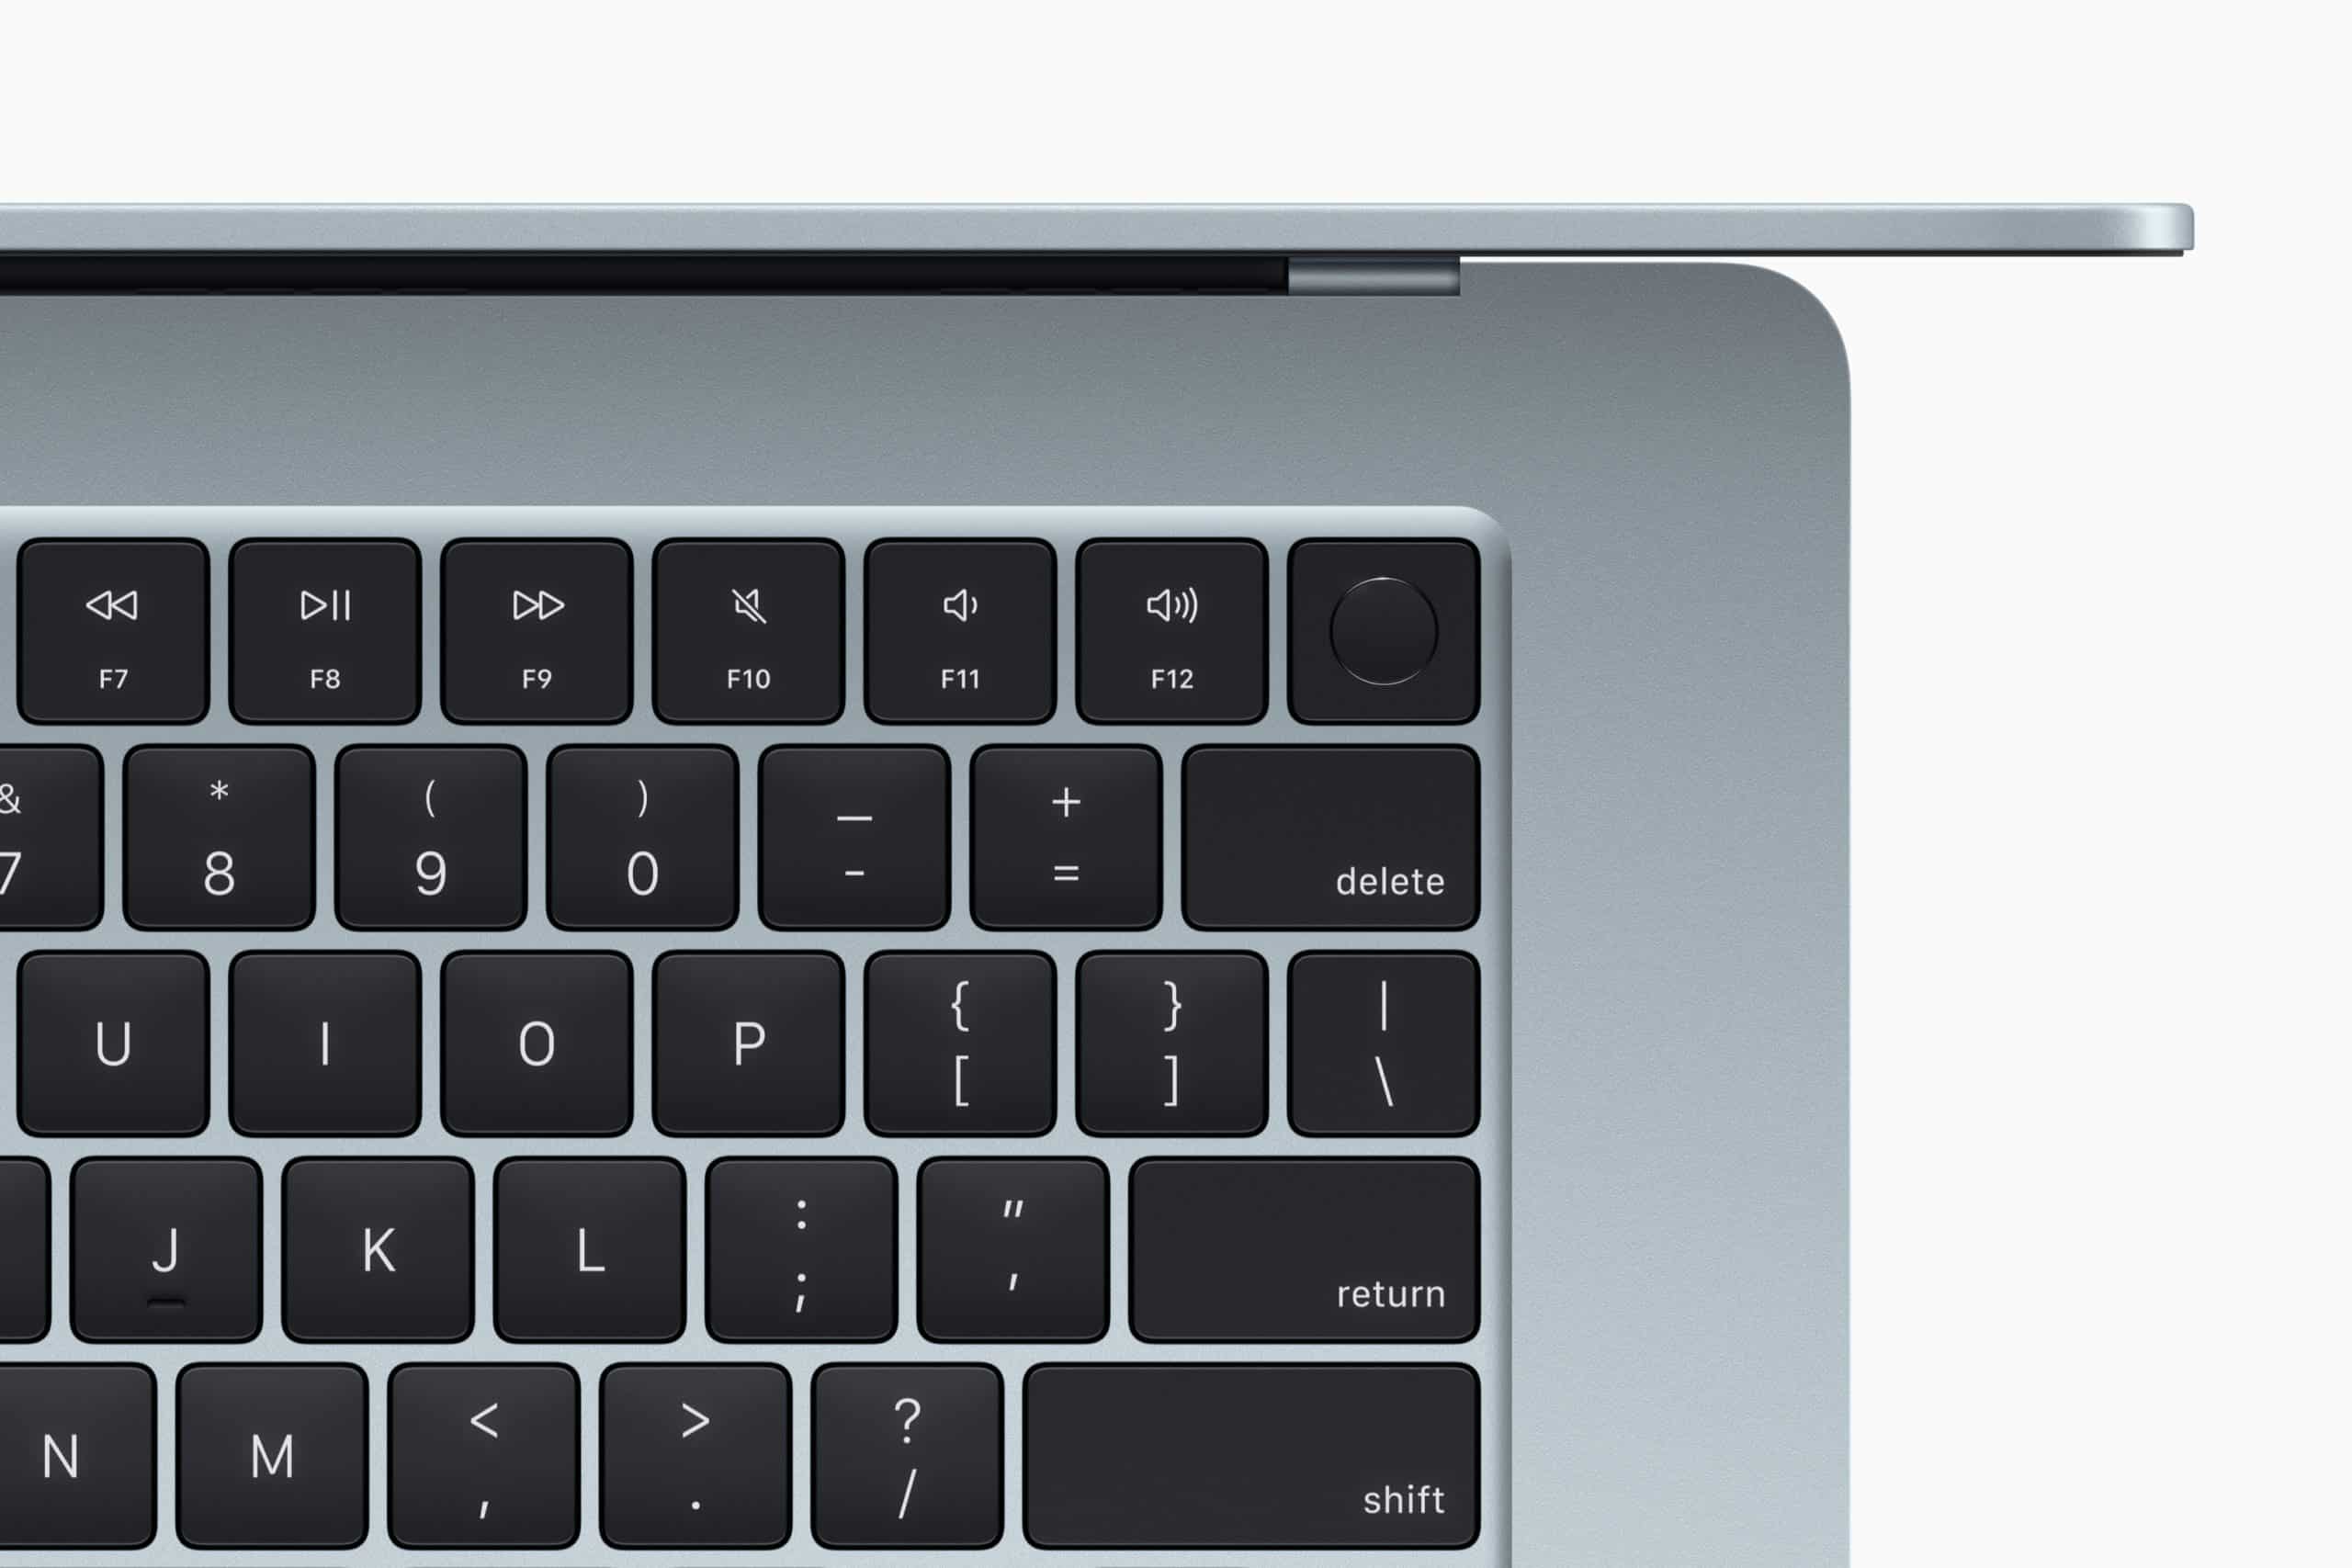
- Try Safe mode: Hold down the Shift key while you are turning on your Mac. This will help you enter Safe mode, which can help you access and back up your files before the system crashes again.
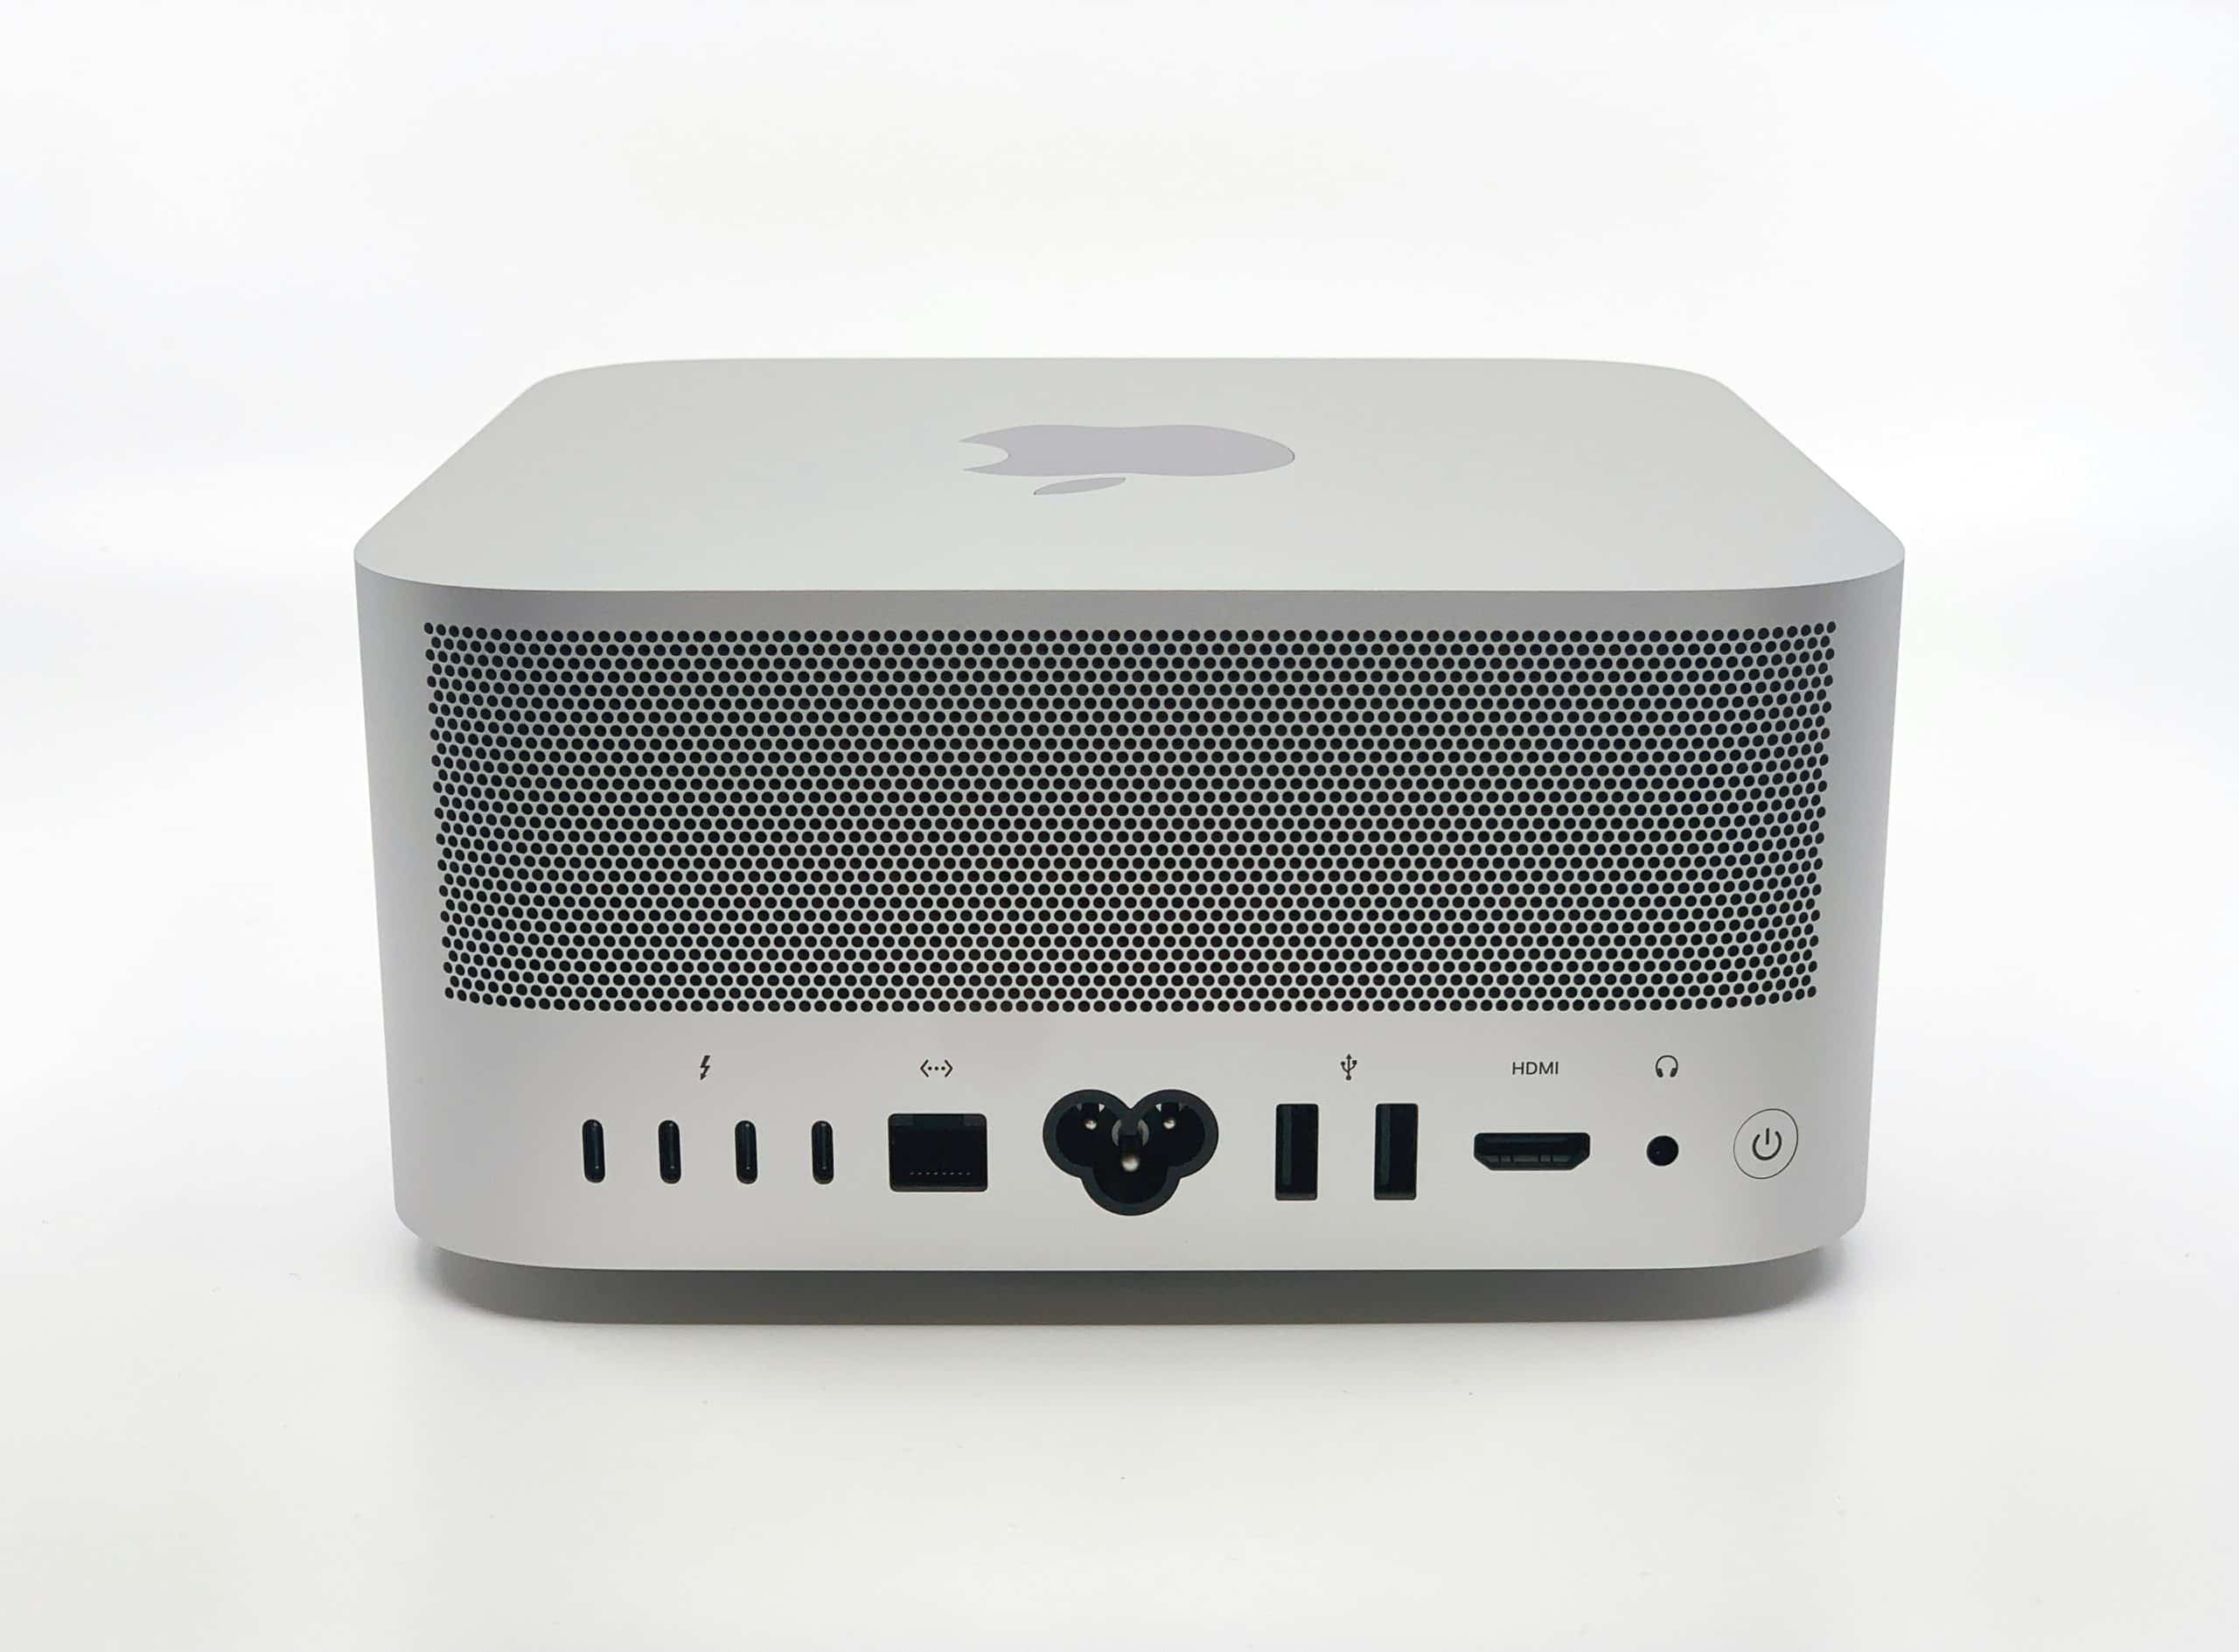
- Check for power issues: If your Mac will not turn on at all, check if the power cable and battery are functioning properly.
If none of these quick fixes work, it is time to try other methods.
2. Use Target Disk Mode (for Intel Macs)
Target Disk Mode lets you access your drive as an external disk when you are connected to another Mac. Here’s how to do it:
- Find another working Mac and a USB-C cable.
- Connect the two computers.
- Restart your Mac (the one whose data you need to recover), and then hold down the T key while it boots.
- If it is a success, your crashed Mac’s drive will appear as an external disk on the working Mac.
- Copy all of your important files to the working Mac.

3. Use Mac Sharing Mode (On Apple Silicon Macs)
If your Mac has an Apple Silicon chip (M1, M2, or other), you will not have Target Disk Mode, but you can use Mac Sharing Mode instead. The process looks like this:
- Connect your Mac to another computer with a USB, USB-C, or Thunderbolt cable.
- Shut down your Mac.
- Press and hold the Power Button until you see “Loading startup options” on your screen.
- Click Options and enter macOS Recovery.
- In macOS Utilities, go to Utilities > Share Disk.
- Select the startup disk and click Start Sharing.
- You can then access these files from your second (working) computer by going to Finder > Location > Network. Then click on the source Mac’s drive and select Connect > Guest > Connect.
4. Use macOS Recovery Mode
Apple has a recovery option so that you can fix any problems you may have, even when you cannot boot your computer. Here are the steps:
- Shut down your Mac.
- Turn it back on while holding:
- Command (⌘) + R (for Intel Macs)
- Power button until “Loading startup options” appears on the screen, then select Options > Continue (for Apple Silicon Macs).
- Once in the macOS Utilities, choose Disk Utility> First Aid and run it on Macintosh HD. Your hard drive should appear on the left.
- If you can access your Mac, backup your important files as soon as you can.
5. Use Time Machine Backup (If You Have It)
If you have already been using Time Machine, you are in luck. It can help you restore your missing files. Try this:
- Plug the Time Machine backup drive into your computer.
- Log into macOS Recovery Mode (see above).
- Select Restore from Time Machine Backup.
- You will see a list of files. Just click on the ones you want to restore and hit Continue.
- Also, you will have to select where you want to save this data.

6. Use Data Recovery Software
If these methods don’t work, you can always use third-party software. Here are a few popular options:
- Disk Drill is beginner-friendly, and a free scan is available. You can also run it directly from recovery mode (you don’t have to install it).
- EaseUS Data Recovery Wizard: This software can help you restore your hard drive data in just three steps (and it can support over 1000 file types), so it’s a good option.
- Stellar Data Recovery is very effective and works with Mac computers powered with M4 chips.
7. Boot From an External Drive
If your Mac will not start normally, you can try booting from an external drive:
- Use another Mac to create a bootable macOS installer on a USB drive.
- Plug the USB into your crashed Mac.
- Restart your computer and hold the Option (⌥) key while it starts.
- Select the USB drive as the startup disk.
- When macOS loads, copy all of your important files to somewhere safe.
8. Take It to a Professional
If none of this helps, you may need to get professional help. Experienced techs can retrieve files from your hard drive, even if the damage is more serious.
A great way to find high-quality computer help in your area is using a local classifieds site like Locanto. When you find a good listing for a computer repair tech, take a look at the reviews they have. If they have a decent number of positive comments from prior customers, it’s a good indicator that they’ll be able to help you with your Mac.
Common Error Messages and What They Mean
The error messages that show up on your screen provide clues about what’s happening with your Mac and what the underlying problem is. Here are some common ones:
“Your computer restarted because of a problem.”
This usually indicates a kernel panic (system crash), which is often the result of software issues. Try booting into Safe Mode or using Disk Utility in Recovery Mode.
“macOS could not be installed on your computer.”
This can appear if your disk is corrupted or when it does not have enough space. You can use Disk Utility to fix this.
When you see a folder with a question mark
This means that your Mac cannot find the startup disk. Boot into Recovery Mode and see if your disk appears in Disk Utility.
When you see a spinning beach ball or a frozen screen
This can mean your drive is failing. You can try accessing your files by using Target Disk Mode or booting from an external drive.
How to Prevent Losing Your Data Again
After you get your files back, the first thing you probably want to do is make sure this never happens again. Here are some safeguards you can explore:
- Back up your Mac: Time Machine or an external hard drive can keep copies of all of your important files. A simple routine backup can save you from losing all of your data if your computer crashes.
- Consider using cloud storage: Google Drive and Dropbox can give you more protection and help you access your files from anywhere. If your Mac crashes, you can retrieve your documents easily (you just log in), so this is always a good option.
- Keep your Mac’s health in check: Check Disk Utility once in a while to find and fix errors early on. Updating your Mac regularly helps you make sure that you have the latest security patches and improvements.
- Be careful with third-party apps: Poorly optimized or malicious apps can cause your system to crash. Only install software from trusted sources like the Mac App Store or official websites.
- Watch your storage space: Running out of storage can slow down your Mac and cause crashes. That’s why it’s a good habit to regularly delete junk files and things you don’t need and make sure that there is always at least 10–15% of free space on your startup disk.
Wrapping It Up
We get it—losing access to your Mac can be stressful. But with the right tools and a little patience, you can get your files back. First, make sure it is not a minor issue before moving on to bigger issues. Then, check if a more complicated fix, like recovery mode or using an external drive, can help.

Finally, consider seeking out professional help and taking measures to keep your data safer in the future. When your data is important and irreplaceable, it’s better to be safe than sorry.


