Nobody would argue with the fact that MacBooks designed by Apple are reliable. But in most cases, there is no connection between the quality of the device and the loss of files. Even if you check SSD health regularly and take care of your Mac the right way, sooner or later, most MacBook users ask, “How to recover deleted MacBook files?” Check the effective ways on how to recover deleted files from a Macbook with M1 Chip. Find the one that will work best for you.
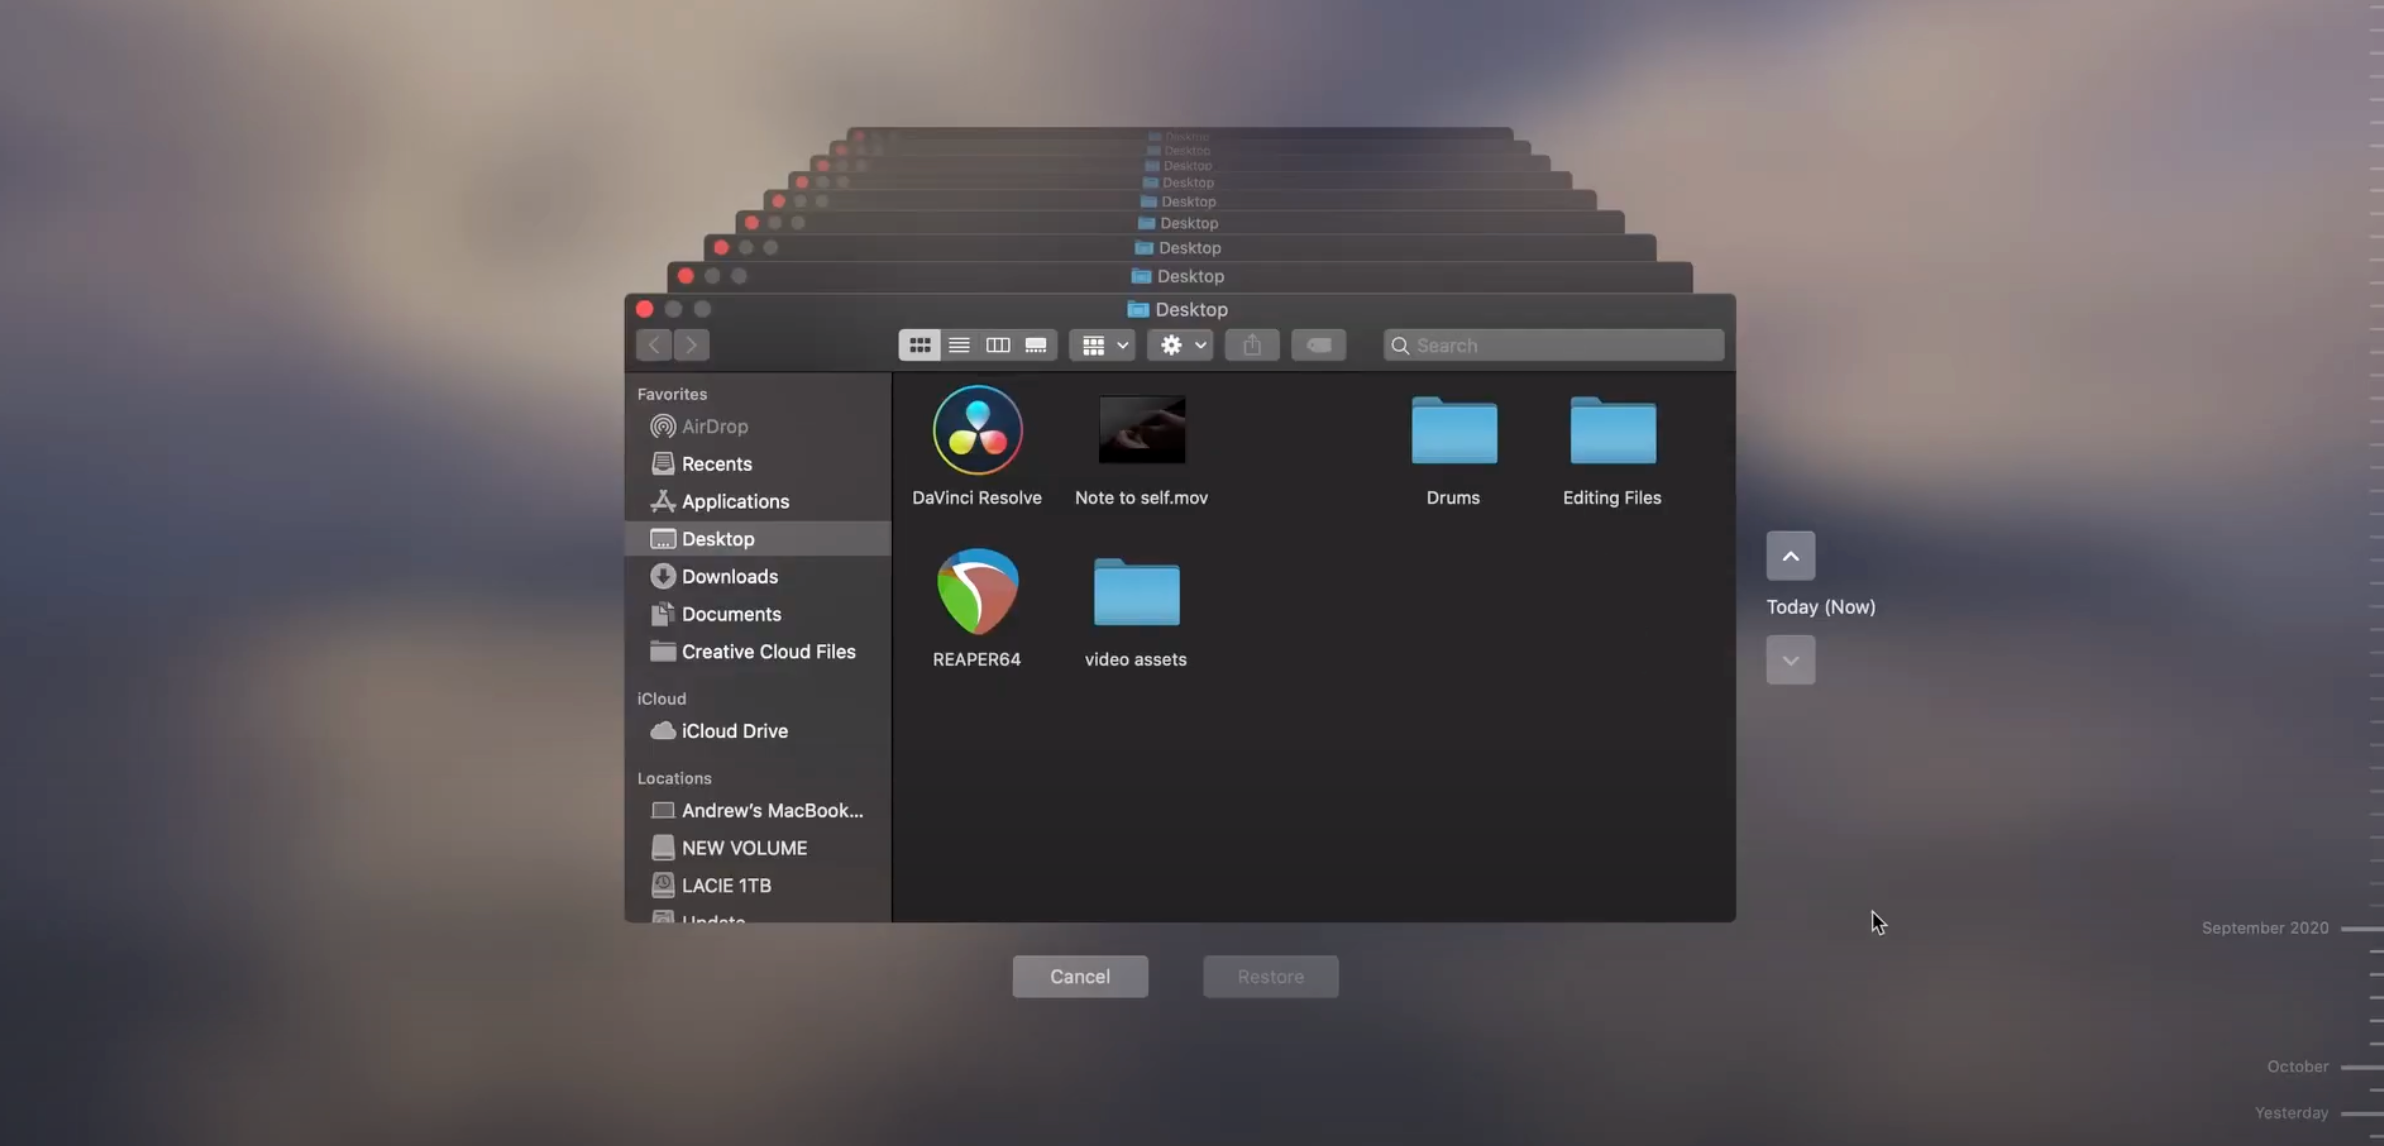
Method 1: Use Time Machine
Who told you that you couldn’t go back in time? You can do this easily using Time Machine from Apple. Using the backup software app, you have a good chance to recover the files you have deleted from your Mac. How to do this? Check simple steps below:
- First, you need to restart your Mac;
- Choose the option “Restore” from Time Machine;
- Before you continue, check the information about MacBook pro data recovery;
- Choose the disk where your backup software app is and proceed to the following step;
- Choose the backup you’d like to restore and start the process.

How much time does it take to restore files using this method? It depends on the size of your hard drive.
Method 2: Use a professional data recovery tool
If the previous method hasn’t shown the necessary result, you should use this one. Disk Drill is a user-friendly tool that can recover deleted files from M1 Macbook quickly and effectively. To get started, you need to enter the official site and download the software. The process of installation will take you several minutes.

Everyone can download the tool and preview files without any payment. A paid version of the program has unlimited possibilities and is very helpful for unexpected information loss.
What should you do after the installation? Follow the instructions below to get back the data you have lost.
- Plugin the empty flash drive and open the program
- Enter the top menu and choose Boot drive
- Look for the Recovery partition. It should be used as a Source
- Create the Boot option near the drive you need. Remember that the files on the drive will be lost
- Restart computer. Click on the Boot flash drive
- Choose Disk Drill recovery tool
- Press “Recover” (it should be near your hard drive)
- Disk Drill will conduct the analysis and provide you with a chance to select files for the recovery.
- Have a look at the files and choose those you want to get back
- Choose the location where you want to store files and start the recovery process
Disk Drill will help you deal even with the most complicated case. You can rely on this software whenever you lose information accidentally, due to a virus attack, or other issues.
Method 3: Check your backup or cloud storage
Every computer user is familiar with Dropbox and Google Drive. It isn’t surprising as it is a convenient and easy way to get back data from any computer. For this, you need to enter your personal account and recover files in just one click.
There is a possibility to use the backup option in Disk Drill. If you want to restore files from the backup image, you should open it and mount it on your computer.
Have you done like this but didn’t get the desired result? Don’t worry. You can use Disk Drill, choose the backup feature, and select the non-mountable image. The next step is to click on “Attach” and restore the files you’ve lost.
Hope, these methods will help you get back important files without any hassle. But you should keep in mind that every Mac user can face a challenging situation when the hard drive is dead. What to do in this case? Even if you need to recover some data from the crashed hard drive of your MacBook, don’t start panicking. Disk Drill software that has been described in this article will help you deal with such a complex case on a professional level.


