
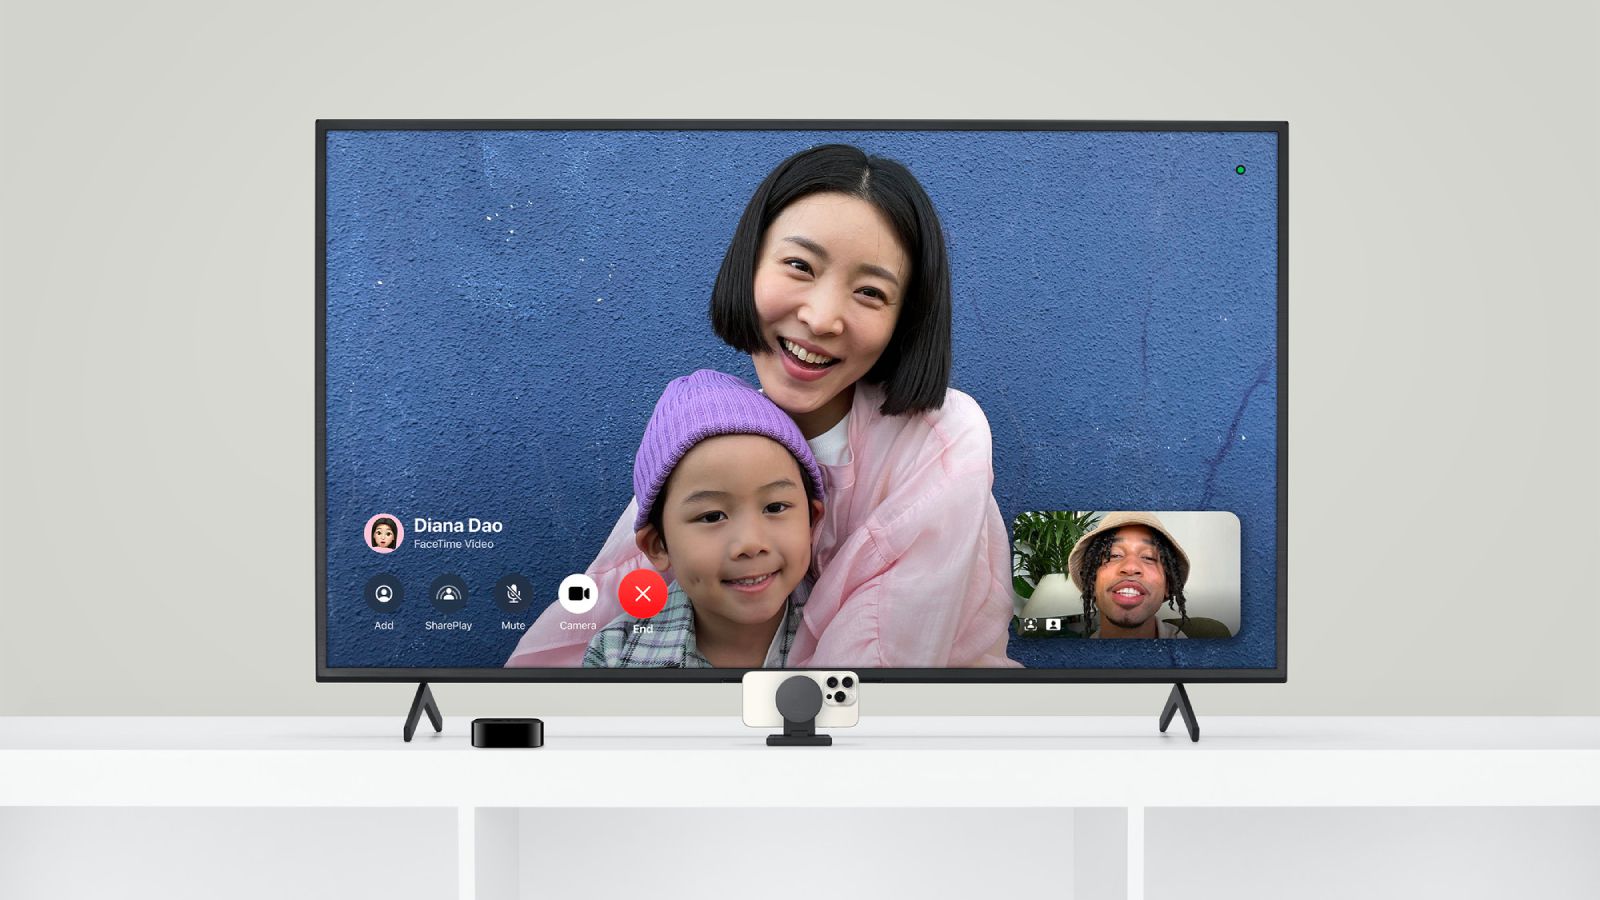
FaceTime offers a seamless way to share your screen during video or audio calls, perfect for personal or professional use, like reviewing a document or guiding a friend through a task. To share your screen, start a FaceTime call on your Mac running macOS Monterey 12.1 or later. Open the app or document you want to share, then click the FaceTime icon in the menu bar (a video camera in a green rectangle). Select the SharePlay icon, then choose “Share Entire Screen” to display everything or “Share This Window” for a specific app window. To stop sharing, click the FaceTime icon again and select “Stop Sharing.” For best results, ensure a stable internet connection and close unnecessary apps to avoid sharing sensitive content.
Using Messages for Screen Sharing
The Messages app provides a simple way to share your screen with another Mac user via iMessage, ideal for quick tech support or collaboration. Open Messages, select a conversation with the recipient, and click the “i” icon in the top-right corner. Choose “Share My Screen” to initiate sharing, which automatically starts an audio call for real-time discussion. The recipient can view or even control your screen if you grant permission, but only allow trusted individuals, as they can open apps or edit files. To end the session, click the screen-sharing icon in the menu bar and select “Stop Sharing.” Ensure both Macs are on the same network and have Messages signed in with an Apple ID.
Screen Sharing with Zoom
Zoom remains a go-to for professional video calls, offering robust screen-sharing options. Join or start a Zoom meeting, then click the “Share Screen” button at the bottom of the window. You can share your entire screen, a specific app window, or a portion of your screen. For Apple Silicon Macs running macOS Sonoma 14 or later, select “High Performance” for smoother visuals. Adjust resolution and frame rate for optimal performance, then click “Share.” Zoom also allows annotations during sharing, which is great for presentations. To stop, click “Stop Share” in the Zoom toolbar. Tidy your desktop beforehand to avoid showing clutter, and mute notifications for privacy.
Screen Sharing on Discord
Discord is popular for gaming and community calls, with flexible screen-sharing features. Join a voice channel or start a direct message call, then click the “Screen Share” icon (a monitor with an arrow) above your username. Choose to share your entire screen or a specific app window, then select your preferred resolution and frame rate—up to 720p/30fps for free users or 4K/60fps for Nitro subscribers. Click “Go Live” to start sharing. To switch apps mid-stream, select “Change Window.” End the session by clicking “Stop Streaming.” Note that audio sharing is supported on macOS but may require additional setup for certain apps.
Tips for Effective Screen Sharing
Before sharing, clean up your desktop to avoid displaying sensitive files or notifications. Use Finder’s “View > Clean Up” to organize files or apps like PliimPRO to hide icons and mute notifications with one click. Ensure a strong internet connection to prevent lag, and close unnecessary apps to optimize performance. For presentations, use full-screen mode to make content clearer, and use your cursor to highlight key points. If sharing with untrusted users, avoid granting control to protect your data. For asynchronous sharing, record your screen with QuickTime Player (Shift + Command + 5) and share the file via Messages or iCloud Drive.
Why It Matters
Screen sharing on macOS enhances collaboration by making it easy to demonstrate ideas, troubleshoot issues, or share content in real time. Apple’s native tools like FaceTime and Messages integrate seamlessly with the ecosystem, while Zoom and Discord offer flexibility for broader use cases. As video calls remain a staple in 2025, these tools empower users to connect meaningfully, whether for work or personal projects. Mastering these features ensures you can share content efficiently while keeping your desktop professional and secure.


