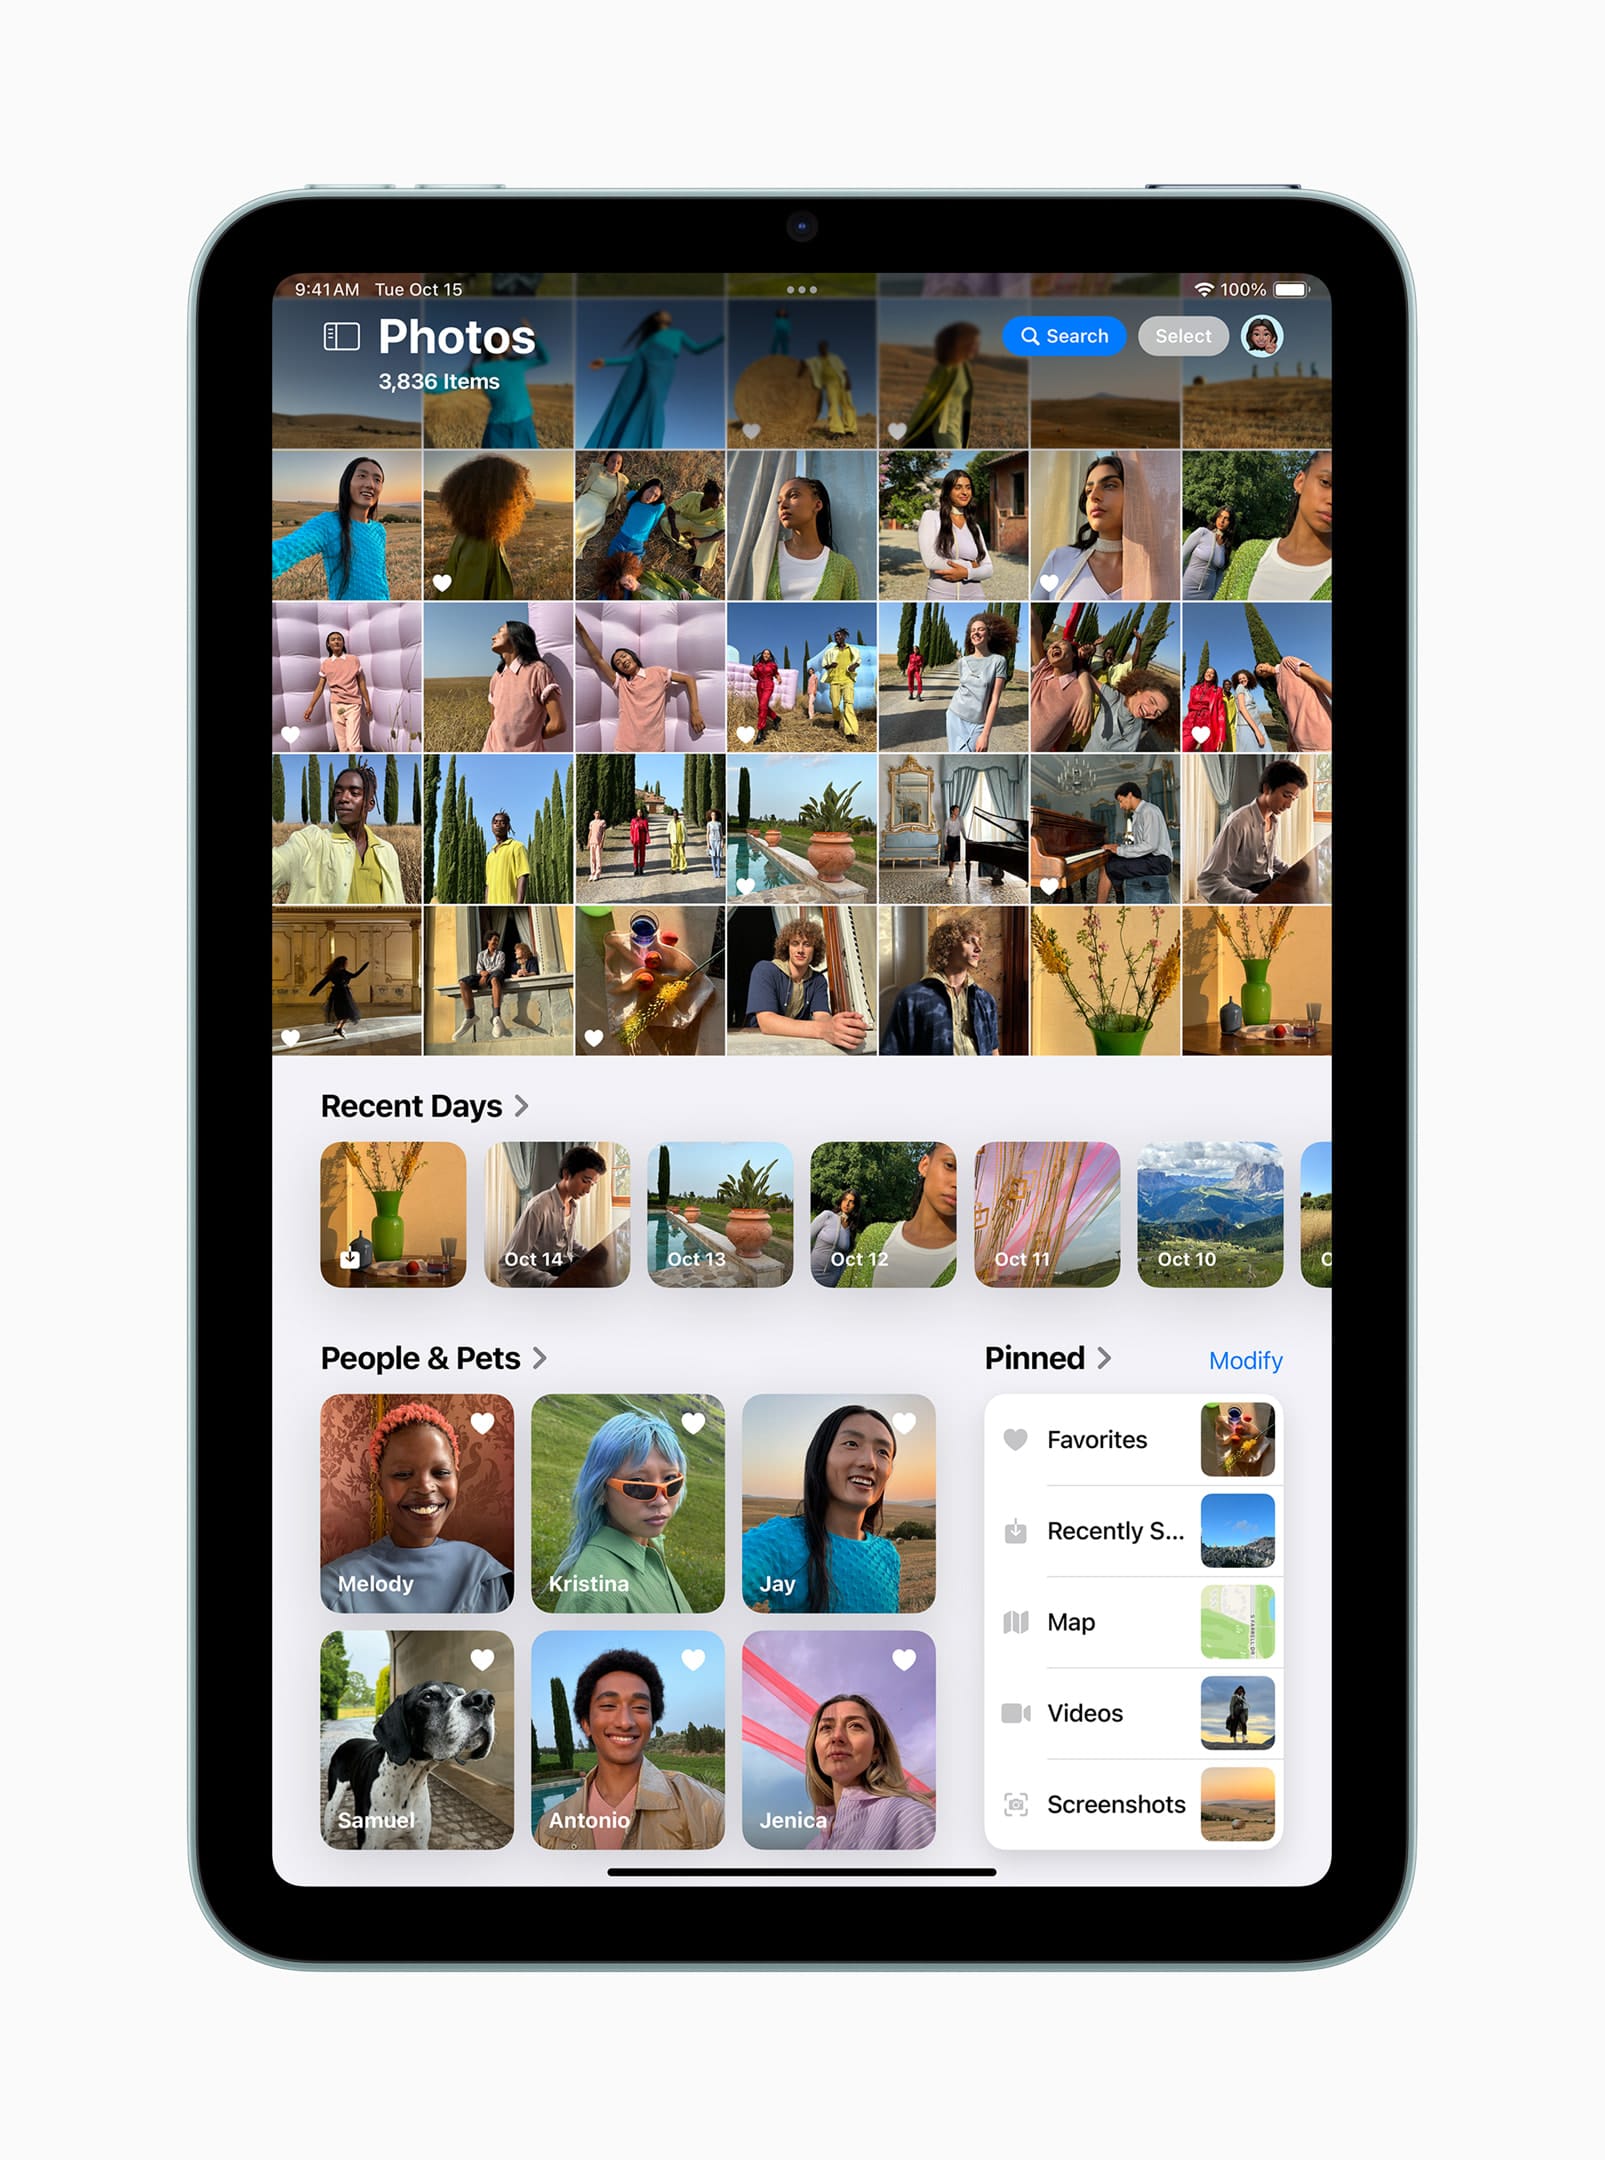
Enhanced Visual Search uses machine learning and Apple’s on-device AI to scan and categorize photos. This allows users to quickly identify objects, text, and even locations without manually tagging their images.
Although this feature processes images locally on the device, some users may still have concerns about privacy, especially if they store sensitive or personal images in their Photos app. Disabling it ensures that no automatic image recognition takes place.
For older iPhone and iPad models, enabling Enhanced Visual Search may consume additional processing power and battery life. Disabling it can help improve performance for those who notice slowdowns. If you’re looking to further optimize your device, managing and clearing your storage can also make a big difference—consider exploring techniques to free up space and keep your iPhone running smoothly.

Steps to Disable Enhanced Visual Search for Photos
Turning off Enhanced Visual Search for Photos on iPhone or iPad is a straightforward process. Follow these steps:
Step 1: Open the Settings App
- Unlock your iPhone or iPad.
- Navigate to the Settings app.
Step 2: Access the Photos Settings
- Scroll down and tap Photos.
- Look for the Visual Search option under the Photos settings.
Step 3: Toggle Off Visual Search
- Locate the Enhanced Visual Search option.
- Toggle the switch to the Off position.
Once disabled, your iPhone or iPad will stop automatically analyzing and categorizing images using AI.
How Disabling Enhanced Visual Search Affects Your Device
1. Search and Recognition Capabilities
Disabling this feature will prevent your device from recognizing objects, landmarks, and text within photos. As a result, searches for specific content like “dog” or “Eiffel Tower” may not yield the same results.
2. Battery Life and Performance
Some users may experience a slight improvement in battery life and overall system performance, especially if using an older device. Without continuous background scanning, the Photos app may run more efficiently.
3. Manual Organization Required
If you disable Enhanced Visual Search, you may need to rely more on manually organizing your photos with albums, keywords, and tags to locate specific images quickly.
Should You Disable Enhanced Visual Search?
Whether you should turn off Enhanced Visual Search for Photos on iPhone or iPad depends on your personal preferences and needs. Here are some scenarios to consider:
Reasons to Keep It Enabled
- You frequently search for specific objects, landmarks, or text in your photos.
- You use features like Live Text to extract information from images.
- You don’t experience performance issues with your device.
Reasons to Disable It
- You have privacy concerns about automatic image analysis.
- You own an older iPhone or iPad and want to improve battery life.
- You prefer manual organization and don’t need AI-based search tools.
Alternative Ways to Manage Your Photos
If you choose to disable Enhanced Visual Search for Photos on iPhone or iPad, there are still several ways to manage your photo library effectively:
1. Use Manual Albums and Tags
Create specific albums and use keywords in photo descriptions to categorize images for easy searching.
2. Take Advantage of iCloud Photos
By enabling iCloud Photos, you can store and organize your images across all Apple devices, making them easily accessible without the need for on-device AI processing.
3. Try Third-Party Photo Management Apps
Several third-party apps, such as Google Photos, offer alternative ways to search and organize your photo collection with or without AI assistance.
Apple’s AI-driven features continue to enhance the user experience, but they’re not for everyone. By following the steps outlined in this guide, you can disable Enhanced Visual Search for Photos on iPhone or iPad and regain control over how your photos are processed and searched.
Whether you prioritize privacy, performance, or manual organization, Apple provides the flexibility to customize your experience based on your needs. If you ever decide to re-enable the feature, you can easily do so by revisiting the Photos settings.


