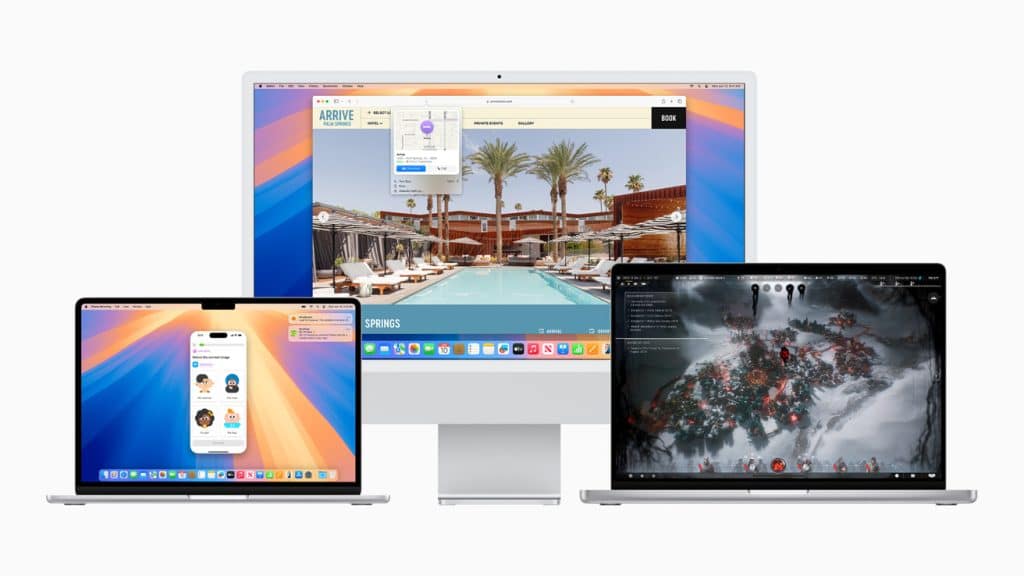
Each macOS version has specific hardware requirements. For example, macOS Ventura supports Macs from 2017 onward, while macOS Sequoia extends compatibility only to models released from 2018. This leaves older Macs unable to officially run these systems. However, third-party tools like OpenCore Legacy Patcher bypass these restrictions, enabling unsupported devices to install newer macOS versions.
While this approach opens doors to advanced features, it also comes with risks. Users should weigh the benefits against potential challenges before proceeding.
Installing macOS on unsupported hardware involves several potential risks:
- Performance Issues: Older Macs may struggle with newer software, leading to slower performance or system instability.
- Hardware Incompatibility: Components like Wi-Fi adapters, graphics cards, or Touch Bars might not work properly without additional patches.
- Security Concerns: The unofficial installation process might introduce vulnerabilities or leave the system unsupported by future updates.
- Troubleshooting Complexity: Without Apple’s official support, resolving issues requires technical expertise and reliance on community forums.
Understanding these risks is crucial before starting the process.
Preparing for Installation
Preparation is key to a successful installation of macOS on unsupported Macs. Follow these steps:
Step 1: Backup Your Data
Before making any changes, back up all important data using Time Machine or another reliable backup solution. This ensures you can restore your files in case of complications.
Step 2: Confirm Hardware Compatibility
Research your Mac model’s hardware specifications and ensure it can handle the desired macOS version. OpenCore Legacy Patcher’s documentation provides a list of supported devices.
Step 3: Download the Required Tools
- OpenCore Legacy Patcher – Download the latest version from its official GitHub repository.
- macOS Installer – Obtain the macOS installer for the version you want to install, either through the Mac App Store or from Apple’s support site.
Step 4: Create a Bootable USB Installer
Use a USB drive (at least 16GB) to create a bootable installer:
- Format the drive using Disk Utility (select APFS or Mac OS Extended format).
- Use Terminal or OpenCore Legacy Patcher to install the macOS installer onto the USB drive.
Installing macOS on Unsupported Macs
Step 1: Set Up OpenCore Legacy Patcher
- Open the OpenCore Legacy Patcher app and follow the prompts to configure settings for your Mac model.
- Use the app to prepare the bootable USB installer with the macOS version you want to install.
Step 2: Boot from the USB Drive
- Restart your Mac and hold down the Option key during startup.
- Select the USB installer from the startup options.
Step 3: Install macOS
- Follow the on-screen instructions to install macOS onto your Mac.
- During installation, format the target drive if necessary.
Step 4: Apply Post-Installation Patches
Once macOS is installed, use OpenCore Legacy Patcher to apply post-installation patches that ensure compatibility with your Mac’s hardware.
Post-Installation Tips
- Avoid Automatic Updates: Don’t install macOS updates directly from Apple, as they may disrupt compatibility. Use OpenCore Legacy Patcher to safely update the system.
- Optimize Performance: Disable unnecessary visual effects and reduce background processes to improve performance.
- Regular Backups: Maintain regular backups to protect your data in case of system issues.
Benefits of Installing macOS on Unsupported Macs
Despite the challenges, installing macOS on unsupported Macs offers several benefits:
- Extended Device Lifespan: Gain access to the latest features and security updates, prolonging the usability of older hardware.
- Cost Savings: Avoid the expense of purchasing a new Mac by upgrading the software on your existing device.
- Customization: Tailor the system to meet your specific needs, unlocking new functionalities.
Installing macOS on unsupported Macs requires technical expertise and careful consideration, but it’s a viable option for users who want to continue using their legacy devices. Tools like OpenCore Legacy Patcher make the process accessible, allowing older Macs to experience modern macOS versions.
By understanding the risks, preparing thoroughly, and following the correct steps, users can extend the life of their hardware while enjoying the latest advancements in macOS. For enthusiasts and professionals alike, this process is a testament to the versatility of Apple’s devices.
