
Capturing a screenshot on iPad is one of the simplest but most useful features built into iPadOS. Whether you want to save a message, highlight something on a webpage, document a bug, or share part of a presentation, screenshots let you instantly preserve what’s on screen.
What makes the iPad experience especially useful is the built‑in markup system. The moment a screenshot is captured, iPadOS opens editing tools that allow you to draw, highlight, add text, crop the image, or sign documents directly on the screen.
For students, professionals, and creators, screenshots often become a quick communication tool — turning visual information into something you can explain, annotate, and send within seconds.
How to Take a Screenshot on iPad
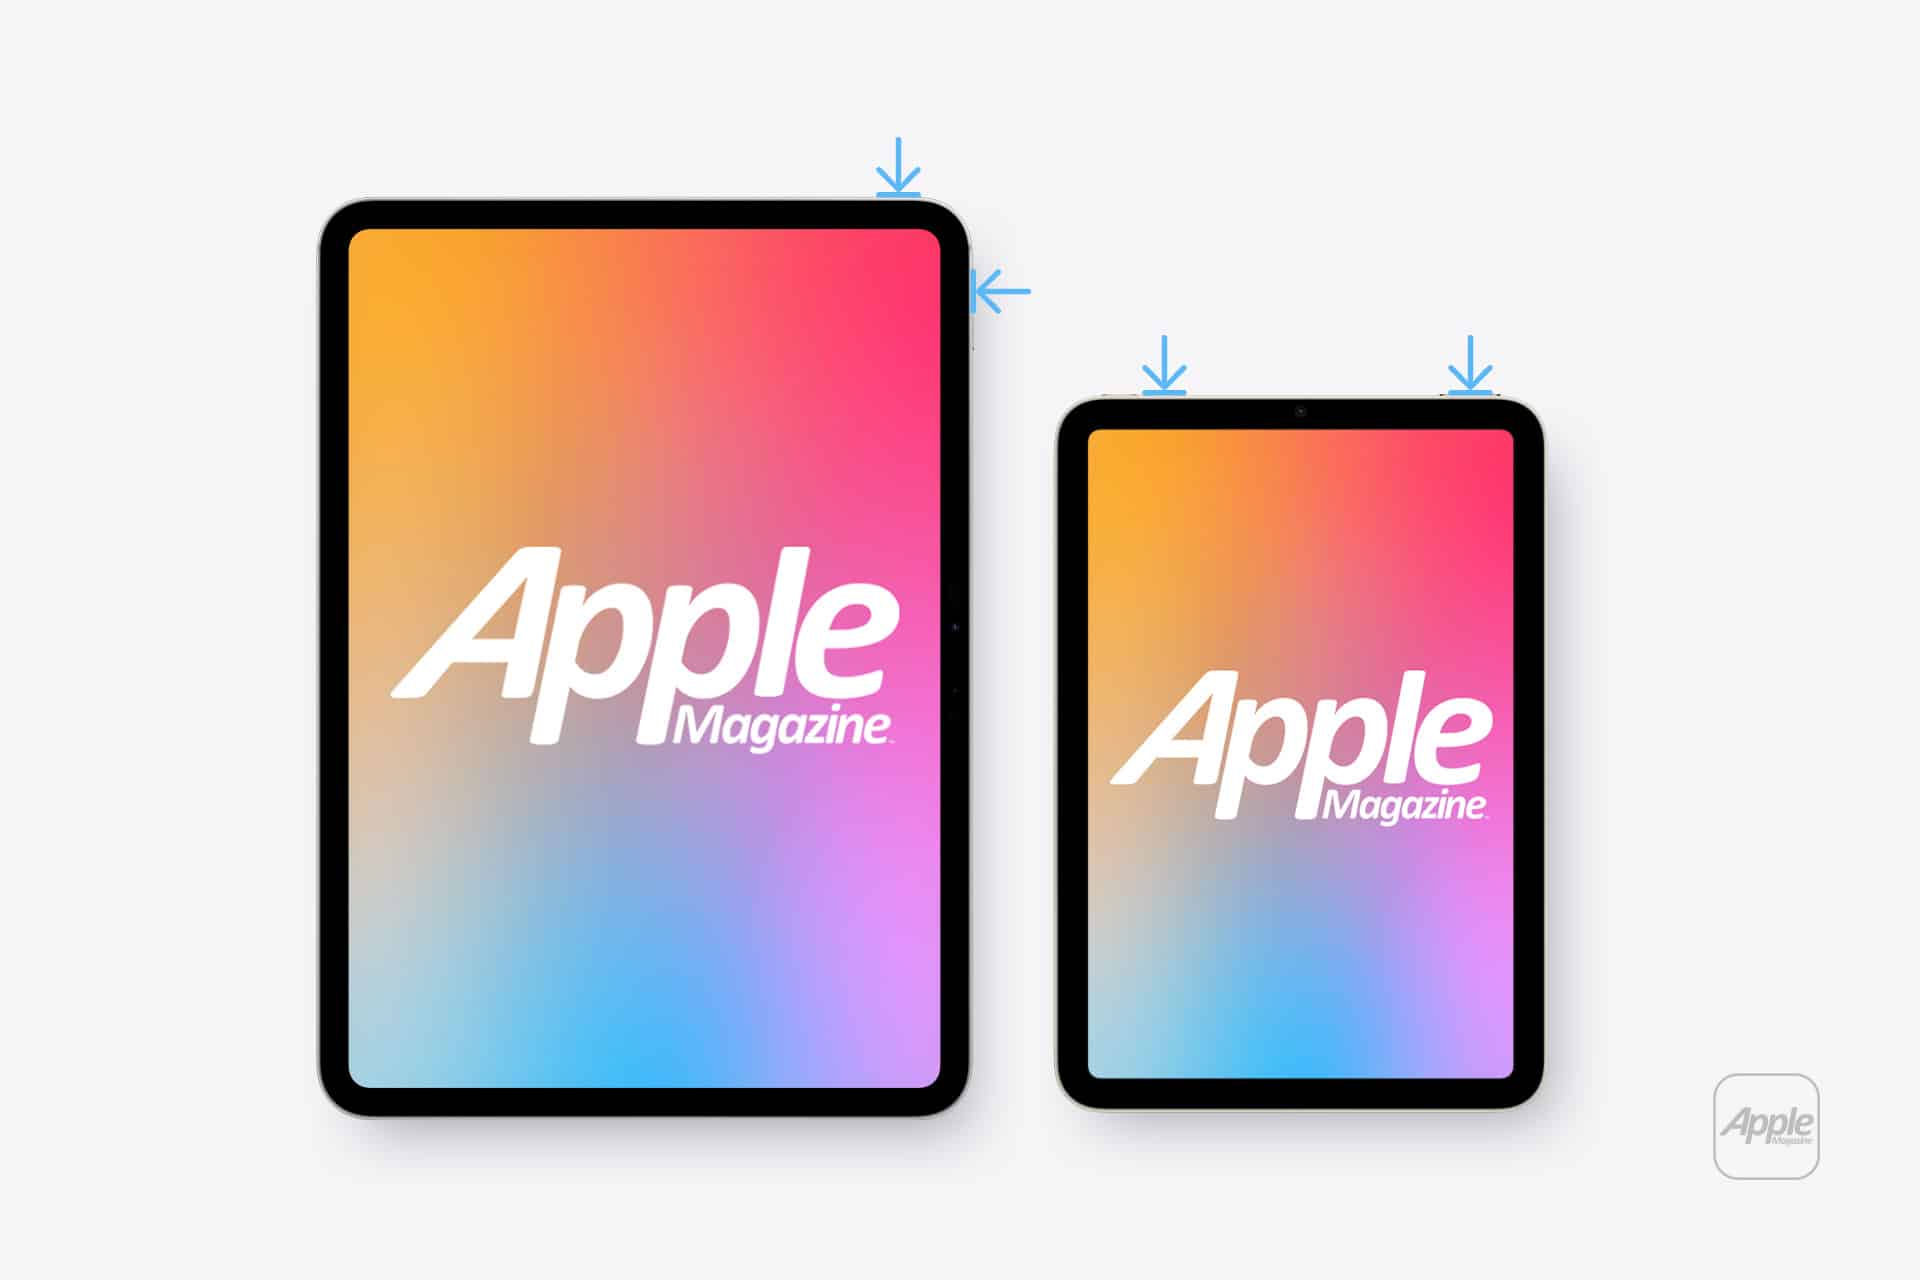
The method depends on whether your iPad has a Home button or uses Face ID.
On modern iPad models without a Home button:
Top Button + Volume Up > Press Both Buttons Quickly
On older models with a Home button:
Top Button + Home Button > Press Both Buttons Quickly
When the screenshot is captured, the screen flashes briefly and a small preview appears in the bottom corner of the display. Tapping that preview opens the editing interface immediately.
If you ignore the preview, the screenshot is automatically saved to the Photos app.

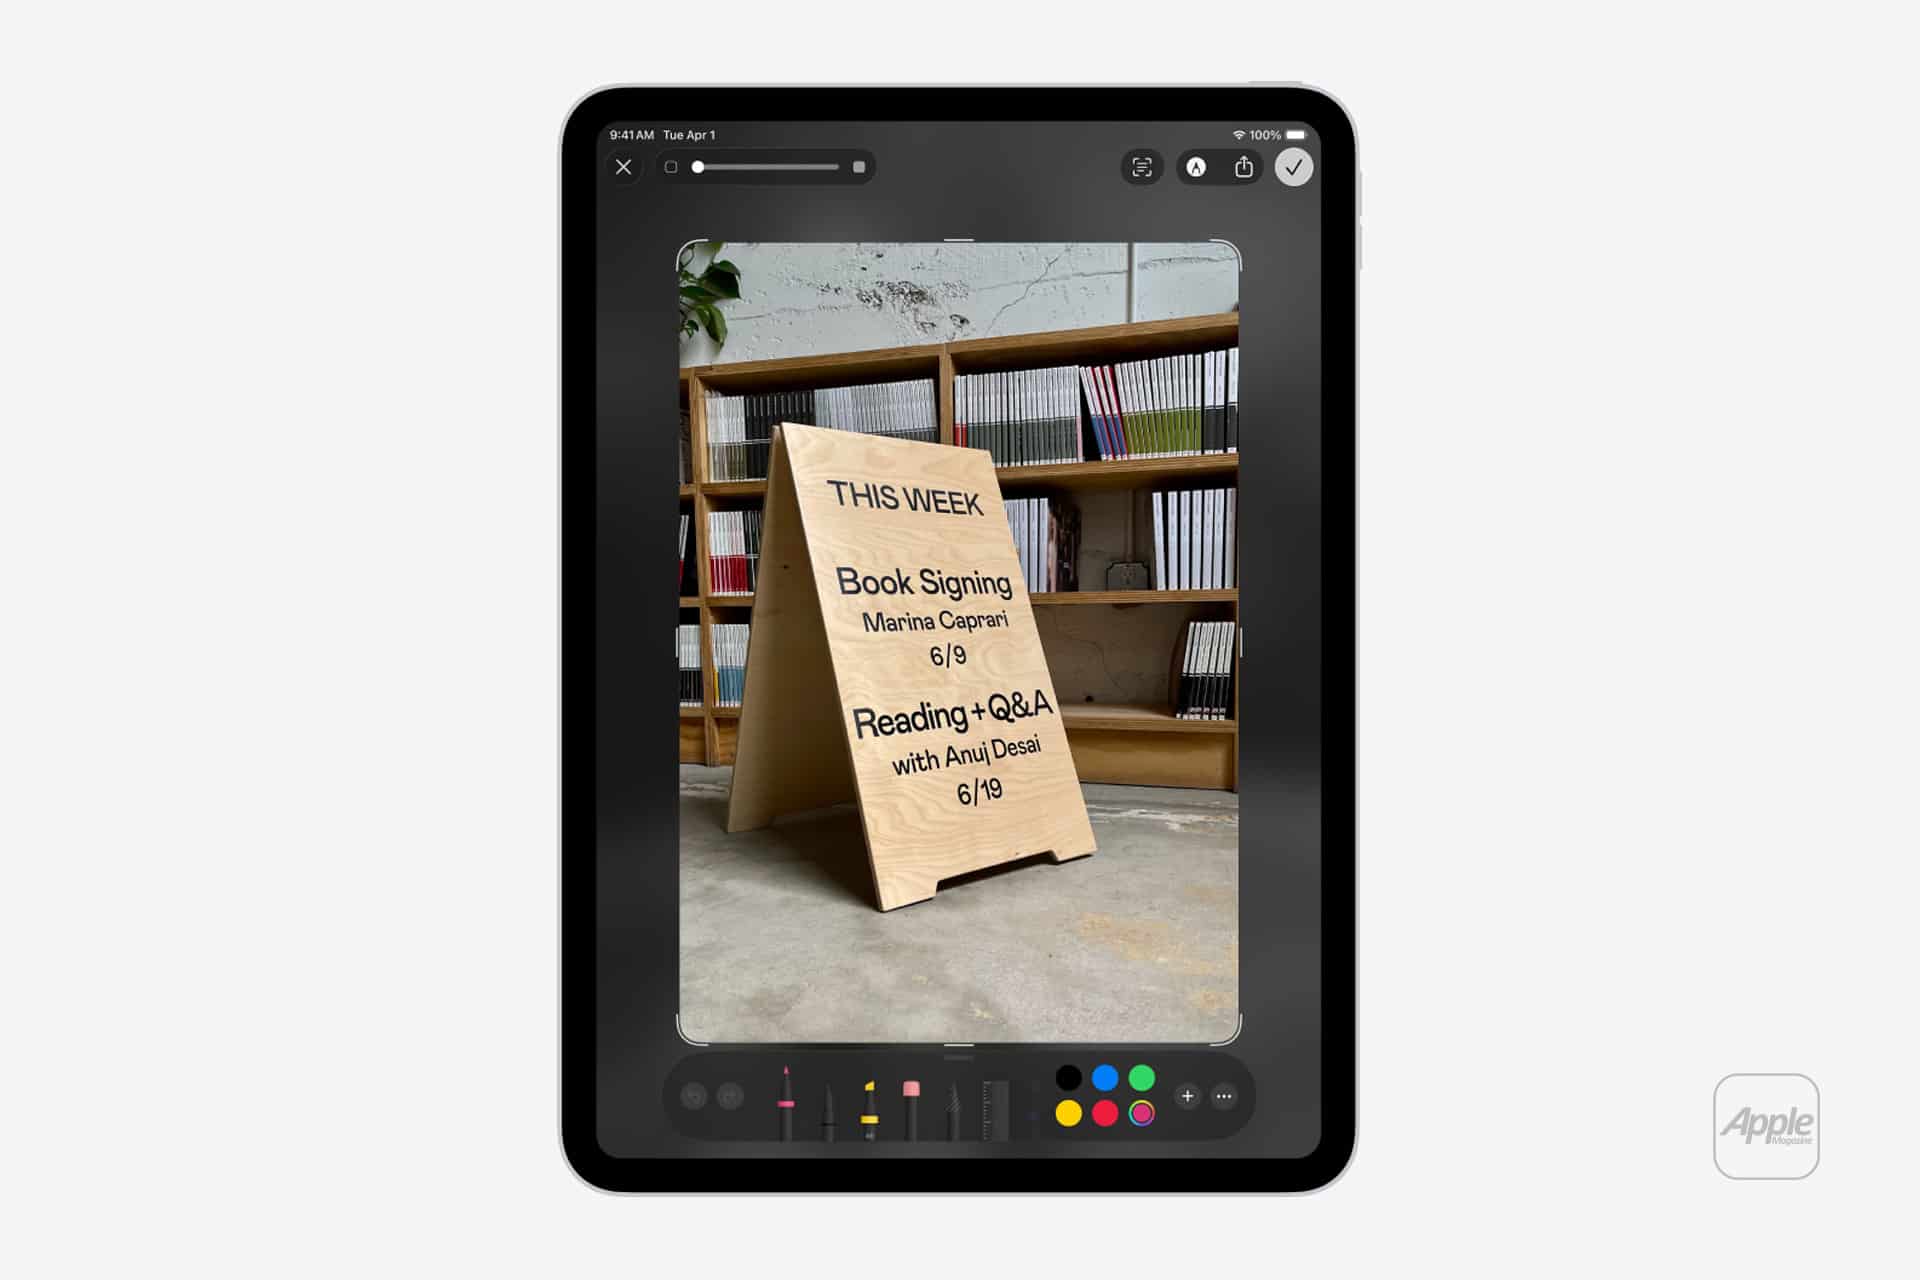
Annotating Screenshots With Markup
The moment you open the screenshot preview, iPadOS launches the Markup editor. This interface includes a set of simple tools designed for quick annotations.
Inside Markup you can:
- Draw with a pen, pencil, or marker
- Highlight parts of the image
- Add text labels
- Insert shapes or arrows
- Sign documents with a digital signature
These tools are especially useful when explaining something visually. For example, teachers marking up learning material, designers giving feedback on layouts, or developers pointing out interface elements often rely on screenshot annotation.
Using Apple Pencil makes the process feel even more natural. You can circle areas, underline text, or sketch notes directly on the captured image as if writing on paper.
Cropping and Adjusting the Screenshot
Sometimes the full screen isn’t necessary. The cropping tool allows you to trim the screenshot to focus only on the important area.
Inside the editing view:
Screenshot Preview > Drag Corners of Image > Adjust Frame
Cropping helps remove distractions and makes the image clearer when sharing instructions or highlighting a specific detail.
For example, instead of sending a full webpage screenshot, you can isolate only the section that matters.
Saving or Sharing the Screenshot
After editing the screenshot, you can save it to Photos or share it immediately through apps such as Messages, Mail, or AirDrop.
To save the edited screenshot:
Tap Done > Save to Photos
To share it right away:
Tap Share Button > Choose App or Contact
This workflow makes screenshots extremely useful in conversations. Instead of describing something in text, you can send a visual explanation instantly.
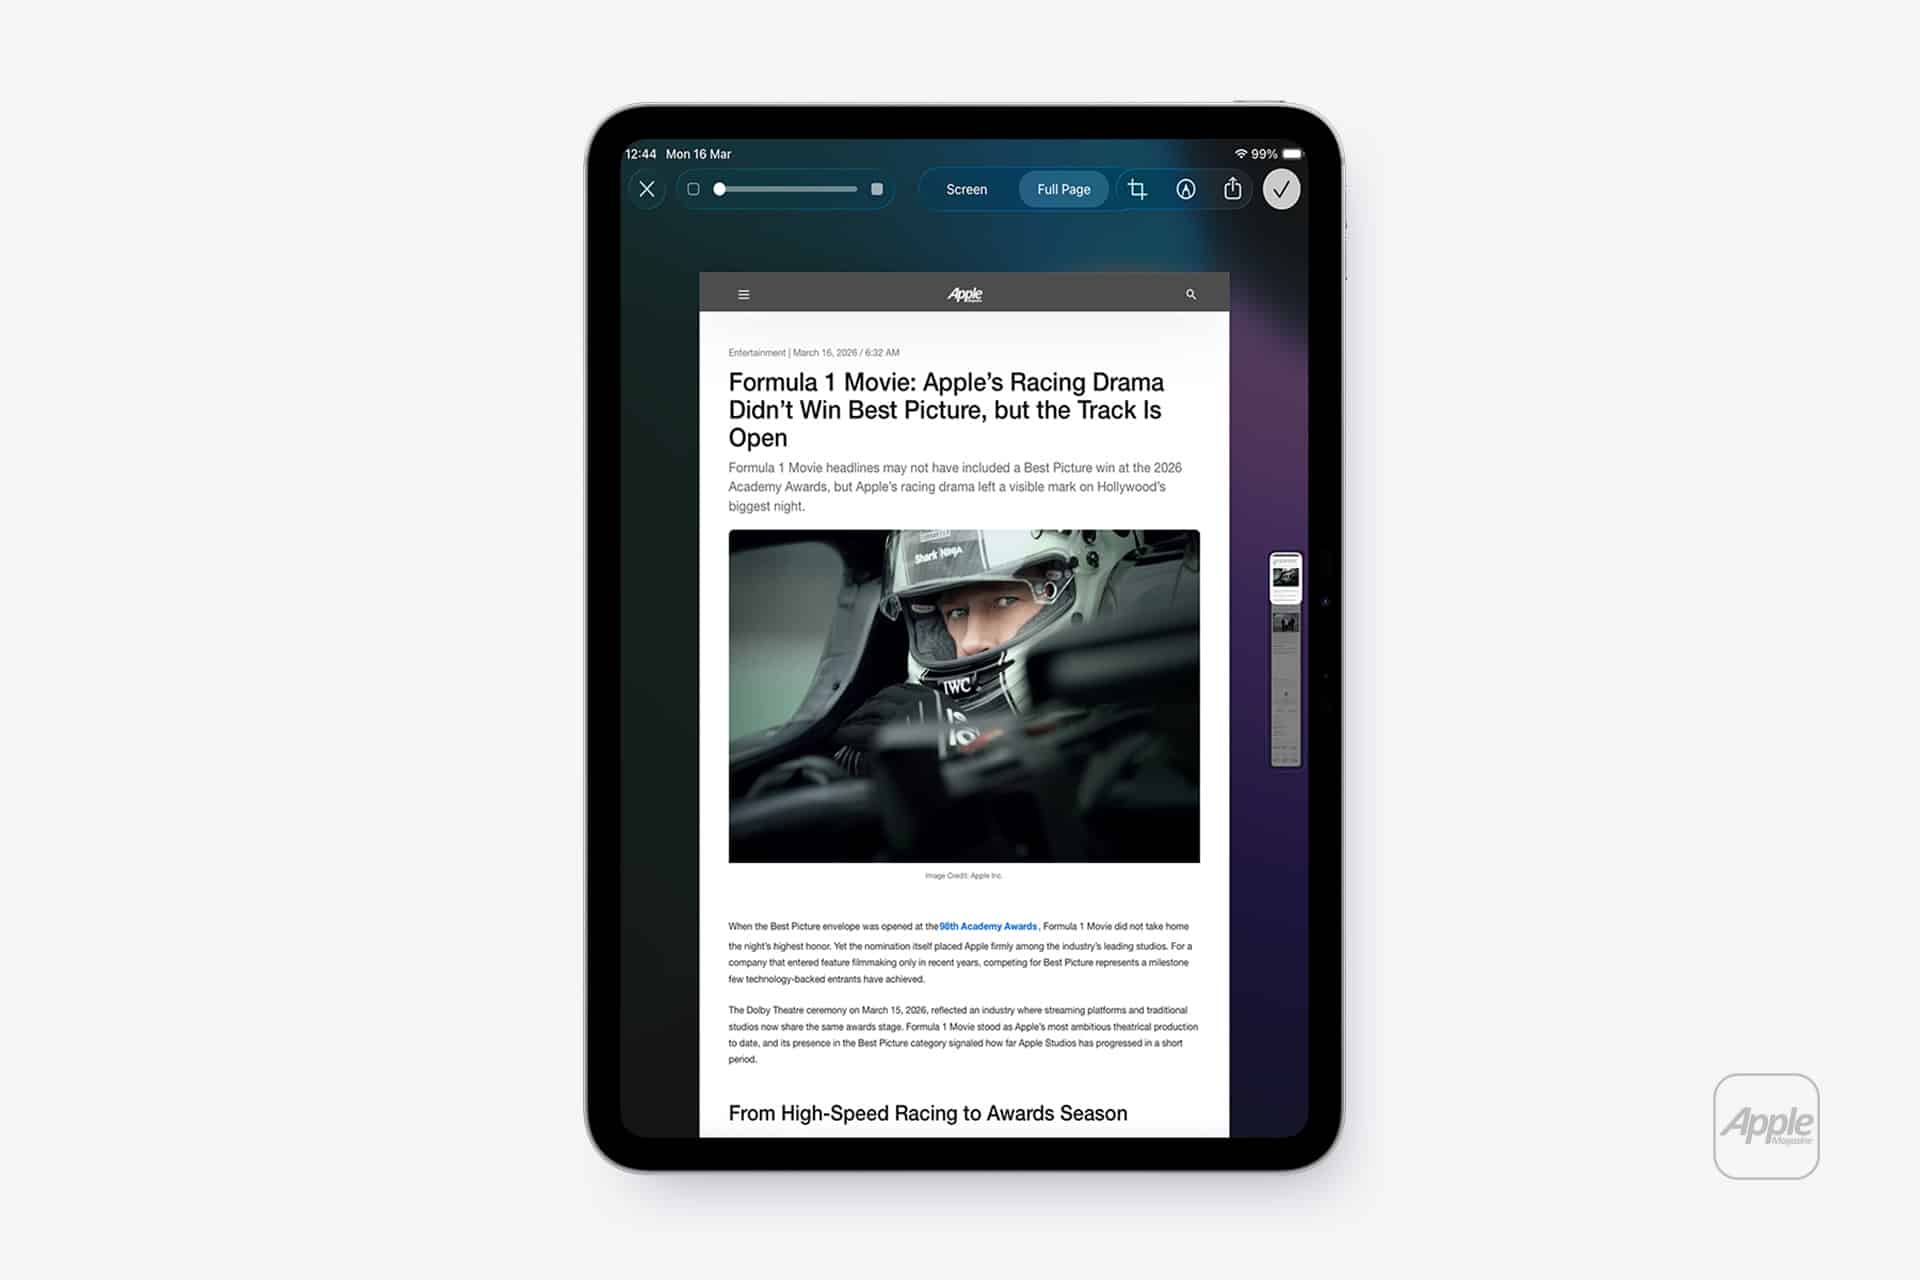
Capturing Full‑Page Screenshots
When capturing content in Safari or supported apps, iPadOS also allows full‑page screenshots. This captures an entire webpage instead of only what’s visible on screen.
After taking a screenshot in Safari:
Screenshot Preview > Full Page
The entire page appears in a scrollable view, allowing you to save the document as a PDF.
This feature is helpful for saving research articles, receipts, documentation pages, or long guides.
Using Screenshots for Productivity
Screenshots on iPad often become part of daily workflows. Students capture lecture slides or research references. Designers document inspiration. Teams share quick visual feedback without needing long explanations.
Because the feature integrates directly with Photos and iCloud, screenshots also remain available across Apple devices.
A screenshot taken on iPad can appear instantly on a Mac or iPhone through the Photos library, making it easy to continue working or sharing from another device.
For many iPad users, screenshots become more than simple screen captures. With markup tools and Apple Pencil support, they turn into quick visual notes — a fast way to communicate ideas, corrections, or instructions in a format everyone understands.