

Backing up photos on an iPhone has become one of the most important habits for Apple users. For many people, the iPhone is the primary camera they use every day. Birthdays, travel moments, family memories, work documents, and creative photography all live inside the Photos app. Losing those files can mean losing years of personal history.
Apple offers several reliable ways to protect those images. Some users rely entirely on iCloud Photos, which keeps images synced across devices automatically. Others prefer local backups using a Mac. Many professionals and photographers combine both methods with external storage for long‑term archives.
Understanding how these options work helps you choose the safest strategy for protecting your photo library.
How iCloud Protects Your iPhone Photos
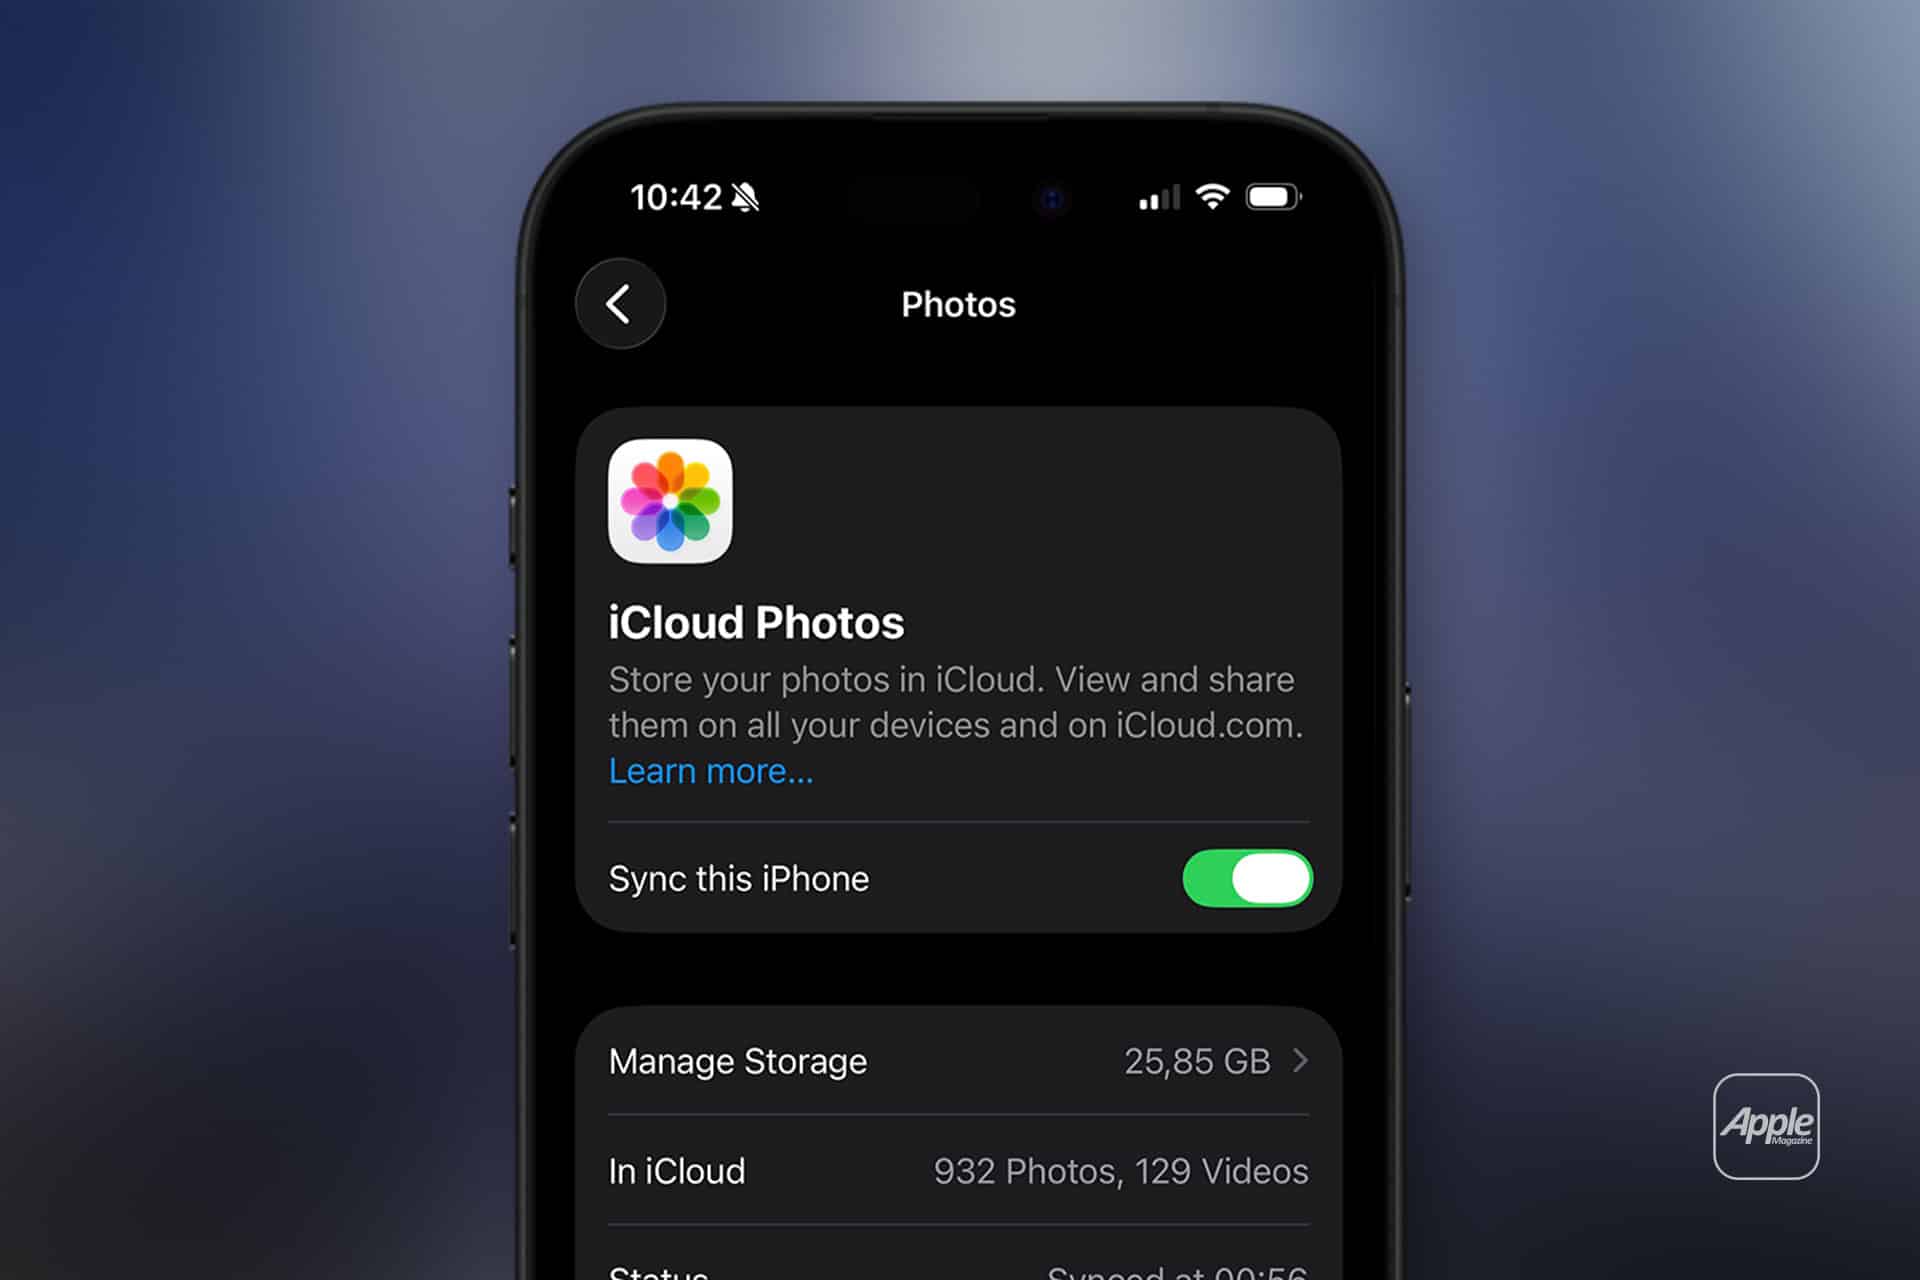
The easiest way to secure your photos is by enabling iCloud Photos. When this feature is active, every photo and video stored on your iPhone uploads automatically to iCloud. The files remain available on your device but also exist safely in Apple’s cloud infrastructure.
This system has two major advantages. First, if your iPhone is lost, damaged, or replaced, your photos remain available when you sign in with your Apple ID. Second, the images sync across your Apple devices automatically, meaning photos captured on iPhone appear instantly on Mac, iPad, and even Apple TV.
To activate iCloud photo backup:
Settings > Apple ID > iCloud > Photos > Turn on iCloud Photos
Once enabled, every new photo you take begins syncing automatically whenever the iPhone connects to Wi‑Fi and power.
Apple also offers storage plans that expand the space available for photo libraries. Many users start with the free tier but eventually upgrade when their libraries grow larger.

Using a Mac for a Local Photo Backup
While iCloud provides continuous protection, many Apple users still prefer keeping a local copy of their photo library on a Mac. This approach creates an additional layer of security because the files exist outside the cloud.
When iPhone photos sync to the Mac Photos app, the library stored on the Mac becomes a full backup of the images.
The process begins by connecting the iPhone to a Mac using a cable or syncing through iCloud Photos. Once the images appear in the Mac Photos library, they can be included in regular Mac backups using Time Machine or other storage methods.
For users managing large libraries, this approach offers peace of mind because the photos remain accessible even if internet access is unavailable.
Many photographers also prefer working with photos on a Mac where editing tools and file organization are easier to manage.
Exporting Photos for External Storage
Another safe method involves exporting photos from the Photos app and storing them on external drives. This strategy is often used by people who maintain long‑term archives of photography projects or family libraries.
External drives allow users to store large volumes of images without relying entirely on cloud subscriptions.
To export photos from the Mac Photos app:
Photos App > Select Photos > File > Export > Export Originals
The exported files can then be copied to an external SSD or hard drive for archival storage.
External storage works especially well for users who regularly capture high‑resolution photos and videos. Over time, large media libraries can consume hundreds of gigabytes of space. Keeping older photos archived externally helps keep the active library smaller and easier to manage.
Why Multiple Backup Methods Are Safer
Relying on only one backup system can create unnecessary risk. Technology failures, accidental deletions, or account issues can happen unexpectedly.
Many Apple users follow a simple rule known as the “3‑copy approach.” The idea is straightforward: keep your photos in at least three places.
For example, a typical safe setup might include:
- The original photos stored on the iPhone
- Automatic backup through iCloud Photos
- A local archive on a Mac or external drive
With multiple copies available, losing one device or storage location does not threaten the entire library.
This layered strategy is common among photographers and creative professionals, but it also works well for everyday users who simply want to protect personal memories.

Managing Storage While Backing Up Photos
As iPhone cameras improve, photo and video files continue to grow larger. High‑resolution images, Live Photos, and 4K video recordings quickly increase storage usage.
Apple provides tools to manage this growth without deleting memories.
When iCloud Photos is active, users can enable a feature that keeps smaller optimized versions of photos on the iPhone while storing full‑resolution originals in iCloud.
To enable this option:
Settings > Photos > Optimize iPhone Storage
The iPhone then automatically manages space, keeping the device responsive while preserving full-quality originals safely in the cloud.
This feature allows users to maintain large libraries without constantly worrying about storage limits.
Choosing the Best iPhone Photo Backup Strategy
There is no single method that works for everyone. Some users prefer the simplicity of iCloud syncing. Others want full control through local storage. Many combine both systems for maximum safety.
The important point is consistency. Photos should be backed up regularly so that new images remain protected automatically.
For most Apple users, enabling iCloud Photos is the easiest first step. Adding a Mac backup or external archive later creates an even safer environment for preserving photos.
Your iPhone captures some of life’s most important moments. Making sure those images are safely backed up ensures they remain accessible for years to come.