There is something unmistakable about the default iPhone ringtone. It cuts through noise in airports, cafés, and classrooms. You can identify it instantly. The problem is that everyone else can too.
For years, custom ringtones were a form of identity. A specific melody, a subtle instrumental loop, even a minimal tone designed to be heard only by you. Today, while many users rely on vibration or silent mode, the option to create an iPhone Ringtone Custom setup still matters — not because it is loud, but because it is personal.
A ringtone is not just an alert. It is the first sound your phone makes when someone tries to reach you. It sets tone before you even see the screen.
Why Custom Ringtones Still Make Sense
In professional settings, a softer custom tone can feel more appropriate than a sharp default chime. In family environments, assigning different tones to specific contacts allows you to recognize who is calling without looking.
For some users, a familiar instrumental fragment reduces the stress of abrupt notifications. For others, a distinctive sound prevents confusion when multiple iPhones ring nearby.
Custom tones also support accessibility. A carefully selected frequency or sound profile may be easier to hear for certain users than the standard tones provided.
The customization is subtle, but the effect is practical.
Understanding the 30-Second Rule
Apple limits ringtones to approximately 30 seconds. This ensures incoming calls remain concise rather than turning into full-length songs.
The key is not length, but clarity. A clean, well-trimmed segment performs better than a dramatic opening that fades too slowly. The most effective custom tones usually start immediately and carry a consistent sound profile.
The format used by iPhone for ringtones requires proper conversion during creation, which is why GarageBand remains the most reliable method.

Creating a Custom Ringtone on Mac
Using GarageBand on Mac allows precision. Import the audio clip, trim it carefully, and export it as a ringtone file.
The process typically follows this structure:
Import Audio into GarageBand > Trim to 30 Seconds or Less > Share as Ringtone
After export, the file can be added to iPhone through Finder:
Connect iPhone > Open Finder > Select Device > Drag Ringtone File
Once synced, the tone becomes available in sound settings.
Working on a Mac gives you more control over editing accuracy, fades, and audio balance. It is especially useful if you want to refine the beginning of the clip so it starts immediately when a call arrives.
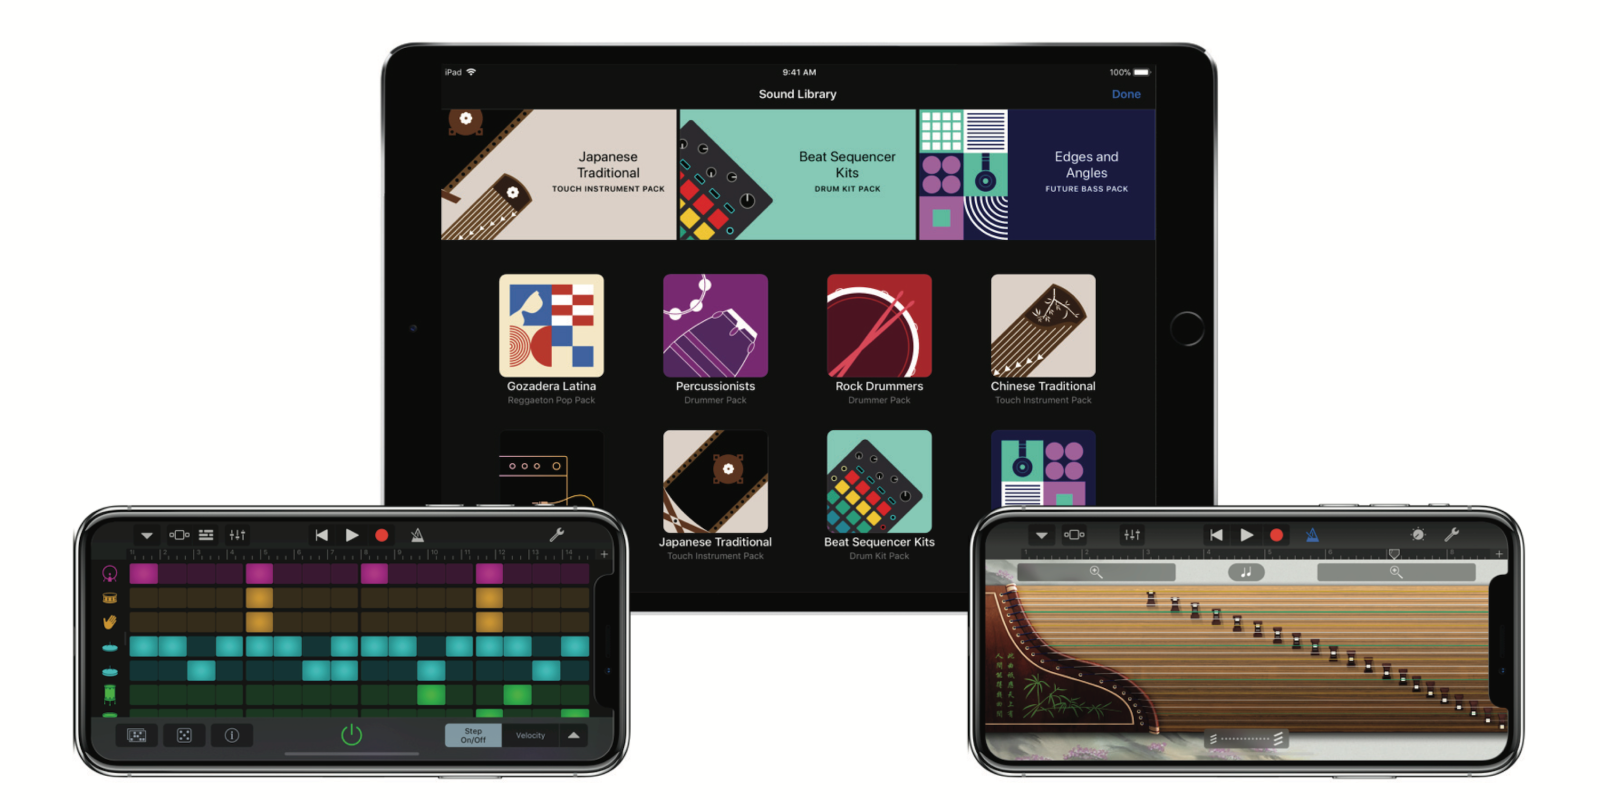
Creating a Ringtone Directly on iPhone
GarageBand on iPhone makes the process mobile.
Open GarageBand > Create Project > Import Audio > Trim Clip
After editing:
Share > Ringtone > Name the File
The tone appears instantly in the iPhone’s ringtone list. This method eliminates cables and manual syncing. For many users, it feels faster and more intuitive.


Choosing the Right Audio Source
Custom tones often come from:
- Instrumental sections of songs
- Original recordings
- Soft ambient sounds
- Minimal electronic tones
Volume matters. A ringtone should be audible without distortion. Clips that peak too aggressively may sound harsh through iPhone speakers.
If using music, selecting a segment without vocals often works better. Instrumental fragments avoid abrupt lyrical cutoffs.
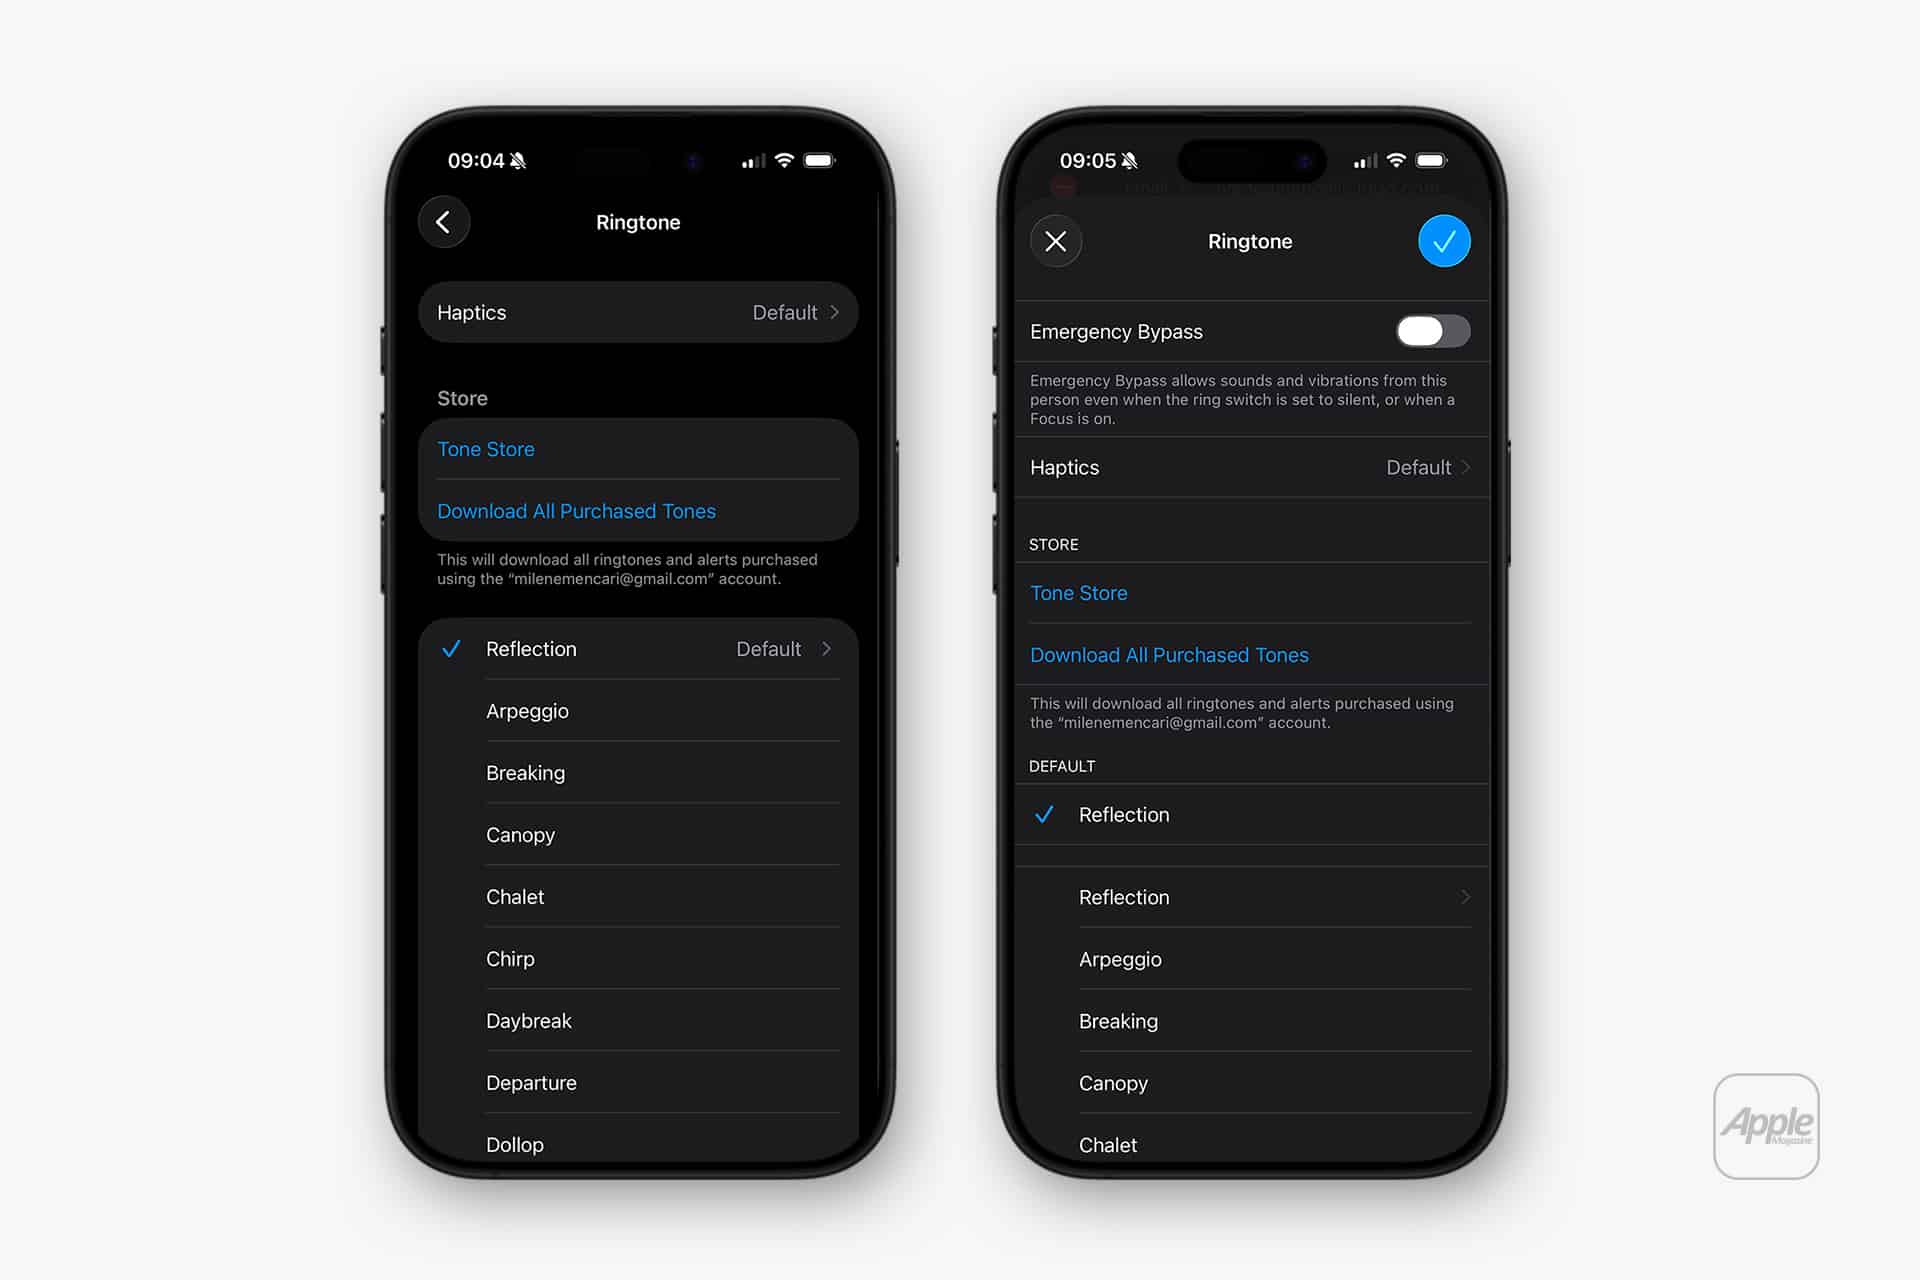
Assigning and Managing Custom Tones
Once installed, setting the ringtone is simple:
Settings > Sounds & Haptics > Ringtone
The new tone appears under the ringtone list.
You can also assign it to specific contacts:
Contacts > Select Contact > Edit > Ringtone
This allows differentiation between personal and professional calls. Managing tones is equally straightforward. Unwanted custom tones can be removed directly from the ringtone list by swiping left and deleting.
The Emotional Side of Sound
A custom ringtone subtly changes how your phone feels. It may remind you of a favorite track, a trip, or a quiet moment. Even something as minimal as a two-second chime can create recognition that feels uniquely yours.
Over time, that sound becomes associated with communication — not in a loud or flashy way, but in a way that aligns with your preferences.
Some users rotate tones seasonally. Others keep the same one for years. The choice reflects personality more than functionality.
Common Mistakes to Avoid
Many first attempts fail because the clip is too long or does not start cleanly. Silence at the beginning can delay the audible alert. Excessively low volume can make the tone ineffective in busy environments.
Precision trimming makes the difference between a tone that feels polished and one that sounds abrupt.
The Role of Finder in Modern macOS
Earlier versions of macOS required iTunes for ringtone syncing. Modern macOS uses Finder for device management. The process is simpler and more integrated.
Dragging the ringtone file directly into the device section ensures immediate availability after sync.
Keeping the Tone List Clean
Over time, experimenting with multiple tones can clutter the ringtone list. Periodic cleanup maintains clarity.
Because ringtone files are small, storage impact is minimal. Organization remains the main reason to manage them carefully.
An iPhone Ringtone Custom setup is a small adjustment, but it shifts how your device communicates with you. It moves the experience from generic to personal.
In a world where most alerts sound the same, choosing a tone that reflects your preference restores a sense of ownership over something you hear every day.