Capturing what’s on your iPhone screen is a core iOS skill that lets you save information, share content with others or archive visual moments quickly. In iOS 26, Apple continues to support the familiar hardware button screenshot method while adding enhanced Screen Capture settings that let you control how screenshots behave, including full-page screenshots for long content and advanced options like HDR captures.
Hardware Button Screenshots and Basic Tools
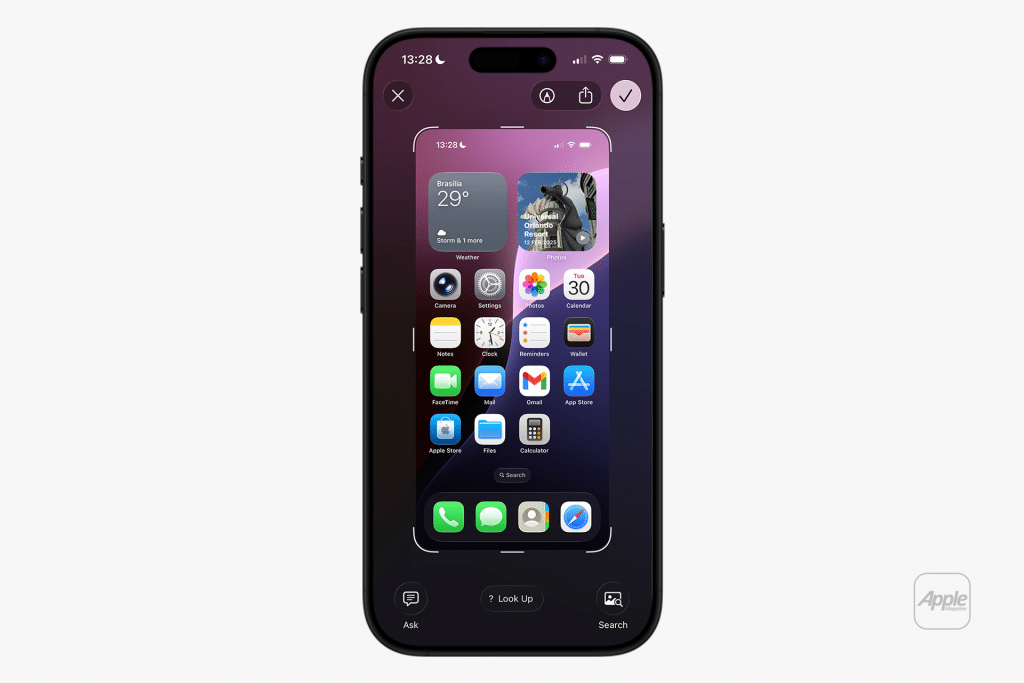
On iPhones with Face ID, press the Side button + Volume Up button simultaneously and release quickly to take a screenshot. On models with a Home button, press Side (or Top) button + Home button at the same time and release to capture the screen. After the screenshot is taken, a preview appears that you can tap to edit, crop or share using Markup before saving. If you let the preview disappear on its own, the image is automatically stored in the Photos app > Albums > Screenshots.
Settings > General > Screen Capture (adjust capture behavior like full-screen preview)
Settings > Photos > Albums > Screenshots (view saved screenshots)
Apple’s built-in Markup tools let you add text, highlights or drawings to a screenshot immediately after capture, helping you annotate key information without leaving the screenshot interface.

Full-Page Screenshots in Safari and Editing Options
If you need to capture long content, such as an article or webpage in Safari, take the normal hardware button screenshot and then tap the preview. Here you can select Full Page to capture the entire scrollable content. Once captured, you can scroll through the full page, crop the content and save the image in Photos or export it as a PDF to the Files app.
Settings > Safari > Open the page you want to capture > Screenshot (hardware combo) > Tap Full Page
Settings > Photos or Files (find your saved full-page capture)
iOS 26 adds additional screenshot options in Screen Capture settings, including toggles for HDR screenshots that preserve higher dynamic range and enhanced interactions with screenshot previews.
AssistiveTouch and Back Tap Screenshot Methods
For users who prefer alternatives to hardware buttons, iOS provides accessibility-focused methods:
AssistiveTouch:
Settings > Accessibility > Touch > AssistiveTouch > Toggle AssistiveTouch ON > Customize Top Level Menu > Add Screenshot.
When enabled, tap the AssistiveTouch on-screen button to capture your screen without any physical button presses.
Back Tap:
Settings > Accessibility > Touch > Back Tap > Choose Double Tap or Triple Tap > Select Screenshot.
Now a quick back tap gesture on the iPhone triggers a screenshot. These methods make screenshots accessible for users with different preferences or when hardware buttons are less convenient.
Siri and Voice Commands for Screenshots
You can also capture screens using Siri. Go to Settings > Siri & Search and enable Listen for “Hey Siri”. Then say “Hey Siri, take a screenshot” and Siri captures your screen automatically. This is useful when your hands are occupied or when hardware and gesture methods are not ideal.
Settings > Siri & Search > Listen for “Hey Siri” > ON
Then say: “Hey Siri, take a screenshot”

Editing, Sharing and Managing Screenshots
After taking a screenshot, use the preview tools to edit, crop and share. Tap the Markup icon to annotate, or use the Share icon to send via Messages, Mail, social apps or AirDrop. Screenshots organize themselves in the Screenshots album inside the Photos app for easy later access.
Settings > Photos > Albums > Screenshots (manage and organize captures)
Share icon (send screenshots to other apps)
Tips and Troubleshooting
In iOS 26, screenshots may appear as full-screen previews by default. You can change this behavior by going to Settings > General > Screen Capture and toggling Full Screen Previews off if you prefer the classic corner thumbnail style. Some users report that toggling this setting can help if screenshots behave inconsistently.