

Mac system data can become one of the most confusing parts of macOS storage. A Mac may show dozens or even hundreds of gigabytes under System Data, leaving users wondering what can be deleted safely and what should be left alone. The good news is that most cleanup can be handled without third-party apps, terminal commands, or risky “cleaner” utilities.
System Data is not one single folder. It can include caches, logs, temporary files, Time Machine local snapshots, app support files, disk images, archives, old iOS device backups, fonts, plug-ins, system resources, and other files macOS does not place into clearer categories such as Apps, Photos, Documents, or Music. Some of it is necessary. Some of it is temporary. Some of it can be reduced by using Apple’s own storage tools.
The safest approach is to start with macOS Storage settings, then move through Downloads, large files, old backups, iCloud storage options, Photos settings, and Time Machine snapshots. The goal is not to erase every cache or force System Data to zero. macOS uses some storage dynamically, and the number may rise or fall as the system works.
A healthy cleanup removes obvious clutter, gives macOS room to breathe, and avoids deleting hidden files the system still needs.
Start With Apple Storage Settings
The first step is checking what macOS already reports. In recent versions of macOS, Storage settings show a visual breakdown of storage categories and include Apple’s own recommendations for freeing space. This is safer than starting in hidden folders because macOS points users toward files and categories designed for review.
To check storage on Mac:
Apple menu > System Settings > General > Storage
From there, macOS may show recommendations such as storing files in iCloud, optimizing Apple TV downloads, emptying Trash automatically, or reviewing large files. These tools do not require third-party software and are designed to work with macOS rather than against it.
Review Large Files is often the most useful section. Old installers, disk images, ZIP archives, exported videos, screen recordings, duplicate project folders, and downloads can take far more space than system caches. Many users blame System Data while the real storage pressure comes from forgotten files in Downloads or Documents.
Downloads deserves special attention. Browser downloads, app installers, PDF copies, work files, images, and video exports often collect there for months. Deleting unneeded files from Downloads can free space without touching the system at all.
To review Downloads:
Finder > Downloads > Sort by Size or Date Modified
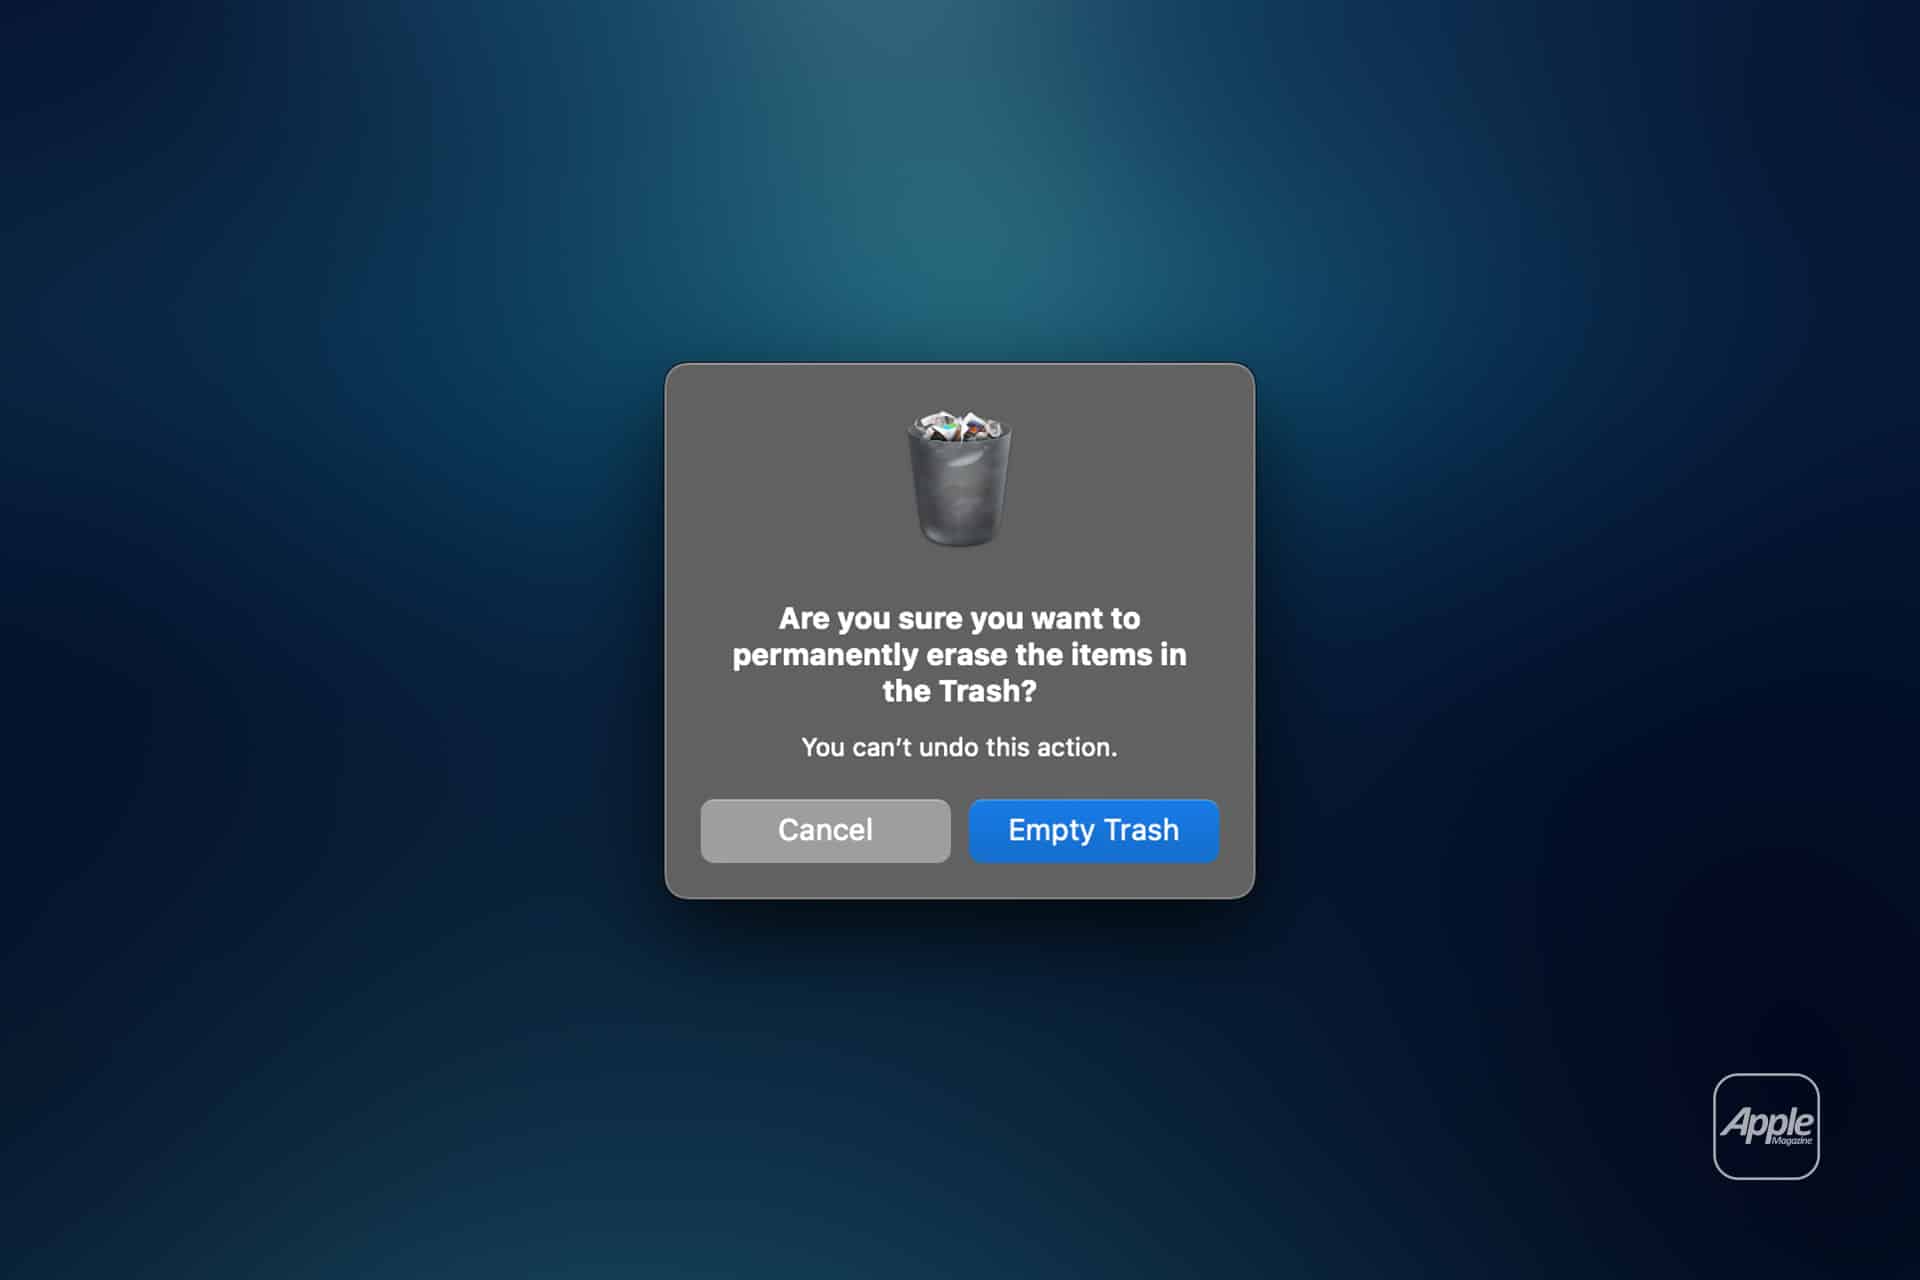
After deleting files, empty the Trash. Files in Trash still use storage until removed.
To empty Trash:
Finder > Empty Trash

Check Time Machine Local Snapshots
Time Machine can store local snapshots on the Mac when the backup disk is not available. These snapshots allow users to restore recent files even without the external backup drive connected. Apple says Time Machine saves snapshots automatically and deletes them as space is needed, but they can make storage look fuller than expected.
This can affect the System Data number because local snapshots are not ordinary user documents. If a Mac has not connected to its Time Machine backup disk for a while, local snapshots may occupy more space until the next backup or until macOS clears them.
The safest fix is simple: connect the Time Machine backup disk and let the backup complete. Once the backup finishes, macOS can manage local snapshots more effectively.
To check Time Machine settings:
Apple menu > System Settings > General > Time Machine
Users should avoid deleting Time Machine data manually from hidden system locations. Local snapshots are part of Apple’s backup system. macOS is designed to manage them, and manual removal can create more problems than it solves.
A Mac with very little free space may feel slow, fail to install updates, or struggle with large apps. If Time Machine snapshots are contributing to that pressure, completing a backup and restarting the Mac can help macOS recalculate available storage.
Use iCloud and Photos Carefully
iCloud can help reduce local storage, but it should be used with intent. Apple’s Optimize Mac Storage feature can keep older files in iCloud and download them when needed. This can reduce local file storage, especially for Macs with smaller SSDs.
To use Optimize Mac Storage:
Apple menu > System Settings > Apple Account > iCloud > Optimize Mac Storage
This works best for users who already rely on iCloud Drive and have enough iCloud storage. It is less helpful for users who work offline often or need large files always available locally. A video editor, designer, or developer may prefer keeping project files on external storage rather than relying on cloud downloads.
Photos can also occupy large amounts of local storage. If iCloud Photos is enabled, Optimize Mac Storage can store smaller versions on the Mac while keeping originals in iCloud. This can reduce local space used by Photos without deleting the library.
To optimize Photos storage:
Photos > Settings > iCloud > Optimize Mac Storage
This is safer than manually digging into the Photos Library package. The library is a database, and deleting files inside it can damage the photo collection. Use Photos settings, not Finder surgery.

Remove Old Device Backups and App Files
Old iPhone and iPad backups can take up large amounts of Mac storage. Users who once backed up devices through Finder may still have local backups stored on the Mac, even if they now use iCloud Backup.
To manage device backups:
Finder > Connect iPhone or iPad > Select device > Manage Backups
Delete only backups that are no longer needed. A recent local backup can be useful before major iOS updates, device repairs, or transfers to a new iPhone.
Old app support files can also add weight. Some apps leave behind libraries, plug-ins, sample content, audio instruments, video render files, or project caches. Apple’s Storage settings may help surface large app-related files, but users should be cautious. Deleting files from Library folders without knowing what they do can break app settings or projects.
A safer path is to open the app that created the files and use its own cleanup or cache controls. Video editors, audio apps, design tools, developer tools, and game platforms often include project cache or download settings. Removing files from within the app is safer than deleting random folders.
Restart and Use Safe Mode When Needed
A restart can help macOS clear temporary files, complete background maintenance, and recalculate storage. It will not solve every storage problem, but it is a safe step after deleting large files, emptying Trash, completing a Time Machine backup, or changing iCloud settings.
To restart:
Apple menu > Restart
Safe Mode can also help in some cases because macOS performs certain checks and prevents some software from loading during startup. Apple provides different Safe Mode steps for Apple silicon and Intel-based Macs. This is not a daily cleanup method, but it can help when storage reporting seems stuck or the Mac behaves strangely after cleanup.
For Apple silicon Macs: shut down the Mac, hold the power button until startup options appear, select the startup disk, hold Shift, then choose Continue in Safe Mode.
For Intel-based Macs: restart and hold Shift as the Mac starts up.
After starting in Safe Mode, restart normally.
What Not to Delete
The most dangerous cleanup mistake is deleting files from hidden system folders because a large number appears in System Data. Avoid manually removing files from System, private, usr, bin, sbin, Library folders at the root level, or any location that asks for administrator permission unless the source and purpose are known.
Also avoid cleaner apps that promise automatic deletion of “junk” without showing exactly what will be removed. Some are useful, but they are not necessary for basic cleanup, and poor choices can remove caches, logs, extensions, or support files that apps expect to find.
Caches are not always bad. macOS and apps use caches to load faster and reduce repeated downloads. Deleting every cache may temporarily lower System Data, but it can also make apps rebuild those files later. The number may return, and the Mac may feel slower for a while.
A safer Mac cleanup routine focuses on files the user understands: downloads, old installers, duplicate exports, unused disk images, outdated device backups, completed video projects, forgotten archives, Trash, and cloud storage settings.
A Cleaner Mac Without Risky Tools
Mac system data cleanup works best as a careful maintenance routine, not a one-click purge. Start with Storage settings. Review large files. Empty Trash. Connect Time Machine and complete a backup. Use iCloud and Photos optimization where appropriate. Remove old device backups. Restart the Mac. Use Safe Mode only when storage behavior seems unusual.
System Data will never disappear entirely, and it should not. macOS needs space for system operations, temporary files, updates, caches, app resources, and backup-related data. The aim is to reduce unnecessary storage pressure while keeping the Mac stable.
For most users, Apple’s built-in tools are enough. A Mac with good free space, recent backups, organized downloads, and sensible iCloud settings will be easier to maintain than one cleaned aggressively with unknown utilities.
The best cleanup habit is simple: remove what is clearly yours before touching anything that belongs to the system.