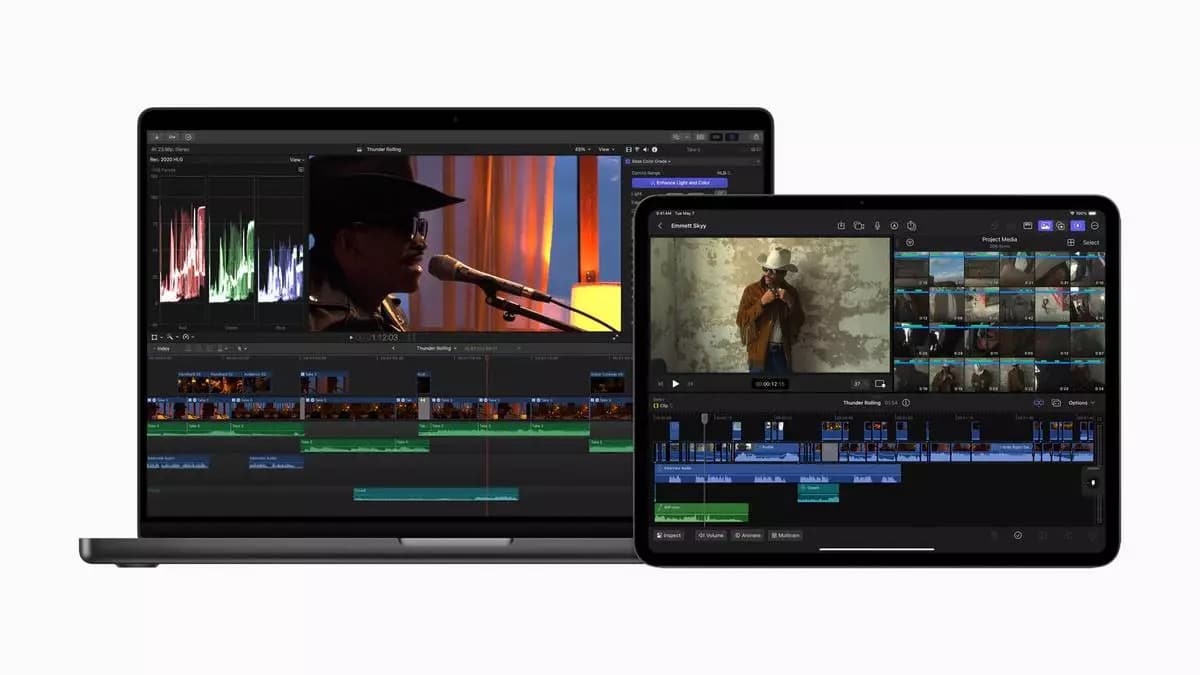
When starting a project, Final Cut Pro typically auto-configures settings based on the first clip added, but manual adjustments can optimize performance. In the Project Properties inspector, accessible via Command-J, set the video format to match your footage—ProRes 422 or ProRes RAW for most Mac Studio workflows, as these formats leverage the hardware’s acceleration. For resolution, choose your delivery format, such as 4K (3840×2160) for high-quality outputs or 1080p for faster processing. Frame rates should align with your source footage; for mixed frame rates (e.g., 30fps from a Canon T5i and 60fps from a GoPro), set the project to the dominant rate and use optical flow in the Video Inspector to smooth out mismatches. For color space, select Wide Gamut HDR – Rec. 2020 HLG for vibrant, future-proof outputs, especially if targeting platforms like YouTube that support HDR.
Fine-Tuning Editing Preferences
Editing settings in Final Cut Pro can significantly impact workflow efficiency. In the Editing tab of Preferences, enable “Show detailed trimming feedback” to display a two-up viewer for precise clip adjustments, ideal for intricate cuts on high-resolution footage. Activate “Position playhead after edit operation” to keep the timeline cursor at the latest edit point, streamlining navigation during complex projects. For audio, enable “Show reference waveforms” to visualize maximum audio resolution, aiding in clean sound edits. Set the default transition duration to 0.5 seconds for quick, professional cuts, adjustable via the Transitions slider, ensuring the Mac Studio’s GPU renders effects smoothly.
Optimizing for Export and Delivery
Export settings are crucial for balancing quality and speed. For YouTube or social media, select File > Share > Export File, and choose HEVC (10-bit, HLG, Dolby Vision 8.4) as the video codec for efficient, high-quality files. This format reduces file sizes while maintaining visual fidelity, ideal for the Mac Studio’s hardware encoding capabilities. Set resolution to match your project (e.g., 4K for professional outputs) and ensure audio is AAC at 192Kbps for clear sound. To avoid quality loss, match the project’s frame size to your source footage—dragging 4K clips into a 1080p timeline can cause blurriness. For HDR content, ensure the library is set to Wide Gamut and the project color space is Rec. 2020 HLG, preserving dynamic range during export.
Managing Resources for Peak Performance
The Mac Studio’s unified memory excels at handling large projects, but resource management is key. Apple recommends at least 32GB of RAM for 4K workflows, though 64GB or higher is ideal for 8K or multi-stream editing. To prevent slowdowns, disable automatic background rendering in Preferences > Playback, opting instead for manual rendering of specific timeline sections. This approach frees up CPU and GPU resources for editing tasks. If using effects like Neat Video for denoising, allocate GPU memory carefully—use the “Check Speed” button to find the optimal balance, avoiding the red zone that indicates overuse by other applications.
Leveraging Third-Party Tools
Final Cut Pro’s ecosystem of third-party plugins enhances Mac Studio’s capabilities. Tools like Boris FX Continuum add advanced lighting filters, while Yanobox Nodes creates dynamic particle effects, both optimized for Apple silicon. For audio, the Quantec Room Simulator plugin, integrated via Logic Pro, adds natural reverb to dialogue and foley, elevating sound design. These plugins run smoothly on the Mac Studio, thanks to its Neural Engine and GPU, allowing editors to experiment with creative effects without performance hiccups. Access these via the Effects Browser or integrate stock media from Shutterstock directly in the timeline.