Before powering on your Vision Pro, a few preparations ensure a smooth process. Start by unboxing the device, which includes the headset, a Solo Knit Band, a Dual Loop Band, a Light Seal with two cushions, an external battery, a USB-C charge cable, a power adapter, and a polishing cloth. Charge the battery using the provided USB-C cable and adapter until the battery light pulses or turns solid, indicating it’s ready. If you wear glasses or certain contact lenses, ensure you have ZEISS Optical Inserts, which magnetically attach to the headset for precise vision correction. These inserts require a valid prescription from a U.S. eye care professional, which you’ll upload during or after purchase. Finally, confirm you have a stable Wi-Fi connection and an Apple Account with two-factor authentication enabled, as these are essential for setup.
Fitting the Headset for Comfort
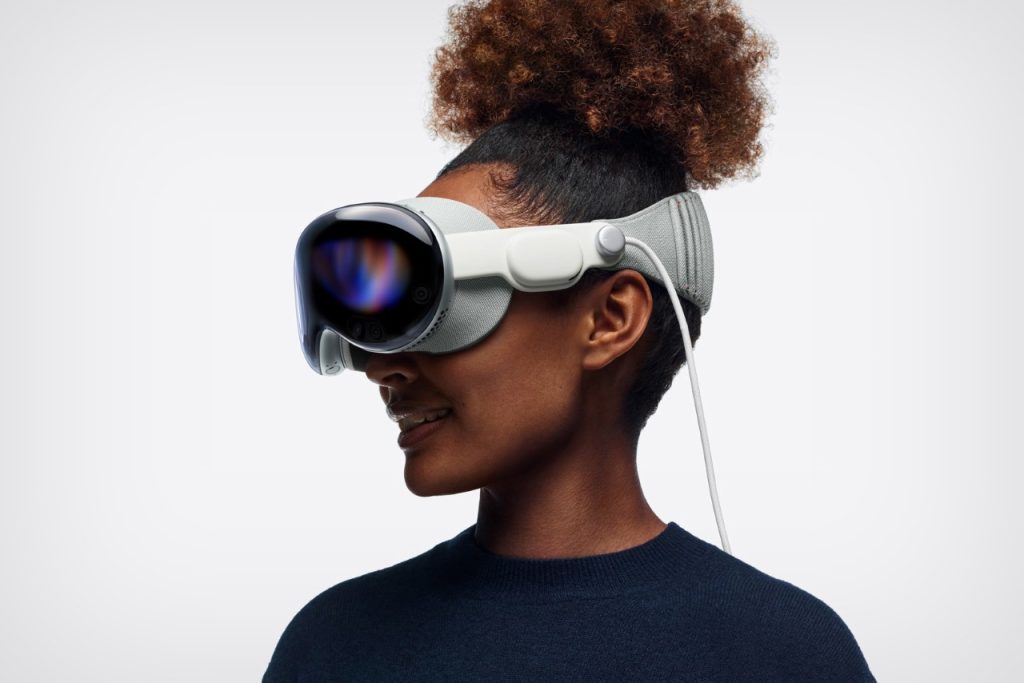
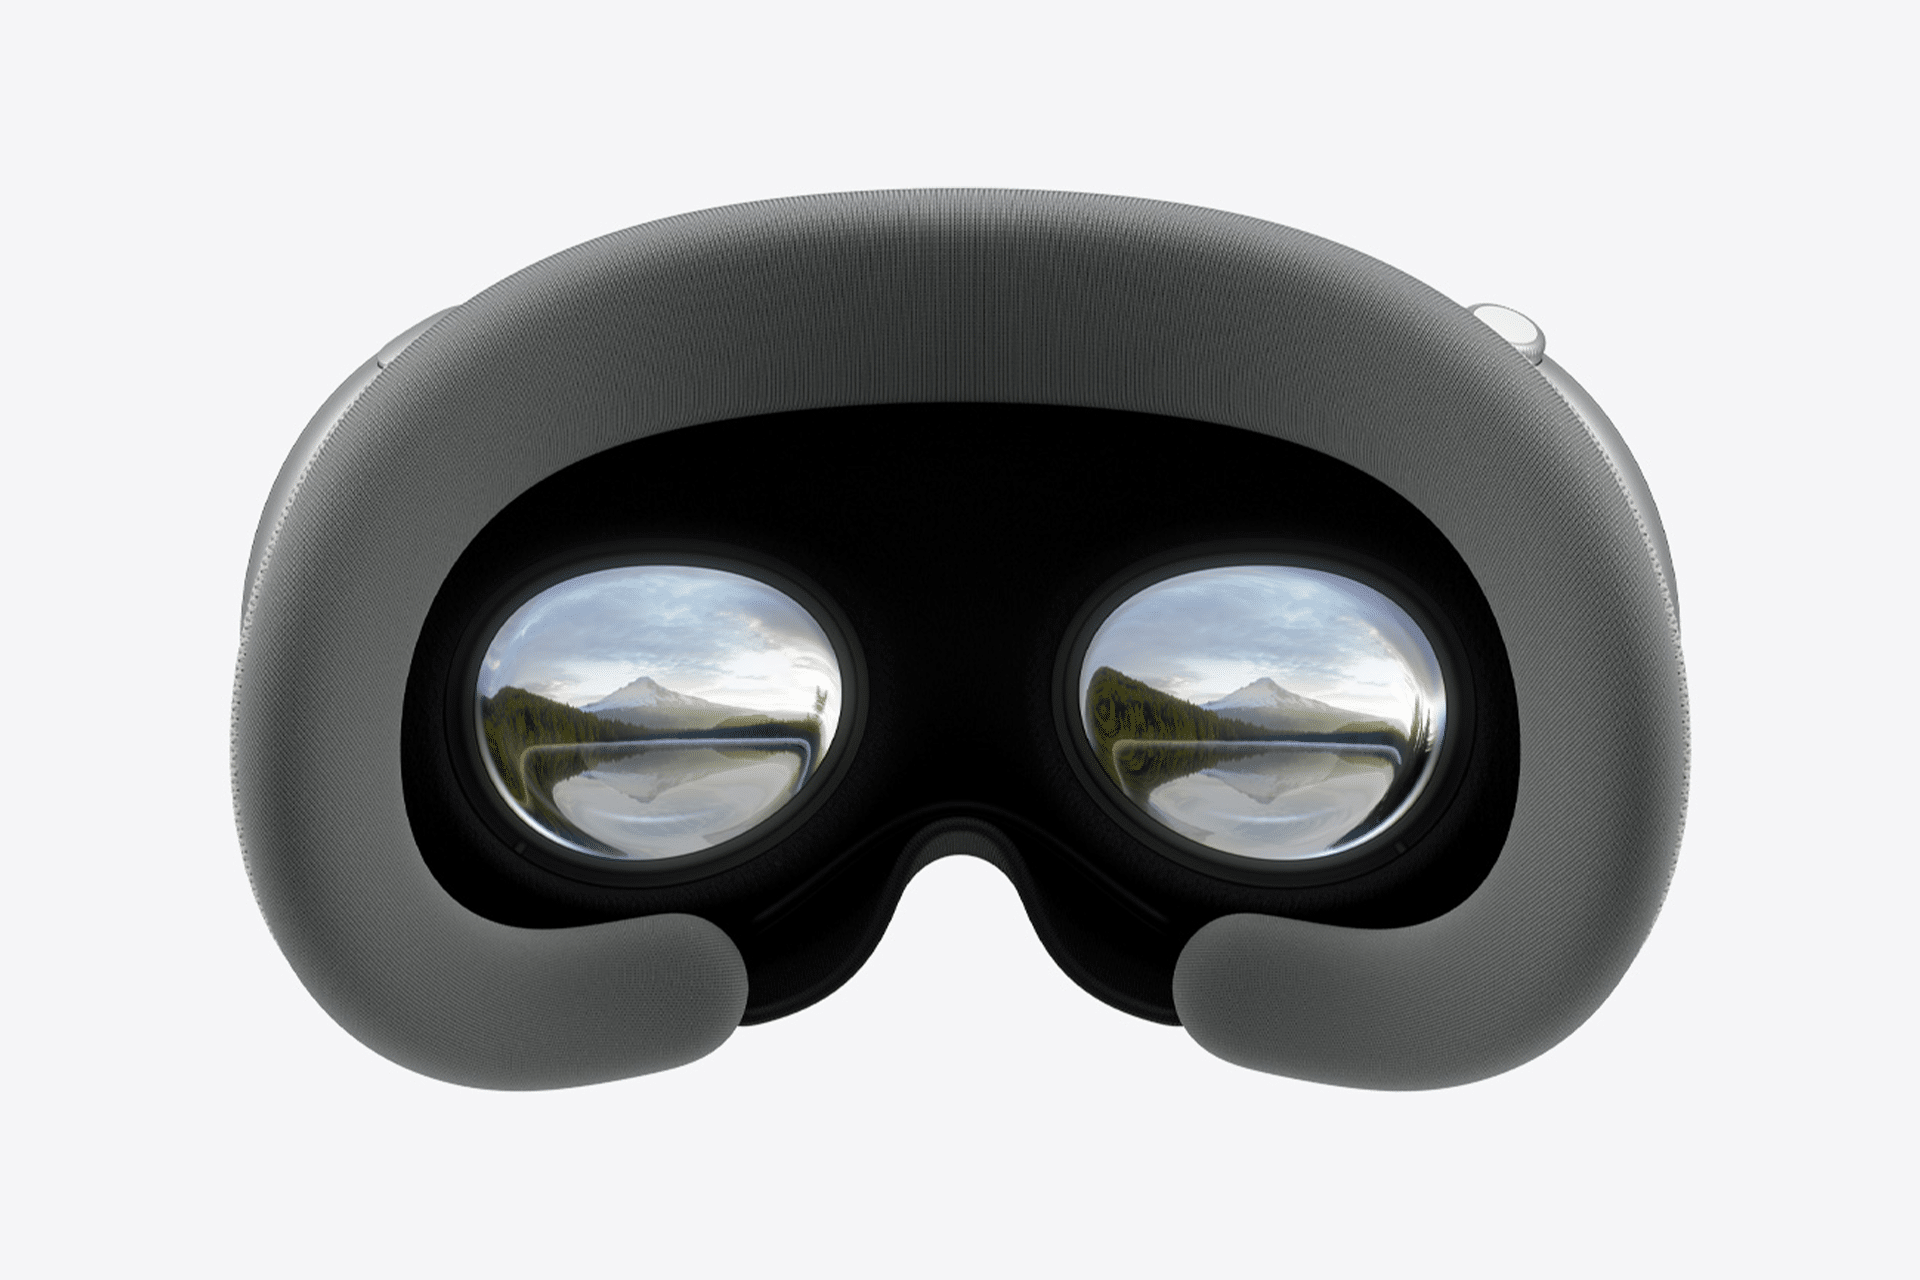
A proper fit is critical for the Vision Pro’s immersive experience. Begin by selecting the appropriate headband—either the Solo Knit Band for breathability or the Dual Loop Band for added stability. Remove the front cover from the headset and, if needed, attach your ZEISS Optical Inserts. Position the headset over your face, aligning the Light Seal to block out stray light, then slide the headband over the back of your head. Adjust the fit using the Fit Dial on the Solo Knit Band or the straps on the Dual Loop Band until the headset feels secure yet comfortable. The displays activate automatically when the device detects your eyes, signaling it’s time to begin setup. For long sessions, you can make minor adjustments to maintain comfort, ensuring the headset sits snugly without pressure.
Powering On and Connecting the Battery
To turn on the Vision Pro, connect the external battery to the headset via the power cable. Locate the circular connector on the left Audio Strap, align the dot on the cable with the white outlined dot on the strap, and rotate clockwise until it locks. A tone or solid battery light confirms the connection. If no tone sounds after 30–45 seconds, press and hold the top button for a few seconds to power on the device. The Vision Pro sleeps when removed and wakes when worn, preserving battery life, which supports up to 2 hours of general use or 2.5 hours of video playback. This external battery design keeps the headset lightweight, enhancing comfort during extended use.
Navigating the Setup Process
Once powered on, the Vision Pro guides you through an intuitive setup process via its visionOS operating system. Look straight ahead and press the Digital Crown to align the displays for clear viewing, greeted by the iconic Apple “hello” logo. If you own an iPhone or iPad running iOS 17 or iPadOS 17 or later, you can use Quick Start to transfer data automatically, simplifying the process. The setup includes configuring your Apple ID, which links to services like the App Store and Apple Music. For security, set up Optic ID, which scans your eyes to create a unique authentication profile, similar to Face ID on iPhones. You’ll also set a six-digit passcode as a backup. The system prompts you to scan your hands and eyes to calibrate gesture controls, teaching you basic interactions like pinching to select or dragging to move windows.
Personalizing with Persona and Accessibility
A standout feature of the setup is creating your Persona, a digital representation of your face for FaceTime calls. The Vision Pro scans your face to generate a realistic avatar, ensuring natural interactions in mixed reality. You can revisit this step later in Settings to refine your Persona. For accessibility, Vision Pro offers features like VoiceOver, activated by triple-clicking the Digital Crown, or other options via triple-clicking the top button. These include Smart Color Invert and Live Captions for users who are deaf or hard of hearing, making the device inclusive by design. If needed, you can adjust settings post-setup to optimize for comfort or specific needs, such as reducing transparency for visual clarity.
Exploring visionOS and Next Steps
After setup, you’re greeted by a visionOS home screen with familiar apps like Photos, Messages, and Safari, arranged as floating icons in your physical space. Use your eyes to focus on an app and pinch to open it, leveraging the headset’s eye-tracking precision. The Vision Pro supports Mac Virtual Display, allowing you to connect to a Mac running macOS Sonoma for a private 4K workspace, ideal for productivity. You can also explore the App Store for visionOS apps or Apple Arcade for immersive games. To ensure safety, set up in a well-lit room free of obstacles, as the headset’s passthrough cameras display your surroundings digitally. If others want to try your Vision Pro, enable Guest User mode, which resets to your settings after use.
Why This Matters for Users
The Vision Pro’s setup process is designed to make spatial computing accessible, blending advanced technology with user-friendly steps. The emphasis on fit ensures comfort during extended use, while Optic ID and gesture calibration create a personalized, secure experience. For professionals, the Mac Virtual Display integration transforms workflows, offering a portable, high-resolution display. For casual users, the ability to watch 3D movies or capture spatial photos and videos elevates entertainment. The setup’s accessibility features ensure inclusivity, making the Vision Pro a versatile tool for diverse users. As you begin exploring, the intuitive setup lays the foundation for a seamless dive into Apple’s vision of spatial computing.