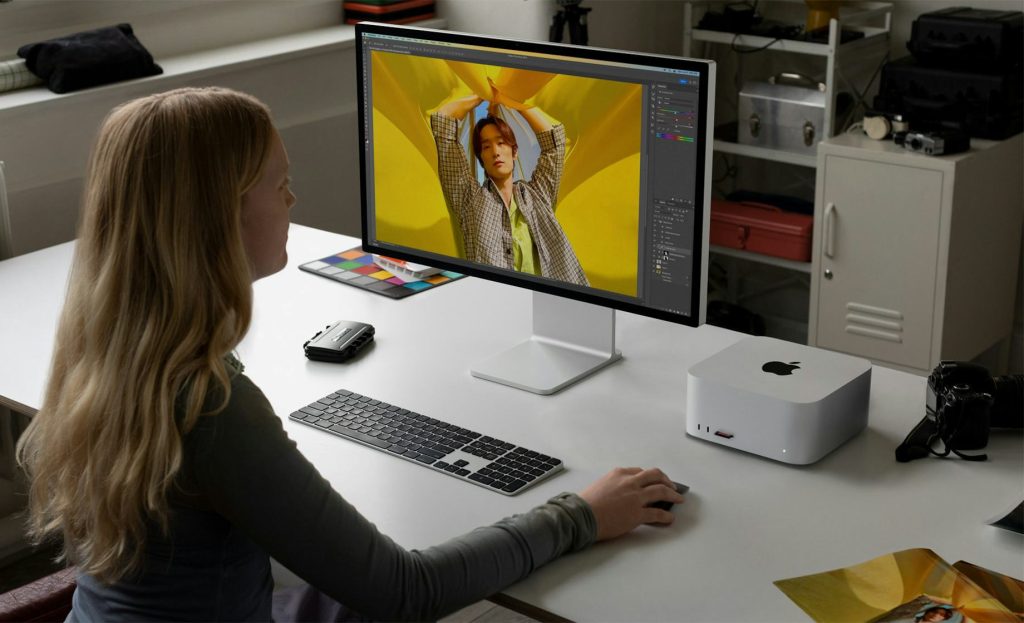
The Mac Studio arrives in a minimalist box, reflecting Apple’s sleek design ethos. Inside, you’ll find the Mac Studio itself and a power cable—nothing more. Unlike some competitors, Apple doesn’t include a keyboard, mouse, or Thunderbolt cable, even at the $1,999 starting price. This bare-bones approach, while keeping costs down, means you’ll need peripherals ready. Ensure you have a USB-C or Thunderbolt-compatible monitor, a keyboard, and a mouse or trackpad. For optimal performance, consider Apple’s Magic Keyboard ($149) with Touch ID or a Magic Trackpad ($129). If you’re pairing it with the Studio Display ($1,599), confirm you have a Thunderbolt 3 cable, as one is included with the display but not the Mac Studio itself.
Check the device for any physical damage before powering it on. The Mac Studio’s silver aluminum chassis, measuring 3.7 inches tall and 7.7 inches wide, is built to last but should be inspected for dents or scratches from shipping. Place it on a flat, well-ventilated surface, as its 4,000+ perforations at the back and bottom ensure quiet cooling during intensive tasks like video rendering.

Connecting Peripherals and Powering On
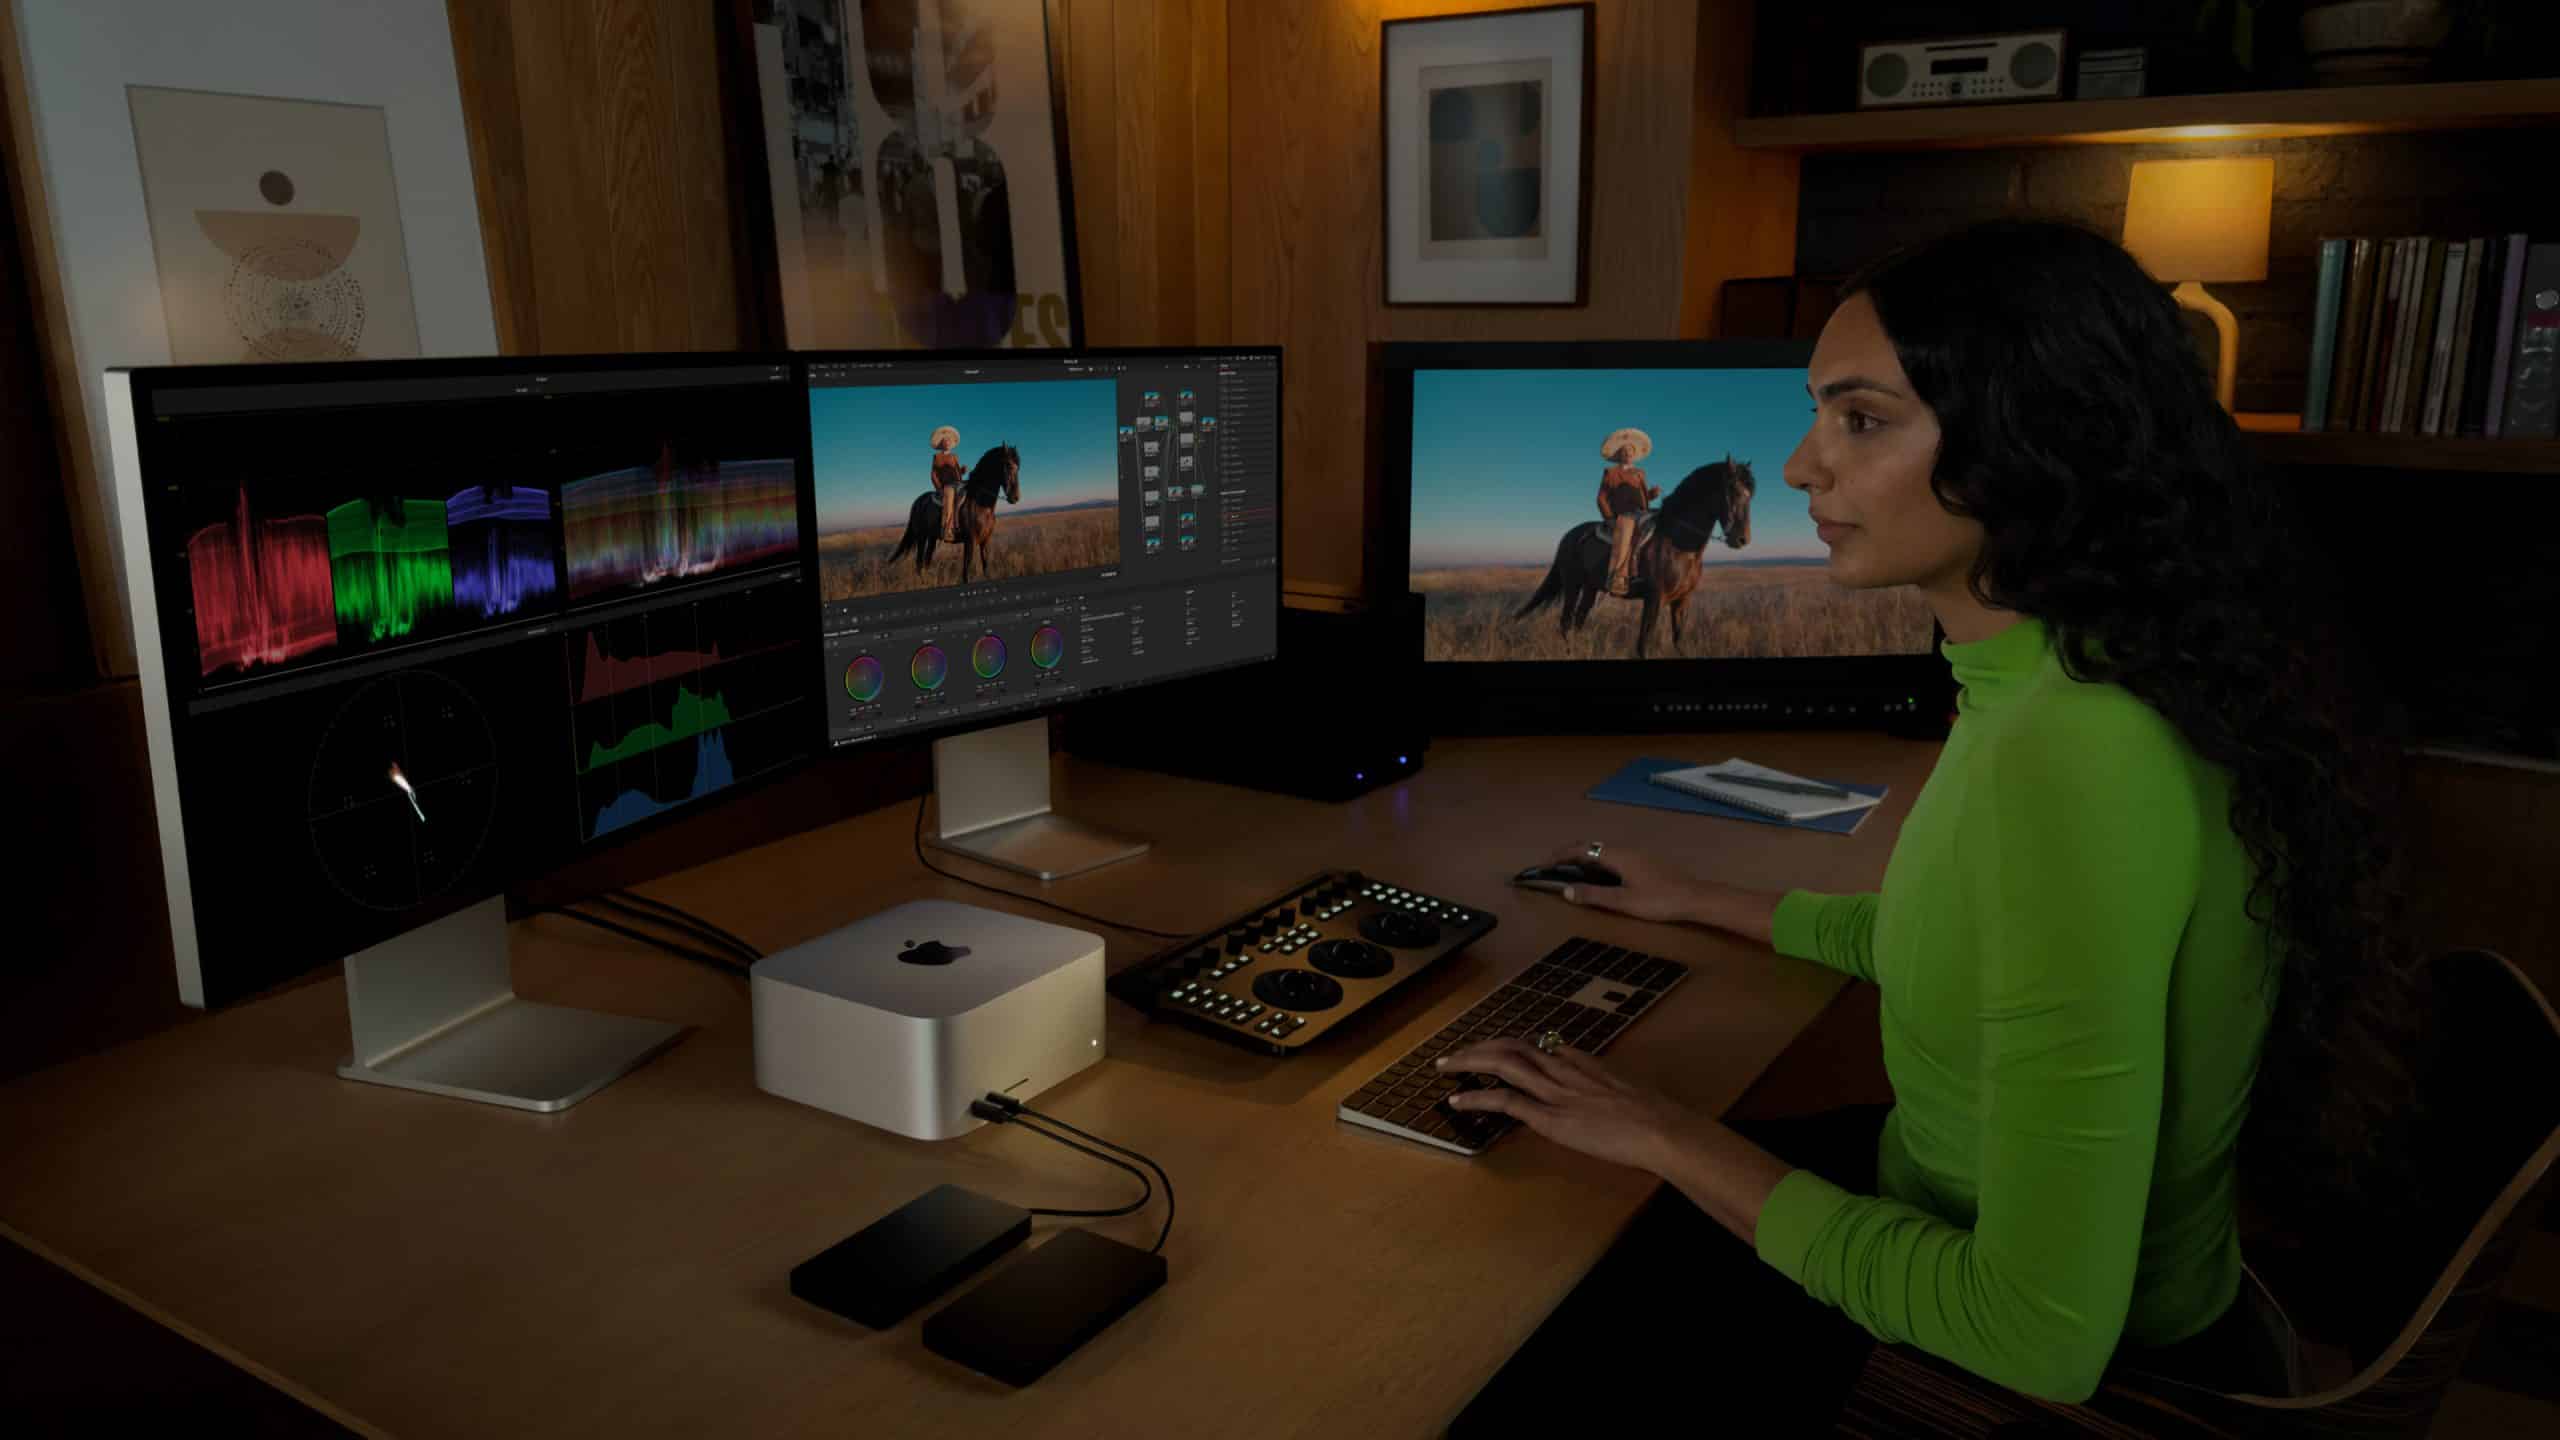
Start by connecting your monitor to one of the Mac Studio’s rear ports: four Thunderbolt 4 ports (or two USB-C ports on M4 Max models), an HDMI port, or a combination, depending on your setup. The M3 Ultra model supports up to five displays (four 6K at 60Hz and one 4K at 60Hz), while the M4 Max handles four displays (three 6K and one 4K). Next, plug in your keyboard and mouse or trackpad to the front USB-C ports or rear USB-A ports. For wired Ethernet, use the 10Gb Ethernet port on the back. Finally, connect the power cable and press the power button on the rear to start the Mac Studio. A front status light will indicate it’s on, though some users find it distracting if the device sits in their line of sight.
If you’re using the Studio Display, its Thunderbolt 3 port supports 96W charging and can connect peripherals via three additional USB-C ports. Be aware that the Studio Display’s 12MP camera has faced criticism for grainy images, though software updates have improved its performance. If you’re setting up multiple monitors, ensure they’re compatible with macOS Sequoia 15.2 for optimal resolution and refresh rates.
Navigating the Setup Assistant
Once powered on, the Mac Studio boots into the Setup Assistant, a user-friendly interface that guides you through initial configuration. The screen will prompt you to select your country or region, which sets the language and time zone. If you’re visually impaired or have motor difficulties, accessibility options like VoiceOver or Switch Control are available at this stage. Connect to a Wi-Fi network by selecting it and entering the password, or use the 10Gb Ethernet port for a wired connection. If Ethernet is your choice, select “Other Network Options” to configure it.
Next, you’ll set up your user account. Sign in with your Apple ID to sync iCloud data, such as photos, documents, and app preferences. If you don’t have an Apple ID, you can create one during setup. The Setup Assistant also offers to enable Apple Pay, which requires verifying a credit or debit card. For security, activate Touch ID if you’re using a compatible keyboard, or set a password for your user account. You can skip features like Screen Time or Siri for later configuration in System Settings. If you’re migrating from another Mac, connect the two devices with a Thunderbolt 4 cable for a fast, seamless data transfer—users report this process is impressively quick.
Optimizing for Performance
After Setup Assistant, personalize your Mac Studio to suit your workflow. Update to the latest macOS version (Sequoia 15.2 as of July 2025) via System Settings > General > Software Update to ensure you have the latest security patches and performance enhancements. For creatives, install essential software like Adobe Premiere Pro, DaVinci Resolve, or Xcode, which leverage the M4 Max’s 40-core GPU or M3 Ultra’s 80-core GPU for tasks like 3D rendering or video editing. Users report rendering a 5-minute 4K video in DaVinci Resolve in just 40 seconds on the M3 Ultra, showcasing its power.
Configure your display settings in System Settings > Displays to optimize resolution and refresh rates, especially if using the Studio Display’s 5K panel. For multi-monitor setups, arrange displays logically to match your physical workspace. If fan noise is a concern, note that the M4 Max’s aluminum heatsink and M3 Ultra’s copper thermal module keep the Mac Studio quiet, even under heavy loads, unlike earlier models where idle fan noise was reported.
Setting Up Apple Intelligence and Connectivity
The Mac Studio is built for Apple Intelligence, Apple’s AI feature set introduced in 2024. Enable it in System Settings > Apple Intelligence & Siri to access tools like Image Playground for creating cartoon-like images or enhanced Siri for complex queries. These features shine on the M4 Max’s 16-core Neural Engine or M3 Ultra’s 32-core Neural Engine, ideal for machine learning tasks. Ensure your internet connection is stable, as Apple Intelligence relies on cloud processing for some functions.
For connectivity, the Mac Studio’s Thunderbolt 5 ports (on M4 Max models) offer up to 120Gb/s bandwidth, perfect for external SSDs or docks like the Caldigit TS4. If you’re using a Thunderbolt hub, connect high-bandwidth devices like NVMe drives directly to the Mac Studio for maximum speed. For remote access, set up Screen Sharing over Ethernet in System Settings > Sharing to control the Mac Studio from a MacBook Pro, though initial setup requires a monitor.
Troubleshooting Common Setup Issues
Some users encounter hiccups during setup, such as the screen alternating between images of a mouse or trackpad, often mistaken for a disc drive. This indicates the Mac Studio is waiting for input device pairing. Ensure your mouse or keyboard is powered on and charged; if using Bluetooth peripherals, plug them into a USB port temporarily to complete pairing. If the setup stalls, hold the power button for 10 seconds to force a restart, though this is rare. For persistent issues, contact Apple Support, available via phone or the Mac Studio Support website.
If you’re setting up without a monitor, consider a temporary HDMI dummy plug ($10-$15 online) to enable GPU acceleration for remote access. For professionals needing portability, note that controlling the Mac Studio via a MacBook Pro is possible over Thunderbolt or Ethernet, but it requires initial setup with peripherals.
Final Touches for Your Workflow
Once set up, position the Mac Studio for easy port access—many users prefer placing it beside the monitor rather than under the desk for convenience. If paired with the Studio Display, invest in the $400 height-adjustable stand for ergonomic viewing; users praise its stability over tilt-only options. For storage, the Mac Studio supports up to 16TB internally, but external NVMe drives in Thunderbolt enclosures offer cost-effective expansion for backups or DJ workflows.
Your Mac Studio is now ready to tackle demanding tasks, from rendering high-resolution videos to running machine learning models. With its compact design and robust connectivity, it’s a powerhouse for creative professionals—just ensure your setup matches your workflow’s intensity.