But how do you really connect a weather API to your Apple apps? Don’t worry—I’ll walk you through it step by step for your convenience.
Picking the Right Weather API
There are many weather APIs, but not all play nice with Apple products. Apple has one, of course, called WeatherKit, so let’s start there—because it’s an Apple-developed one, it plays nicely across apps on both iOS, macOS, and watchOS.
If you’re looking for one less restrictive, you can’t possibly go wrong with OpenWeatherMap. It has both free and premium plans and has you covered from the weather today, forecasts, to historical weather. Alternatively, you may want to think about WeatherAPI (formerly known as WeatherStack). It’s incredibly easy to use and has you covered for weather data from all over the world through easy-to-make API calls.
But if you want an easy-to-use, free API, then Tomorrow.io is the way to go. It’s a highly reliable weather API python– especially suited for very accurate, minute-by-minute precipitation forecasts and has extensive documentation and an active community.
For this article, we’re going with WeatherKit, as it originates directly out of Apple. If you want one that’s free, though, or has added functions, the other two are worth considering.

Setting Up WeatherKit in Your App
If you decide to go with WeatherKit, getting started is pretty simple:
1) Join Apple’s Developer Program – WeatherKit is only available to registered Apple developers, so you’ll need an account.
2) Enable WeatherKit in Your App – In Xcode (the tool you use to build Apple apps), go to your app’s settings and turn on WeatherKit.
3) Request Weather Data – You’ll use Swift (Apple’s programming language) to send a request for weather info. Here’s a basic example of how it works:
swift
CopyEdit
import WeatherKit
let weatherService = WeatherService()
let location = CLLocation(latitude: 40.7128, longitude: -74.0060)
Task {
    do {
        let weather = try await weatherService.weather(for: location)
        print("Current temperature: \(weather.currentWeather.temperature)")
    } catch {
        print("Failed to get weather: \(error)")
    }
}
That’s it! With just a few lines of code, your app can pull in live weather updates.
Adding Weather to Siri and Shortcuts
Want to elevate your weather application to a new level? You can integrate it with Siri or Apple’s Shortcuts application. Then, users can use Siri to tell it something such as, “What is the temperature outside?” and get information straight from your application.
To do that, you must initialize SiriKit in Xcode and provide custom responses based on weather details. This enables your application to be compatible with voice commands, making it more convenient to use.
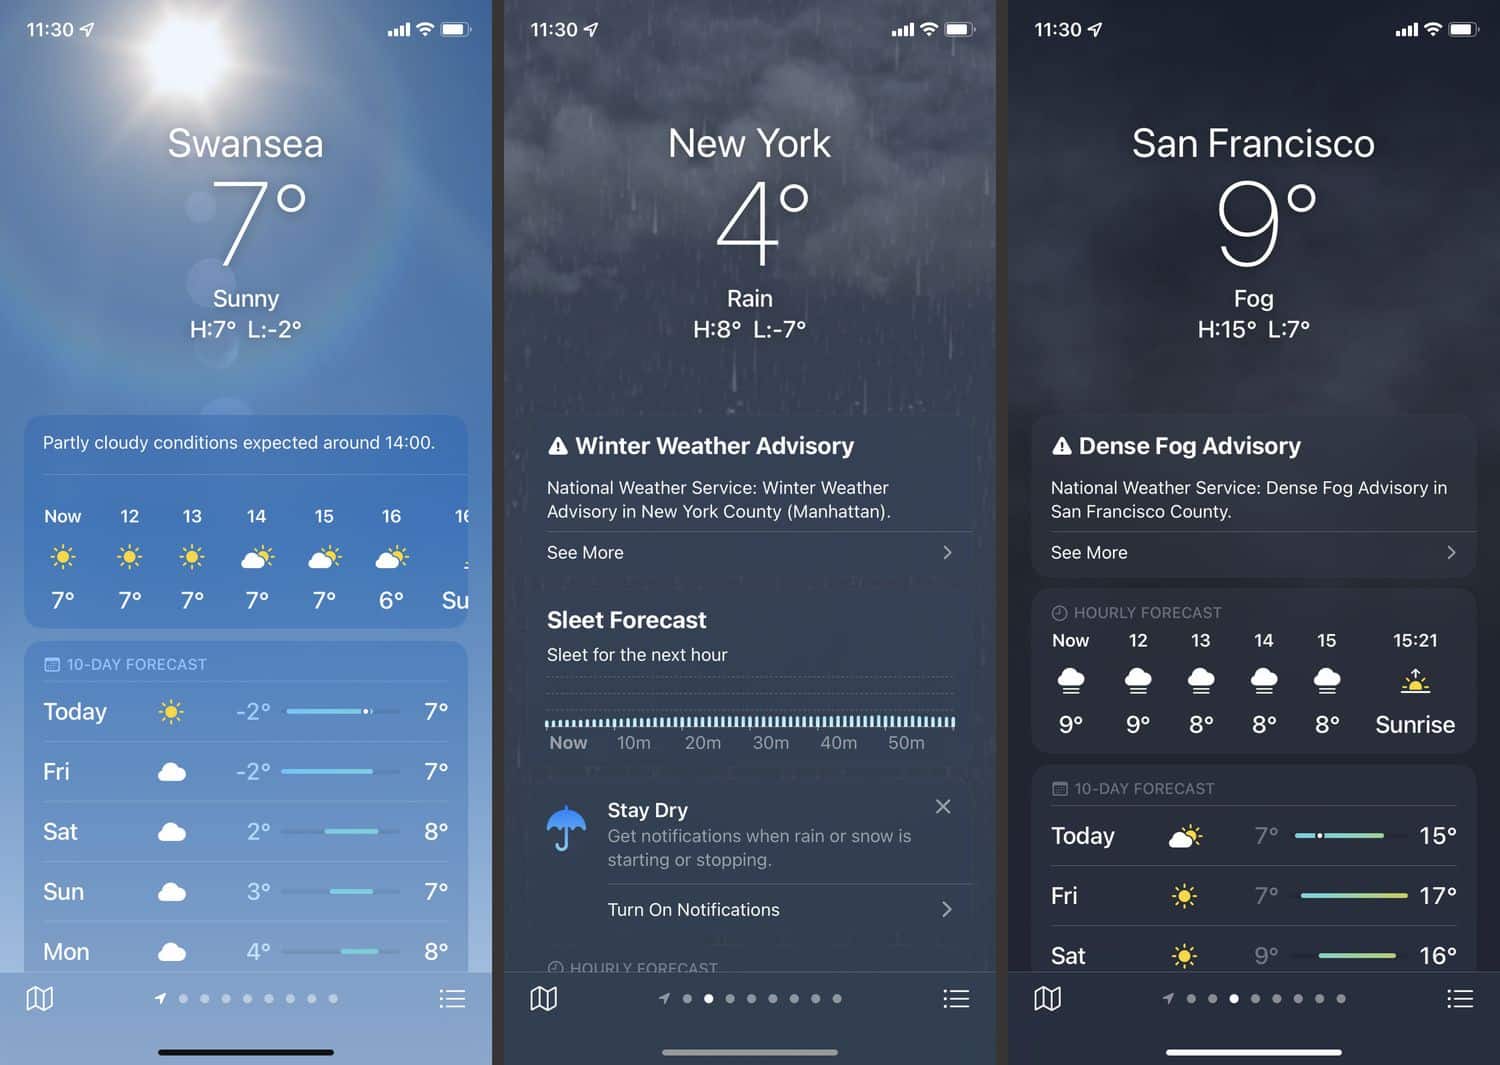
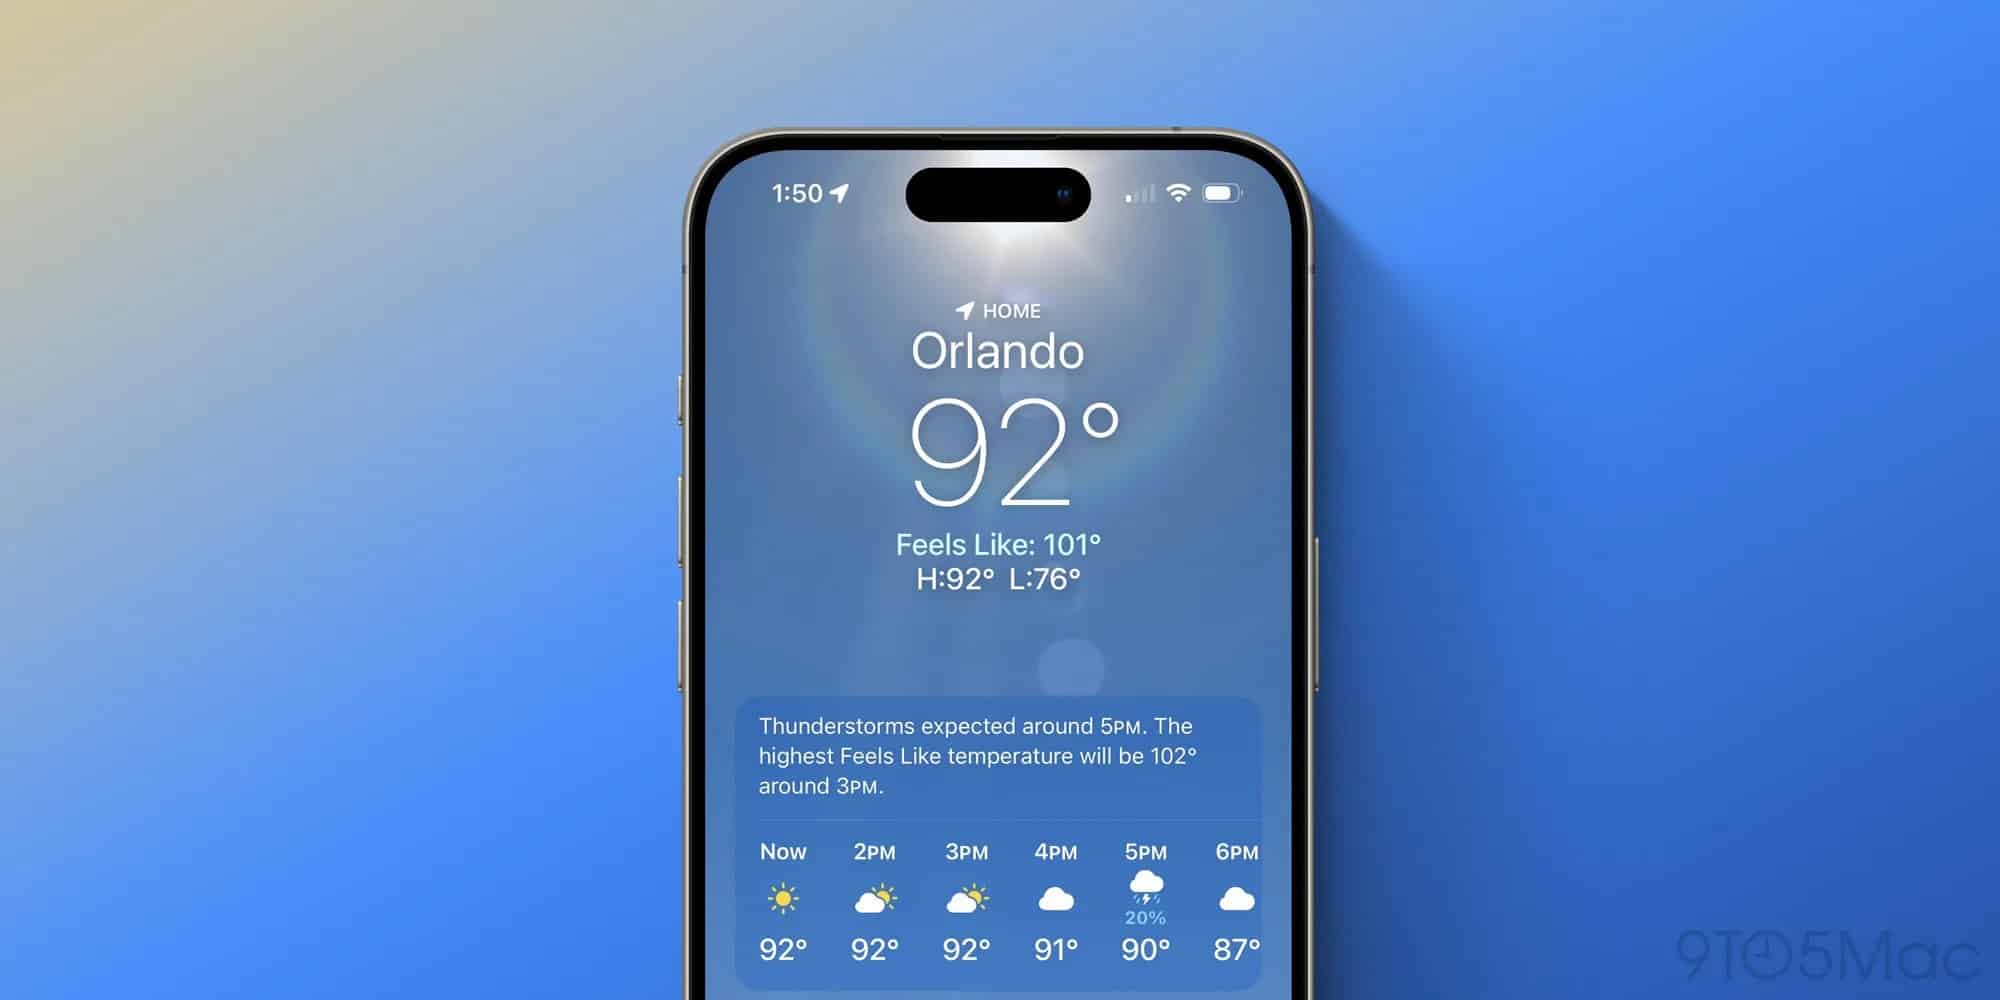
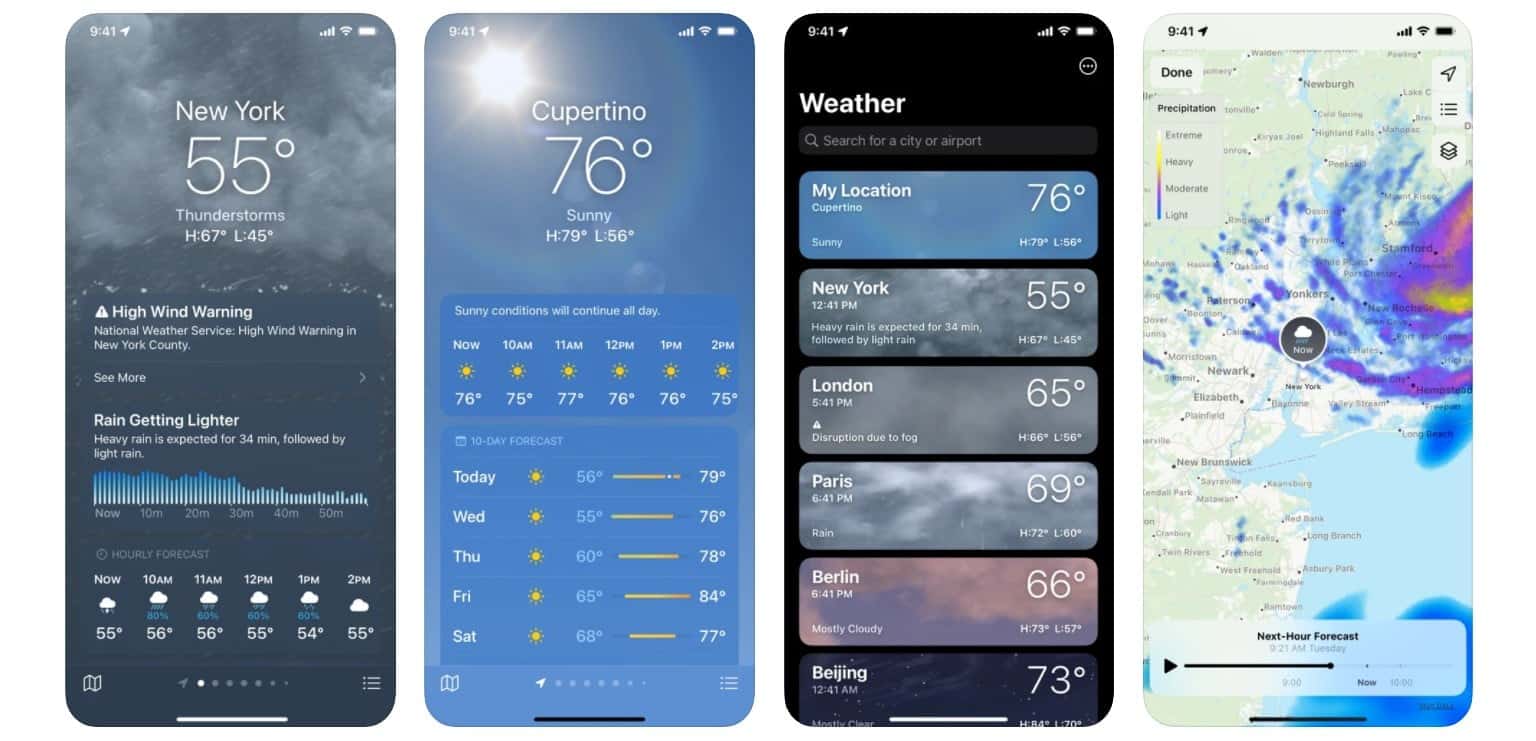
Displaying Weather Data the Apple Way
Once you’ve got that weather API in place, next is making it look fabulous on screen. Apple users expect their apps to be clean, easy to read, and simple, so making it visually pleasing is just as crucial as having it in the first place.

Using SwiftUI for a Smooth Look
If you’re building an iOS or a macOS app, it’s the easiest way to generate a modern, intuitive-looking weather display. It’s easy to design smooth-looking interfaces with minimal code, and it’s compatible with iPhones, iPads, Macs, and even Apple Watches.
Here’s a quick example of how you can show the temperature in a simple SwiftUI layout:
swift
import SwiftUI
import WeatherKit
struct WeatherView: View {
    @State private var temperature: String = "Loading..."
    var body: some View {
        VStack {
            Text("Current Temperature")
                .font(.headline)
            Text(temperature)
                .font(.largeTitle)
                .bold()
        }
        .onAppear {
            fetchWeather()
        }
    }
    func fetchWeather() {
        let weatherService = WeatherService()
        let location = CLLocation(latitude: 40.7128, longitude: -74.0060)
        Task {
            do {
                let weather = try await weatherService.weather(for: location)
                DispatchQueue.main.async {
                    temperature = "\(weather.currentWeather.temperature)"
                }
            } catch {
                print("Error fetching weather: \(error)")
            }
        }
    }
}
This gives you a simple, dynamic weather display that updates when the app loads. You can customize it by adding more details like humidity, wind speed, or an icon that matches the weather conditions.
Adding Widgets for Quick Updates
If you would prefer that users see the weather without having to open your application, you can build a home screen widget. One of the best methods of providing quick updates such as the current temperature or a day’s forecast is to use a widget.
To build a widget for the weather, you will be using WidgetKit, Apple’s API for home screen and lock screen widget development. The most basic widget would display:
• The current temperature
• An icon for a weather condition (sunny, rainy, cloudy, etc.)
• A short forecast (for instance, “Rain in 2 hours”)
Widgets make your application more useful and allow users to be interested in it. In case you have a live application that displays the weather, a widget can remind users to check it throughout the day.

Using SF Symbols for Weather Icons
Apple provides SF Symbols, a huge set of icons that look great on all Apple devices. Instead of creating your own weather icons from scratch, you can use Apple’s built-in symbols like:
- 🌞 sun.max.fill for sunny weather
- ☁️ cloud.fill for cloudy conditions
- 🌧️ cloud.rain.fill for rain
By using SF Symbols, your weather icons will match Apple’s design style and look great on any screen.
Using Weather Data for Smart Home Automation
If you’re working with HomeKit, Apple’s smart home system, weather data can trigger automations. For example:
- Turn on the heater when the temperature drops below 50°F.
- Close the smart blinds when it gets too sunny.
- Send a notification if rain is expected so you remember to grab an umbrella.
With some basic coding, you can link weather data to smart home devices, making life easier for users.
Wrapping Up
Adding a weather API to your Apple application is not such a tall order after all. With or without employing Apple’s WeatherKit or a third-party offering such as Tomorrow.io, you can start getting live weather with just a few lines of code.

From real-time forecast to Siri voice control to home automation, there’s a multitude of ways to use weather data in your application. So take a shot—see what you can build!


