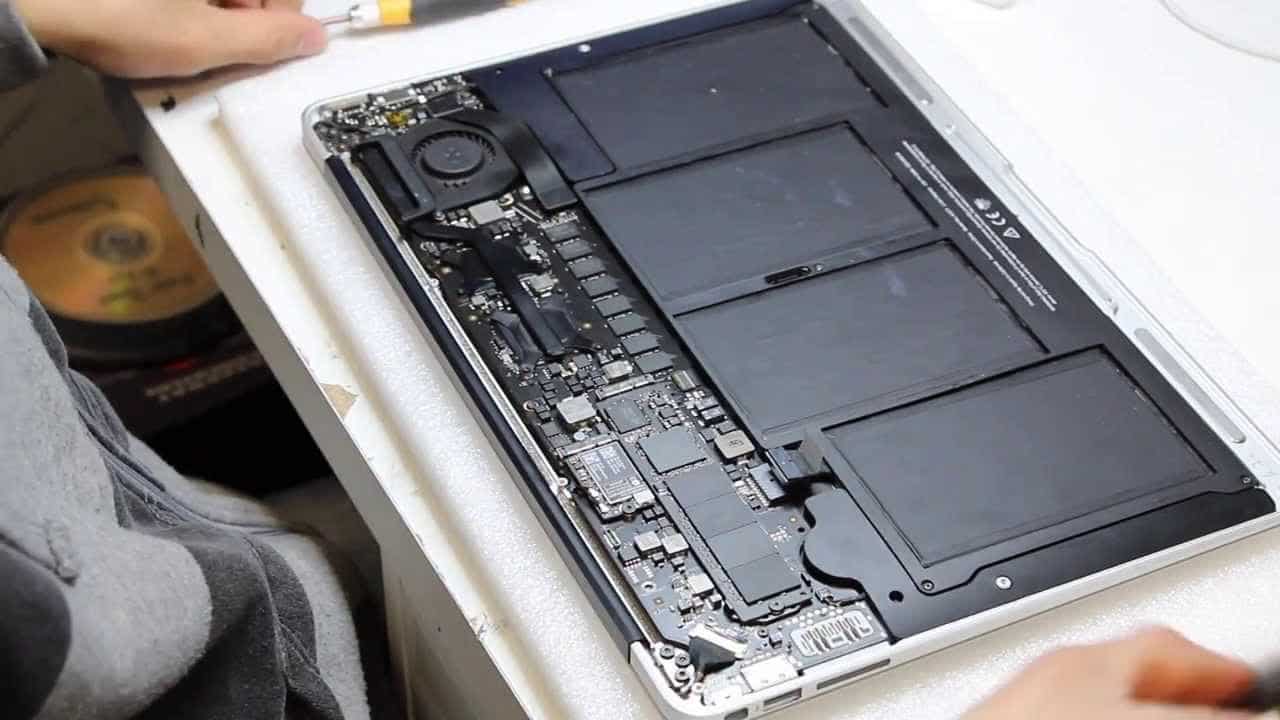
However, like any electronic device, it is not immune to malfunctions. In this article, we will examine the step-by-step process of replacing the MacBook Air motherboard.
Reasons for Replacing the Main Logic Board
The main logic board is the platform where all the primary components are located. The functionality of the entire device depends on its operability. Unfortunately, the main logic board can fail for various reasons, such as overheating, component wear, moisture exposure, or physical damage. Replacement may be necessary in the following cases:
- The laptop does not turn on, even when connected to a charger.
- Artifacts, lines, or other graphical distortions appear on the screen.
- The system operates unstably, with frequent freezes or reboots.
- Issues with ports arise, such as non-functioning USB or HDMI.
- There is no sound or it is distorted.
If you have encountered one of these problems and are certain that it is due to a faulty main logic board, replacing it may be the solution.
Necessary Tools & Materials
Before beginning the work, ensure that you have all the necessary items:
- Screwdriver set (Torx T5, Phillips #00) for removing screws of different sizes.
- Tweezers for working with small parts and connectors.
- Plastic spudgers or guitar picks for separating clips and prying components.
- Heat gun for warming and loosening adhesive connections.
- Anti-static mat and wristband to protect components from static electricity.
- New main logic board for MacBook Air, compatible with your model.
You can purchase a new main logic board from official Apple suppliers or specialized websites. Be sure to check the board’s compatibility with your laptop by model number and revision.

Preparation for Work
Before disassembling the laptop, it is necessary to complete several preparatory steps:
- Create a backup of all important data on an external drive or in cloud storage. This will help avoid loss of information in case issues arise during board replacement.
- Disconnect the laptop from power and remove the battery if possible. In some MacBook Air models, the battery is soldered to the main logic board and cannot be removed without special equipment. In such cases, simply unplug the laptop from the charger.
Finally, prepare a clean and well-lit workspace. Cover the table with an anti-static mat, and put on an anti-static wristband. This will protect the laptop components from damage from static electricity. Place the MacBook Air on the mat and begin disassembly.
Disassembling the MacBook Air
In general, the process looks as follows:
- Remove the bottom cover of the laptop by unscrewing the perimeter screws. Carefully set the screws aside.
- Disconnect and remove the SSD, RAM, and battery if they are not soldered to the board. Be careful and do not apply excessive force to avoid damaging the components.
- Carefully disconnect all cables and connectors from the old main logic board, including the display cable, keyboard, trackpad, and speakers. Photograph or memorize the location of cables to correctly connect them to the new board later.
- Remove the old board from the laptop case. This may require separating the board from the case using a plastic spudgers or heating the connection points between the board and case with a heat gun. Proceed carefully to avoid damaging other components.
Installing the new main logic board looks like this:
- Carefully install the new board in the laptop case. Ensure that it sits evenly in place without any play or misalignment.
- Connect all cables and connectors to the new board according to the photographs or diagram you made earlier. Be attentive and do not mix up the connectors.
- Reinstall the SSD, RAM, and battery if you removed them. Ensure they are securely fastened and do not wobble.

Reassembling the MacBook Air
Before final assembly, double-check that all components are correctly connected. Ensure that no cables are left unconnected or parts uninstalled. If everything is in order, install the bottom cover of the laptop and tighten the screws. Do not overtighten the screws to avoid stripping the threads. Connect the charger to the laptop and proceed to verify functionality.
Verifying Functionality
Turn on the laptop and ensure that the system boots without errors. Pay attention to the screen — the image should be clear and without distortions. Check the operation of the keyboard, trackpad, ports, and speakers. Test Wi-Fi, Bluetooth, and other wireless interfaces. If everything works properly, the board replacement can be considered successful.
If necessary, update the operating system and drivers. This may be required to ensure full compatibility of the new board with the software. Use the built-in macOS update mechanism or download the necessary files from the official Apple website to update.
Replacing the main logic board in a MacBook Air is a labor-intensive process that requires precision and attention to detail. If you have successfully completed this task, your laptop should work like new again.


