Photography is an integral element of our lives, and taking photos on the phone is the most convenient solution to capture memorable moments. According to the statistics, an average mobile user takes about 150 photos per month. Many people keep their footage original and do not edit images. But there are plenty of those who prefer to use photo editing software to enhance pictures.
It’s reported that an average iOS device holds 2.3 times as many photos as the average Android device. We can distinguish a lot of reasons for that, but the main factor is iPhone photo quality and high image resolution. It gives people more pleasure and freedom to take more photos and share them on social media or sell to photo stock sites. In this article, you’ll find how to improve your photos taken on iPhone, either with the help of built-in camera features or using photo editing software.
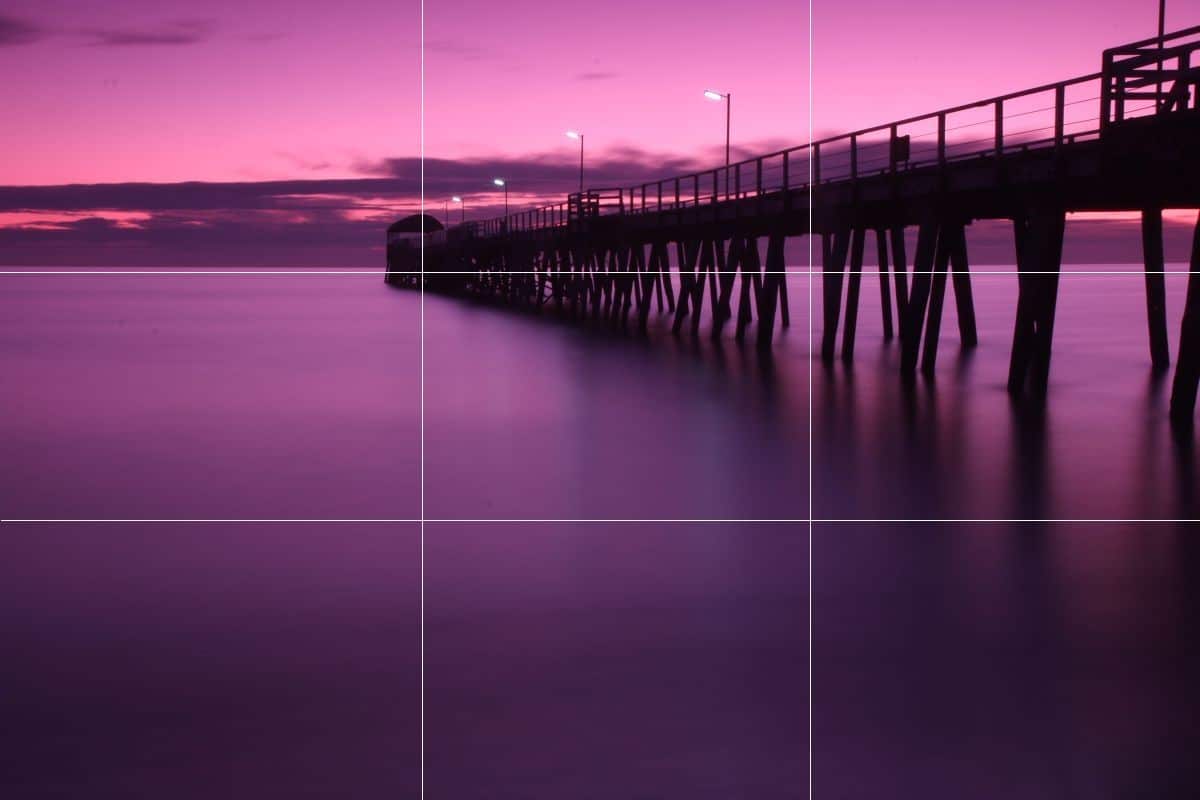
Camera grid lines
Setting the grid on the screen allows you to compose photos better. Composition is fundamental in photography, and even amateur photographers need to be familiar with it. You will have your screen divided into nine rectangles, made of two horizontal and two vertical lines, to apply the Rule of Thirds. In such a way, it’ll be easier to focus on the subject of the photo and place it off-center.
Professionals recommend placing the subject at line intersections to imbalance the composition. The picture will look eye-catchy and not overwhelmed with details. In order to switch on this option, you need to go to Settings, choose Photos & Camera, and there you will find Grid.
When switching on the Grid setting, it activates the leveling tool. Thus, it facilitates taking level images when you take photos up or down. You will see several crosses, and they should merge in one yellow if you take a photo properly, parallel to the ground and ceiling. It’d be great to use a camera grid for shooting landscapes or food.

Exposure
Exposure is a paramount feature for iPhone users as it enables your photo to look just perfect, not over-or underexposed. Fortunately, the iPhone camera adjusts the exposure automatically, and you do not have to look for it in settings.
Exposure is the brightness of your image so if you see that it needs to be improved, swipe up the screen to increase it or down to lower. The AE/AF Lock feature provides perfect exposure as it locks its values. You can control photo exposure and have more freedom in adjusting the brightness. It’s necessary to tap on the screen and hold it for a while until you see a yellow square. Thus, exposure and focus will remain the same for photos you take in a row.
The knowledge of properly setting exposure can make your photos closer to professional perfection. One more professional tip: turn on HDR at the top of your screen for better exposure and vivid images.

Focus
Many hidden iPhone camera features make it possible to take an incredible photo. As you know, the camera on your phone has a large field depth. It automatically sets the focus and imbalances the background with the foreground. However, it’s essential to know how to set the focus point to not end up with a blurry image.
First of all, you need to define and tap the area on the screen that should be in shart focus on the photo. Once you choose the main subject and tap on it, a yellow square will appear around the point of focus. Thus, focus guarantees a sharp photo, so do not forget it before every time you take a photo.
Sometimes, changing the environment leads to refocus, so you have to lock the focus manually with AE/AF Lock. Take into account that once you set the focus, do not change the position, and different distances from a subject to the camera cause refocus and blurred images.
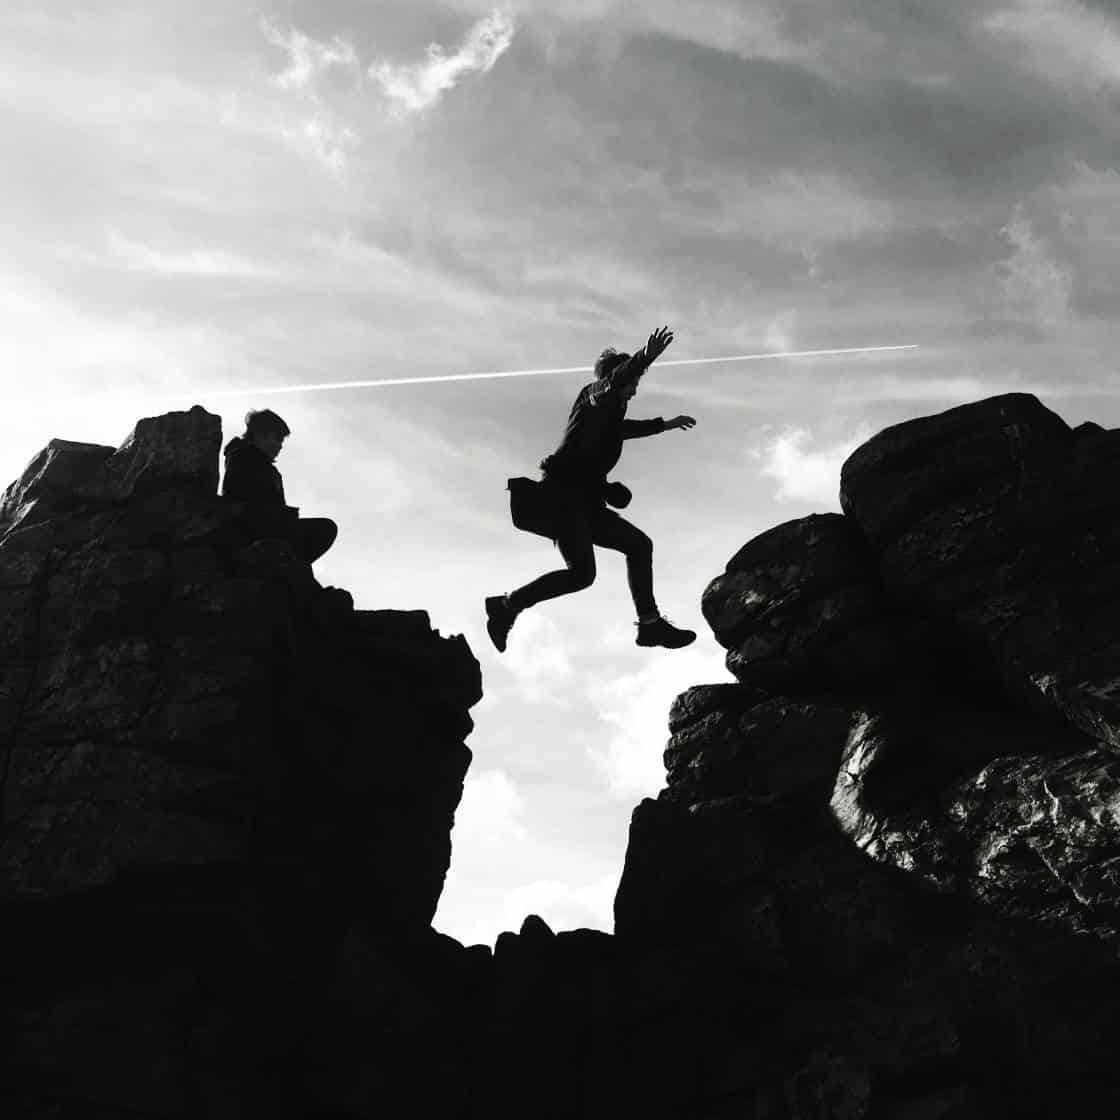
Know when to use burst mode
If you’re looking to capture action images, the burst mode is an excellent solution. You will have a clear picture of moving subjects and choose the best image from many photos taken in the sequence.
People usually use burst mode for action, sports, and street photography or to shoot children or animals as there might be unpredictable movement. In order to use Burst mode, press the shutter button and hold it as much as you want to take photos.
As a rule, an iPhone camera can take ten photos per second, so do not hold the button too long. You will see on the screen the number of photos you take. Then they will be saved to the Gallery where you can see a lot of photos and select the best images. Once you select great footage, press Done and select Keep Only Favorites.

Experiment with photo editing software
If you are fond of enhancing photos not only with the help of basic settings but spend time on editing and applying filters, then resort to third-party tools for the iPhone. There are plenty of options on the internet, both free and paid, online and offline – just whatever you want.
Some photo editing tools are widely used worldwide, like Movavi, and many photographers are familiar with this program. Amateur photographers who take photos on their iPhones as a hobby can check out this tool as it has rich functionality and a user-friendly interface.
You can also consider trying Luminar and Paintshoppro tools to compare their usability and features and decide what tools work the best for you. But firstly, pay attention to the following metrics every great tool must possess: Lighting, Color, Sharpness, Effects, Vignette, Splash, Overlays, etc. Consider that the app has to improve, add, and change your photos to the extent they look both perfect and natural. You are free to choose the software with any editing features you like but make sure you have a wide choice of photo enhancement capabilities for a reasonable price.
The iPhone camera gets more advanced settings and a higher resolution with every new version. Thus, knowing some tips on how to take perfect photos is as essential as knowing how to choose the right iPhone case.
Explore the richness of camera settings to benefit from them fully. Any iPhone user can take impressive pictures without any photography skills. Do not be afraid to experiment, learn your smartphone, and take advantage of photo editing software for better results. You can use both built-in features and editing tools to achieve perfection and high image quality.
